Subaru Outback Transmission Valve Body Replacement
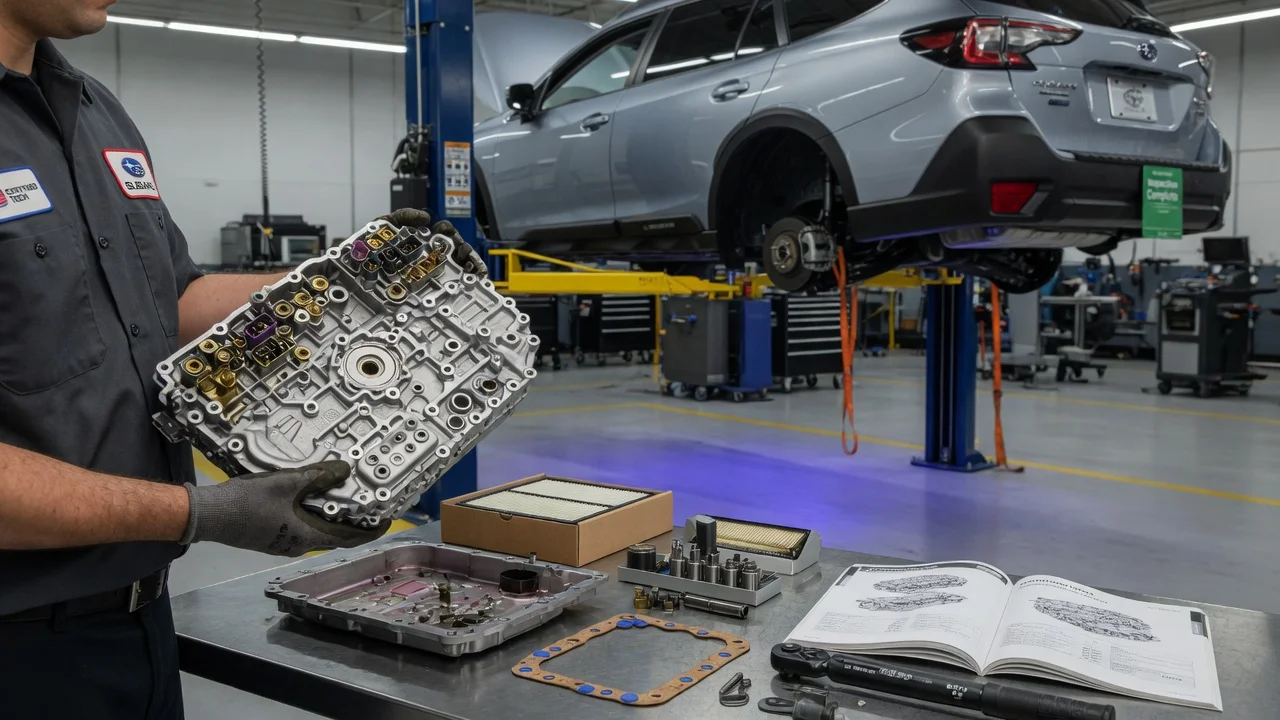
Replacing the valve body on a Subaru Outback can fix certain hydraulic and solenoid-related shift problems, but it is not a universal cure for a misbehaving transmission. The Outback has used conventional four-speed and five-speed automatics as well as the Lineartronic CVT found in most later models. Your unit determines the correct part, fluid, procedure and post-install setup. This guide covers confirming the repair is justified, preparing, removing and installing the valve body, and checking the finished job.
Confirm the part and repair scope
Start by identifying the transmission type rather than assuming it from the model year alone. Model year, engine, drivetrain and market all affect which automatic or CVT is installed, and valve bodies are not interchangeable between them. Use the VIN, the transmission identification label or code on the case, and a parts catalog lookup to match the exact part number. Fitment problems are common when a part is chosen only by year and model, and a valve body for a different transmission variant or calibration may physically fit yet behave incorrectly.
A symptom such as harsh engagement, delayed shifts, flare, shudder or a stored solenoid code points toward the valve body but does not prove it has failed. Retrieve the diagnostic codes with a scan tool that reads transmission data, not just engine codes, and note any freeze-frame details. Check fluid level and condition, wiring and connectors, speed and temperature sensor signals, and whether a transmission control software update applies to your vehicle. Review the service history for fluid changes, previous repairs and overheating events.
Weigh the repair options honestly. Depending on the diagnosis, the fix may be a connector or harness repair, a software update, a single solenoid where serviceable separately, the complete valve body, or a full transmission replacement. A new valve body will not correct worn clutches, a damaged CVT chain or pulleys, a failing torque converter or bearing noise. Heavy metal debris in the pan usually signals internal damage beyond what this repair can address.
Prepare tools and safe access
Obtain the factory service information for your exact vehicle before buying parts. You will need the removal and installation steps, bolt locations and lengths, tightening torques and sequence, the fluid fill and level check procedure, and any required post-replacement setup. Gather a suitable scan tool, a torque wrench, a large drain pan, a new pan gasket or the specified sealant, a new strainer and seals if called for, and enough fluid of the correct specification. CVT fluid and conventional automatic transmission fluid are not interchangeable, and some Subaru transmissions require a specific fluid type.
Raise and support the vehicle on a lift or rated stands on level ground, and disconnect the battery before unplugging transmission connectors. Let the fluid cool, because it can cause burns. This job is not well suited to inexperienced owners, especially on CVT models. Many later Outbacks need a scan tool capable of Subaru-specific functions to check fluid level at the specified temperature and to complete learning or data registration. Without that capability, the vehicle may not shift correctly even with a good part installed, and a professional shop is the better choice.
Remove without avoidable damage
Drain the fluid and inspect it as it comes out, noting color, smell and debris. Remove the oil pan carefully. Pans sealed with liquid gasket should be separated without prying hard against the sealing flanges, since gouges cause leaks. Look at the magnet and pan bottom: fine gray paste is normal wear, while metal chips, flakes or chunks suggest internal damage that should be investigated before continuing. Remove the strainer as described in the service manual.
Label each electrical connector before unplugging it, and avoid pulling on wires. Valve body bolts often vary in length, so lay them out in a pattern that matches their positions; a long bolt in a short hole can crack the casting or bottom out. Support the valve body as the last bolts come out, keep it level, and lower it straight down. On some conventional automatics, check balls, springs, accumulators or seals can drop out or stay in the case, so note their locations against the manual. Keep the work area clean, as even small contamination can make valves stick. Do not disassemble a new or remanufactured unit unless the instructions require it.
Install and restore the system
Compare the new valve body with the old one before installation, confirming the part number, connector layout and mounting points. Make sure the mating surfaces are clean and that any loose components identified during removal are back in their correct positions. On conventional automatics, the manual valve must engage the selector linkage or detent correctly as the valve body goes in; misalignment can cause wrong gear selection or prevent the transmission from shifting. Start the bolts by hand in their recorded positions, then tighten them to the specified torque in the specified sequence.
Reconnect every connector until it locks, install a new strainer and seals where required, and refit the pan with a new gasket or the specified sealant, allowing any cure time listed in the service information. Refill with the specified fluid, then set the final level using the exact procedure for your transmission, which on many CVT models requires the fluid to be within a defined temperature range read on a scan tool. Finally, perform any required data registration, learning or adaptive reset. Some replacement valve bodies come with calibration data that must be entered into the control module, and skipping this step can lead to poor shift behavior or warning lights.
Check the completed work
With the engine running, inspect the pan, drain and fill points, and the cooler lines for leaks. Clear stored codes, then confirm none return immediately. Check that the selector moves through each position with proper engagement and that the gear indicator matches the selected range. Using live data, watch fluid temperature, gear or ratio reporting, and any slip or pressure values your scan tool provides. Road-test under light and moderate acceleration, steady cruising, coast-down and stop-and-go driving, letting the transmission relearn according to the service procedure. Recheck the fluid level afterward as specified.
Further diagnosis is needed if codes reappear, shifts flare or slam, engagement remains delayed, the vehicle shudders, slips or enters a fail-safe mode, or new noises appear. Fluid that quickly turns dark or smells burnt also points to a remaining problem. These signs may involve wiring, sensors, software or internal mechanical wear rather than the new part. Record the part number, fluid used, procedures performed and results in the vehicle's service history so future repairs start with accurate information.