Subaru Forester Transmission Valve Body Replacement: What Owners Should Know
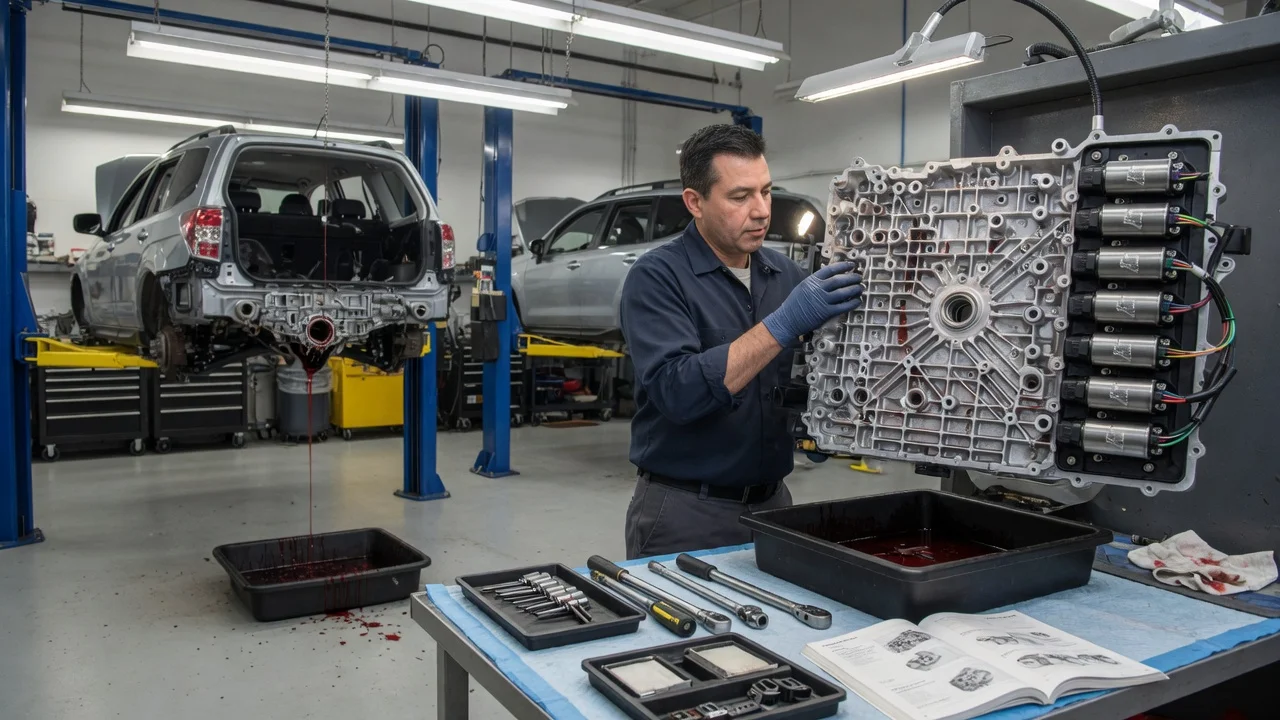
Replacing the valve body on a Subaru Forester can cure certain shifting and engagement faults, but only when diagnosis points to it. The valve body routes pressurized fluid and holds the solenoids that the transmission control module commands, so a fault there can look like several other problems. This guide covers how to confirm the repair scope for your transmission, what preparation the job needs, and how removal, installation and post-repair checks generally proceed.
Confirm the part and repair scope
Start by identifying the transmission type. Most US-market Forester automatics through the 2013 model year use a conventional four-speed automatic, while 2014 and later automatics use the Lineartronic CVT. Within a generation, turbocharged versions may use a different unit than naturally aspirated ones, and manual-transmission Foresters have no valve body at all. Valve body design, part numbers, fluid specification and service procedures differ between these units. Confirm fitment by VIN and transmission identification rather than by model year alone.
Symptoms often blamed on the valve body include harsh or delayed engagement, flaring between gears, shudder, slipping, a stuck gear or limp mode, and diagnostic codes for solenoid circuits, line pressure or ratio errors. The same symptoms can come from low or degraded fluid, damaged wiring or connectors, faulty sensors, control module or software issues, a worn torque converter, or internal wear in clutches, pulleys or the belt. Read codes with a scan tool that can access the transmission module, note freeze-frame data, check fluid level and condition, and review the service history. Heavy metallic debris on the pan magnet points to internal wear that a new valve body will not fix.
Weigh the repair options before ordering parts. Depending on the confirmed fault, the answer may be a single solenoid, a software update, a valve body, a rebuild or a replacement transmission. A dealer can tell you whether a service bulletin, campaign or warranty extension applies to your VIN, which can change the most sensible path.
Prepare tools and safe access
Obtain the factory service procedure for your exact vehicle. It gives the removal steps, bolt layout and lengths, tightening sequence, torque values, fluid specification, fill capacity and the level-check method. You also need a scan tool with Subaru transmission functions, because resetting learned values, entering valve body data where required and reading fluid temperature for the level check all depend on it. On the CVT in particular, attempting this job without that capability is likely to leave the transmission performing poorly, so it is not a good first project for an inexperienced owner.
Work on level ground with the vehicle supported on rated jack stands or a lift, wheels chocked, and the fluid cooled down. Gather a large drain pan, a torque wrench with a suitable low range, a new pan gasket or the specified sealant, a new drain plug washer, lint-free rags and the correct fluid in sufficient quantity. Undertray panels may need to come off for access. Disconnect the battery if the procedure calls for it, and keep the work area clean, since dirt entering the hydraulic passages can cause the very faults you are trying to fix.
Remove without avoidable damage
Drain the fluid, then remove the oil pan, supporting it as the last bolts come out because it will still hold fluid. Inspect the pan and magnet and note any debris before cleaning. Remove the strainer if it blocks access to the valve body. Photograph the harness routing and every connector, and map the bolt positions, because valve body bolts often differ in length and a long bolt in a short hole can damage the case or the body.
Release connector locks fully before pulling, and never pull on the wires. Loosen the valve body bolts in the order the procedure specifies and support the unit as it comes free. Keep it level, since some designs contain loose check balls, springs, screens or seals that can drop out; whether these exist depends on the transmission, so note their positions if you find any. Where a manual valve or detent link engages the shift selector, disengage it as instructed. Do not pry on machined surfaces or disassemble either valve body unless the procedure requires it.
Install and restore the system
Compare the old and new units side by side, checking part numbers, connectors and port layout before going further. Clean the mating surface without leaving gasket fragments or lint. Transfer or reinstall any parts the procedure lists, return check balls and screens to their original positions, engage the manual valve correctly, and start every bolt by hand in its mapped location. Tighten in the specified sequence to the specified torque, then reconnect each connector until it locks and route the harness clear of the pan and moving parts.
Refit the strainer and pan with a new gasket or the specified sealant, install the drain plug with a new washer, and fill with the fluid specified for your transmission. Do not substitute a generic multi-vehicle fluid unless it is explicitly approved for that unit. Set the final level only by the method in the service procedure, which typically involves running the engine and checking at a specified fluid temperature read with a scan tool.
Complete any commissioning steps the procedure lists. These may include clearing learned adaptation values, entering identification or correction data for the new valve body, and performing a learning procedure or drive. Skipping them can cause harsh engagement, poor shift behavior or new codes even when the correct part is installed properly.
Check the completed work
Before driving, inspect the pan and connections for leaks, confirm the fluid level at the specified temperature, clear stored codes and recheck for new ones. With the brake held, shifts into Drive and Reverse should engage promptly without a clunk or long delay. On a road test, use light and moderate throttle across a range of speeds and watch for smooth gear or ratio changes without flare, slip or shudder. If your scan tool shows live data, compare ratios, pressures and fluid temperature with the expected values in the service information.
Further diagnosis is needed if codes return, the original symptom persists, new noises or leaks appear, or the fluid runs unusually hot. Those signs suggest the valve body was not the only fault, or that installation or commissioning was incomplete. Recheck the level and look for leaks after the first few drives, and record the part number, fluid used, date and any learning procedure in the service history so future diagnosis starts from accurate information.