Subaru Brake Booster Check Valve: Identifying the Correct Part
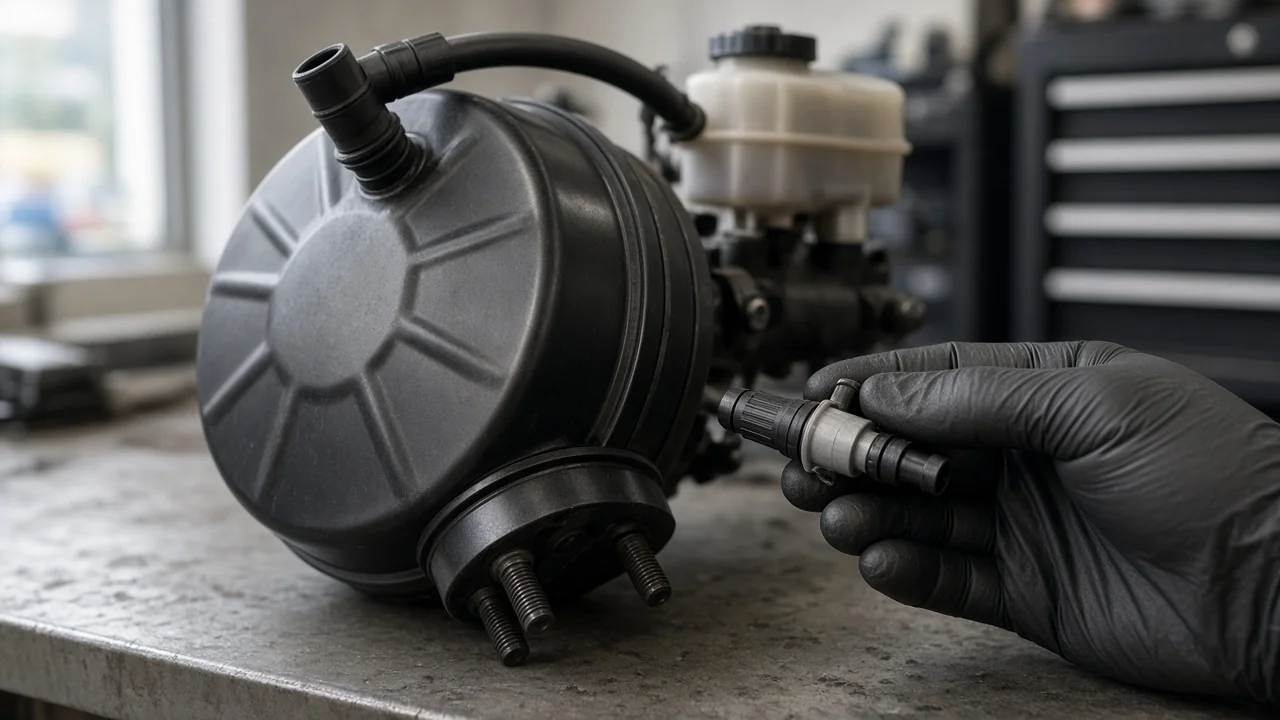
The brake booster check valve on a Subaru is a small one-way valve in the vacuum line between the engine and the power brake booster. It lets air leave the booster toward the engine and stops it from flowing back. This keeps a vacuum reserve in the booster when the engine stops or intake vacuum drops. Before ordering a replacement, confirm that the valve is actually at fault, then match the new part to your exact vehicle.
Establish the symptoms
Start by recording when the problem appears. A leaking check valve usually shows up as a hard pedal on the first stop after the car has been parked, because the booster lost its stored vacuum while the engine was off. Note whether the pedal is firm only on the first application or all the time, and whether it softens once the engine has been idling. Listen for a hiss near the brake pedal or in the engine bay. Note any rough idle or check engine light, which can point to a vacuum leak. Also note recent work: intake or engine repairs, booster or master cylinder replacement, and anything that may have disturbed the vacuum hose. Cold weather is worth noting too, because aged rubber hoses harden and crack.
Record unrelated brake complaints separately. A spongy pedal, a pedal that slowly sinks under steady pressure, pulling to one side, grinding, or a brake warning light point to the hydraulic or friction side of the system rather than vacuum assist. Mixing these symptoms together leads to buying the wrong parts.
Distinguish plausible causes
A check valve that leaks or sticks open typically gives normal assist while the engine runs but loses reserve quickly after shutdown. A valve that is blocked or stuck closed restricts the vacuum supply, so assist is weak or missing even with the engine running. A cracked, collapsed or loose vacuum hose, or a leaking grommet where the line enters the booster, can mimic either fault. Because that leak also lets unmetered air into the intake, it often comes with a hiss and sometimes an unsteady idle.
The booster itself is the main competitor. A leaking booster diaphragm often hisses at the pedal when the brakes are applied, may make the idle dip as you press the pedal, and loses reserve even when the check valve tests good. Low engine vacuum from an engine problem weakens assist too, but it usually causes other drivability symptoms. Hydraulic and friction problems feel different. Air in the brake fluid makes the pedal spongy. A sticking caliper causes pulling or dragging. Worn brake pads, glazed friction material or worn brake rotors lengthen stopping distances while the pedal assist feels normal.
Checks in a useful order
Begin with safe visual checks, with the vehicle parked, the engine off and the parking brake set. Follow the vacuum hose from the booster to its engine connection. Look for cracks, oil-softened or collapsed sections, loose clamps, and a valve or grommet that is not fully seated. Check the brake fluid level in the reservoir and confirm the brake warning light goes out after starting. A low fluid level is a separate issue that needs attention whatever the vacuum findings show.
Next, run two simple pedal tests. For the assist test, pump the pedal several times with the engine off to use up the reserve. Then hold light pressure and start the engine. The pedal should move down slightly as vacuum builds. For the reserve test, let the engine idle briefly, switch it off, wait, then press the pedal. You should still get assisted applications before it turns hard. Your service information gives the expected hold time for your model.
Some tests need tools and specifications. The check valve can be removed and tested with a hand vacuum pump. Vacuum applied at the booster-side port should hold, and vacuum applied at the engine-side port should not. A vacuum gauge at the supply side shows whether the engine is producing normal vacuum. Booster leak-down tests, master cylinder diagnosis and caliper or pad inspection against wear limits are best left to a qualified technician if you lack the equipment or data.
Interpret the findings
If the pedal drops on start-up but the reserve disappears quickly, and the removed valve leaks in the blocked direction, the check valve is confirmed as a cause. If the valve passes in both directions on the bench, or blocks in both, it has also failed. If the valve holds correctly but the reserve still drains, inspect the hose and grommet next, then suspect the booster. If the pedal does not drop at all on start-up, check for a blocked valve, a collapsed hose or low engine vacuum before condemning the booster.
A failed valve does not rule out a second fault. After installing the new valve, repeat the assist and reserve tests. If the reserve still drains, the booster or another leak remains. If the pedal sinks or feels spongy, the hydraulic side needs its own diagnosis.
Identifying the correct replacement part
Vehicle fitment matters, because the arrangement varies between models, model years and engines. On some vehicles the valve is a separate inline part between two hose sections. On others it is built into a hose assembly, or it plugs into a grommet in the booster shell. Look up the part by VIN through a dealer parts department or a VIN-based catalog, rather than by model name alone. Check whether the listing covers the valve only, or the complete hose and the grommet.
Compare the new part with the old one before installing it. Check the port sizes and hose inner diameter, the angle of each port and the overall length. Check the flow marking as well: most valves carry an arrow or label, and flow runs from the booster toward the engine vacuum source. A valve installed backward blocks the vacuum supply and leaves you with a hard pedal. If you consider a universal or aftermarket valve, make sure it matches the hose size and is intended for brake booster vacuum service. Replace hardened hose sections and weak clamps at the same time.
Urgency and next action
Losing vacuum assist does not remove hydraulic braking, but it greatly increases the pedal effort needed to stop. That can catch a driver out in an emergency. Stop driving and arrange professional service if the pedal is hard on every application, sinks toward the floor, feels spongy, or if the brake warning light stays on. The same applies if you see fluid leaking near a wheel or the master cylinder, or the vehicle pulls hard when braking. No safe remaining mileage can be promised for a braking fault.
For a repair visit or parts order, bring your VIN, the symptom log, the results of the assist and reserve tests, and any bench-test findings for the valve. Include the condition of the hose and grommet, and the brake fluid level. This lets a technician or parts counter confirm the correct part quickly and decide whether the booster or hydraulic system needs further testing.