Stretch-Fit Serpentine Belts: Tools, Zip Ties, and Installation
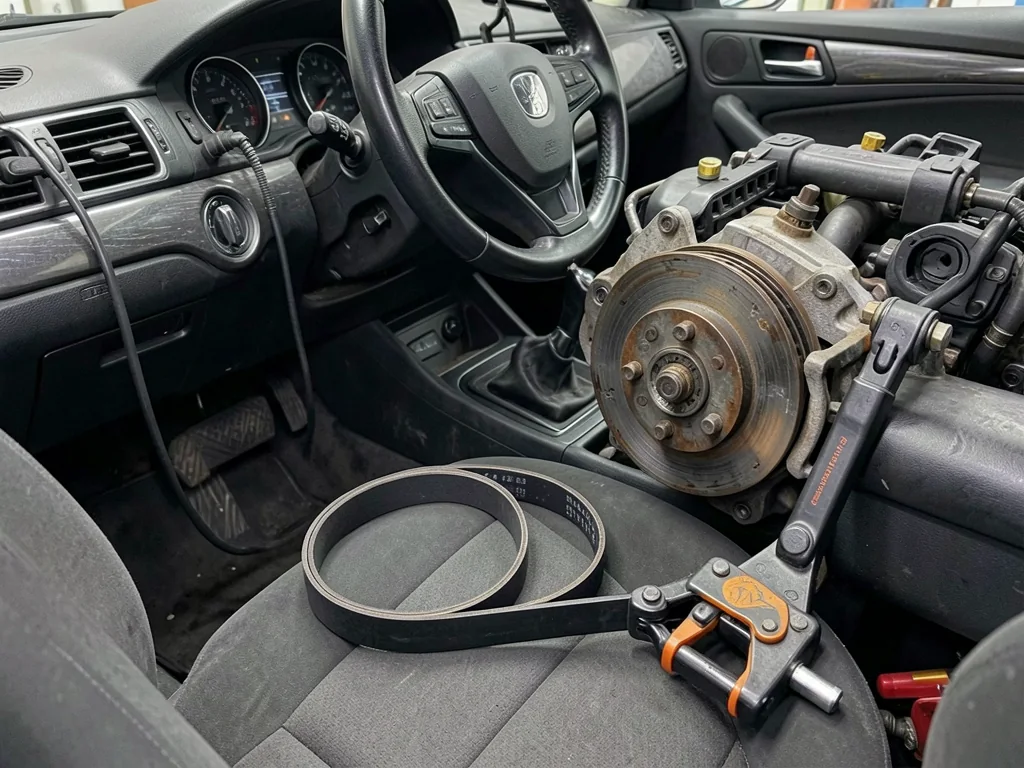
A stretch-fit accessory drive uses elastic construction to hold operating tension without a separate tensioner. Fitting that drive onto an accessory drive pulley differs from a conventional serpentine layout, which is why a zip tie serpentine belt method and a serpentine belt stretch tool both appear in searches. Confirm the application first, then follow the specified installation method and check seating before the engine runs.
Confirm That the Accessory Drive Uses a Stretch-Fit Belt
Stretch-fit accessory hardware uses engineered elasticity to maintain operating tension on a drive designed for that construction. Once seated in the pulley grooves, the elastic belt construction supplies the designed load without a spring-loaded idler. That property belongs to a specified stretch-fit accessory belt for the circuit, not to any ribbed product that looks similar. Forcing a conventional ribbed loop onto a pulley does not convert it into a stretch-fit design, and overstretching a conventional product can leave it under-tensioned, overstressed, or poorly seated.
Absence of a visible tensioner does not by itself prove the engine uses this elastic construction. Some layouts hide the tensioner, share space with a decoupler, or use more than one accessory circuit, so the exact driven accessory still has to be identified. Vehicle-specific service information and the specified application confirm type, belt routing, and which pulleys that circuit must wrap. An engine may run stretch-fit construction on the generator while another conventional drive serves other accessories, and mixing those applications is a common source of wrong-part installation.
Identify the Required Stretch-Fit Belt Installation Tool
A dedicated belt installation tool, often sold as a serpentine belt stretch tool or stretch serpentine belt tool, guides the ribbed loop onto the pulley while controlling its path over the pulley edge. The aid is meant to spread the stretch as the ribs climb into the pulley grooves rather than letting a sharp rim cut or roll them. It does not replace confirmation of routing or pulley alignment; it only manages the last, most constrained movement onto an accessory drive pulley designed for that stretch-fit installation.
Compatibility is not universal. The tool's documented application, the pulley geometry, and the access around the drive all have to match the vehicle and the part being installed. Some kits include an installation aid, but those instructions apply only to the exact drive they describe, not to every stretch-fit accessory belt on every engine. Missing instructions, uncertain tool fit, a pulley shape the aid was not made for, or restricted access around the crankshaft or accessory pulley are reasons to stop and seek professional installation instead of improvising.
Understand the Zip-Tie Method and Its Limits
The zip tie serpentine belt method is a field workaround in which cable ties temporarily hold the ribbed loop against a pulley so it can be guided into place as the pulley turns. At a conceptual level, the ties act as a temporary fence that keeps the ribs from walking off the rim while they find the grooves. That description is not a procedure, and it is not an authorization. A search result or a demonstration does not establish that this approach is approved for a particular vehicle, product, or accessory drive pulley.
Limits show up quickly. Ties can cut into the rubber, leave the loop hanging on a pulley edge, or break and drop fragments into the drive. Pinch hazards exist between the ribs, the pulley, and any fastener that remains in the path. Installation without a dedicated tool is acceptable only when an explicitly documented alternative exists for that exact application. Zip ties are not a universally acceptable substitute for a serpentine belt stretch tool, and using them where the manufacturer specifies a stretch serpentine belt tool can damage the rubber or leave it incorrectly seated.
Check Installation Requirements Before Work Begins
Before any drive component comes off, confirm the belt specification, routing, the published installation procedure, and any rule that a removed stretch-fit accessory belt must be replaced rather than reused. These products may be designated for a single installation because the elastic construction takes a set when first stretched onto the pulleys. Reuse is allowed only when the applicable vehicle instructions say so. Guessing from appearance, length, or rib count is not enough, because two similar-looking parts can have different tension characteristics and different pulley wrap.
Owner observation should wait until the engine is off and cool, and vehicle guidance for preventing unexpected starting should be followed before hands go near the drive. Improvised prying, heating, lubrication, and starter-powered installation are excluded because they can tear the rubber, glaze the ribs, contaminate pulley grooves, or pull a limb into a rotating accessory. Procedures that require difficult access or controlled engine rotation belong with a qualified technician. A stretch-fit accessory already on the engine should not be levered, twisted, or walked onto a pulley with screwdrivers.
Recognize Poor Belt Seating and Know When to Stop
After installation, belt seating is a visual check with the engine still off. Ribs sitting outside their pulley grooves, a loop hanging over a pulley edge, fraying along a rib, or scuffs from an installation tool are warning signs that the stretch-fit accessory is not ready to run. A part that looks centered on one pulley can still be rolled on another accessory drive pulley, so every pulley in that circuit deserves a look. If seating is uncertain or damage is visible, do not start the engine to test whether the rubber will walk into place.
Squealing, chirping, and accessory malfunction after installation warrant inspection, but those noises cannot identify the cause by themselves. A mis-seated drive, a glazed pulley, a failing accessory bearing, and incorrect belt tension can sound similar. Do not touch or adjust a moving belt. When seating is uncertain, damage is visible, or symptoms persist, a professional assessment is the next step. Loss of charging, overheating, or reduced steering assistance can require stopping safely, depending on which accessories the affected circuit drives and how the remaining circuits are arranged.