SPC Adjustable Control Arms: Fitment and Selection
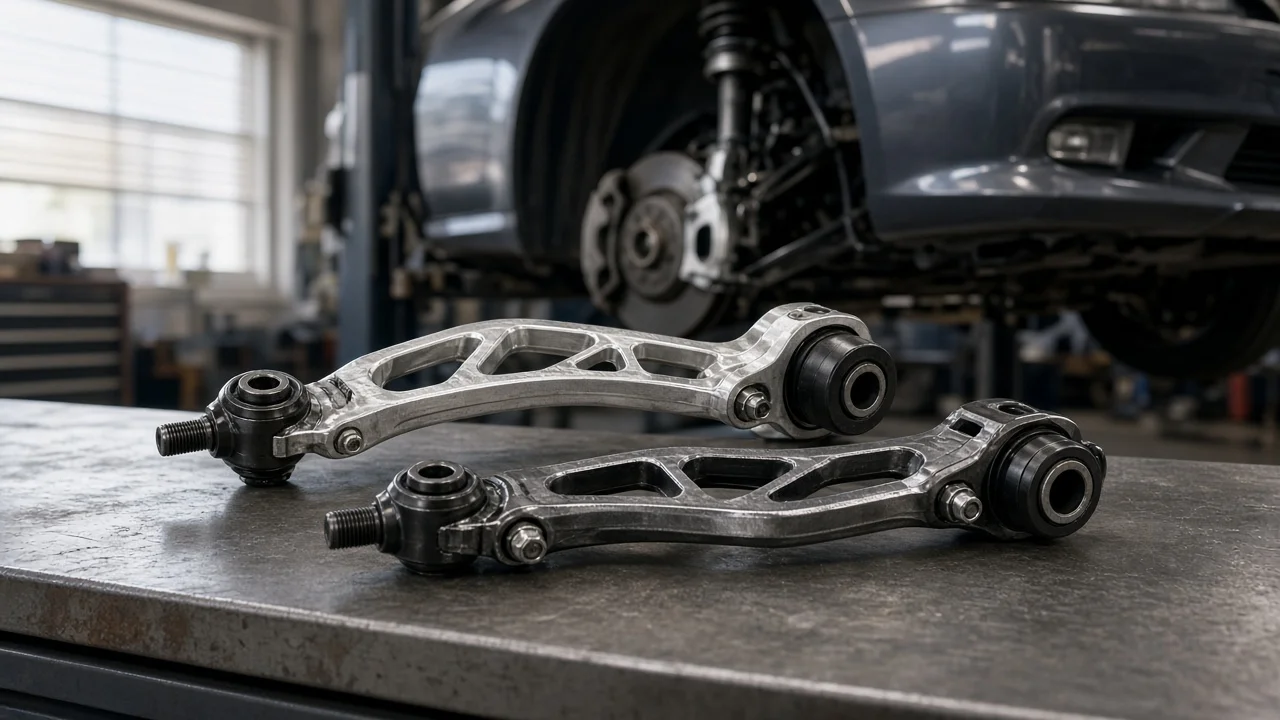
SPC adjustable control arms are meant to restore alignment range that a stock suspension can no longer reach. That usually happens after a lift, a leveling kit, lowering, or other changes that push the wheel outside its factory adjustment window. Choosing the right part number depends less on brand claims and more on matching the arm to your vehicle, your ride height and the specific angle you need to recover. This guide covers that decision, from defining the job to building a short list you can compare.
Define the job the product must do
Start with a measurement, not a symptom. A wheel alignment printout from a shop shows whether camber, caster or both sit outside the specified range. It also shows whether the factory cams or slots are already at their limit. If the stock hardware still has adjustment left, an aftermarket arm may not be needed. Raising the front of a truck or SUV changes the working angle of the upper arm, which can pull camber and caster in directions the original adjusters cannot fully correct. Lowered vehicles can run into the same problem in the opposite direction. A bent or worn arm is a separate case: it calls for replacement, and adjustability is a bonus rather than the reason to buy.
Next, write down your practical constraints. These include how you use the vehicle (daily commuting, towing, off-road articulation or larger tires), whether you will install the arms yourself with proper vehicle support or pay a shop, and how much you can spend on the follow-up alignment. Make the goal specific, such as recovering positive caster after a two-inch level while keeping camber within factory specification. A vague goal like better handling will not help you choose between designs.
Check compatibility
Fitment begins with the exact year, make, model and drivetrain. It often also depends on cab, chassis or suspension package. Control arm designs can differ between two-wheel and four-wheel drive versions, between generations, and between knuckle types within the same model. Several interfaces have to match. The ball joint taper and stud size must fit the knuckle. The pivot sleeves or bushings must fit the frame mounting points. The arm's shape must clear the spring or coilover, brake hose and ABS wiring through full droop and compression. A listing that only names the model, with no years or drivetrain, is not enough to confirm fit.
Ride height matters as much as the vehicle itself. Arms are generally designed for a stated lift or lowering range, and an arm intended for a modest level may not correct the angles or keep clearance at a taller height. Confirm whether the part is an upper or lower arm, which side it fits, and whether it is sold singly or as a pair. Also note any extra parts the kit expects, such as longer brake lines, different sway bar end links or new alignment bolts. Read the installation instructions for that exact part number before ordering. They usually list prerequisites and the fastener specification you will need.
Features that affect the choice
The adjustment mechanism is the main feature to compare. Depending on the design, adjustment may sit at the ball joint end, along the length of the arm or at the pivots. Key questions are which angles the arm adjusts, whether camber and caster can be set independently or change together, how much range is provided, and whether the setting can be changed on the alignment rack with weight on the wheels. SPC Performance has offered more than one adjuster style across its range, so confirm which method a given part number uses rather than assuming. On-vehicle adjustment saves rack time and makes future fine-tuning cheaper.
Joints and bushings set much of the ownership experience. Rubber bushings isolate noise and vibration well. Polyurethane feels firmer and may need lubrication to stay quiet. Spherical or sealed flex joints can allow more articulation but may transmit more road feel. Ask whether the ball joint is replaceable on its own or integrated, which determines whether wear later means a joint or a complete arm. Also consider whether joints are greasable or sealed, and what material and coating the arm uses if the vehicle sees road salt.
Separate evidence from marketing. Labels like heavy-duty, performance or maximum articulation say little without specifics. Useful evidence includes a stated adjustment range, the intended ride height, the joint type and whether it can be serviced, the included hardware, clear instructions and written warranty terms. Product photos cannot confirm clearance, strength or adjustment range.
Limitations and ownership costs
Installing control arms is safety-critical work. Support the vehicle on properly rated stands at the manufacturer's lift points, never on a jack alone. Treat a spring or strut assembly as stored energy and control it according to the vehicle's service procedure. Torque fasteners to the values in the kit instructions or the vehicle's service information, and never guess at them. Some pivot bolts must be final-tightened at normal ride height so the bushings are not preloaded. A professional wheel alignment afterward is part of the job, not an optional extra, so include its cost in the purchase decision.
Plan for ongoing care. Check joint play and boot condition at regular intervals, grease serviceable joints, and recheck alignment after hard impacts or off-road use. Confirm that adjusters are locked as the instructions direct, because a loose adjuster can let alignment drift. Know what these arms cannot do. They will not fix worn tie rod ends, bent knuckles, failing wheel bearings or frame damage. They will not make an excessive drive axle angle acceptable, and a front-only kit does not affect rear alignment. Any worn component should be inspected and replaced on its own merits.
Build a practical shortlist
For each candidate, record the same set of facts so they can be compared directly: confirmed fitment for your exact vehicle, upper or lower position, and whether it comes as a pair; the intended ride height range; which angles it adjusts and by how much; the adjuster type and whether it adjusts on the vehicle; joint and bushing type and whether they can be serviced; whether the ball joint is replaceable; included hardware and any extra parts required; known clearance notes; warranty terms; and total cost including the alignment.
Remove anything that fails fitment or the ride height range first. Rank what remains by how well it covers the specific correction your alignment printout calls for, then by your preferences on maintenance and ride quality. Before buying, ask the alignment shop you plan to use whether they know the adjustment method on your shortlisted arms. Familiarity there tends to mean a quicker, more accurate setup and makes later adjustments easier.