Should You Get a Used Car Inspected After Buying It?
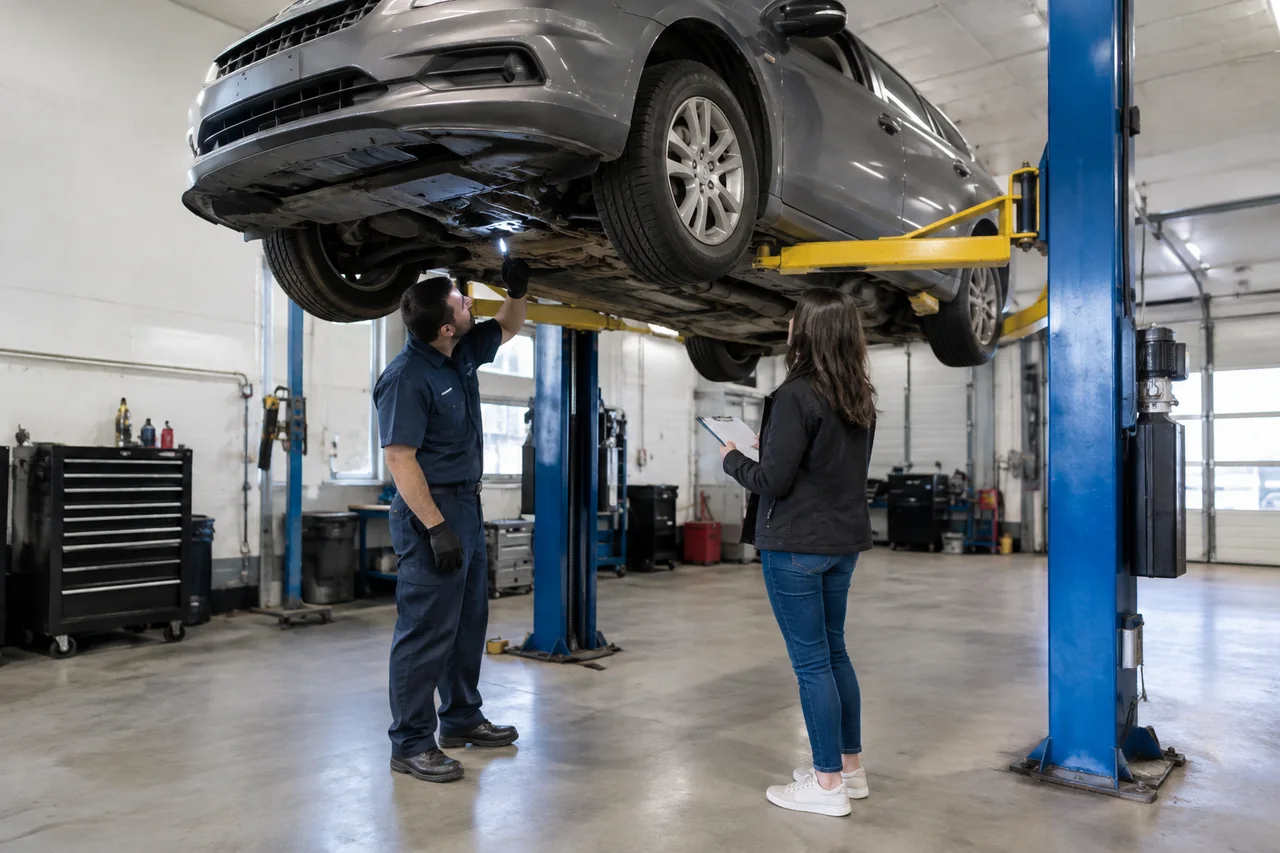
You bought a used car, but do you really know what you're driving? A pre-purchase inspection may have been skipped, rushed, or incomplete. An inspection after buying a used car gives you a trustworthy baseline of mechanical condition. It reveals fluid leaks, brake wear, tire depth, and hidden trouble codes. This early check helps you plan maintenance, address safety issues, and document your car’s true starting point before problems grow.
Why an Inspection After Buying a Used Car Is Still Worth It
A post-purchase inspection establishes a known starting condition when service history is missing or unclear. Even if you checked the car before buying, a second look by a technician you choose—without sale pressure—can catch overlooked details. It confirms what’s actually worn versus what the seller claimed. This mechanical assessment sets your maintenance baseline, letting you schedule repairs and fluid changes with confidence rather than guessing.
Early findings may also support a remaining dealer warranty, return window, or seller agreement. If a defect appears that should have been disclosed, documented evidence from a professional inspection strengthens your position. However, this inspection is about mechanical condition and upkeep, not state safety or emissions stickers or registration requirements. It reduces uncertainty about the car’s current health but cannot guarantee future reliability—parts can still fail later.
What a Thorough Used Car Inspection After Purchase Should Cover
A thorough used car inspection after purchase covers major systems. Brakes: pad thickness, rotor condition, and fluid level. Tires and wheels: tread depth, uneven wear, and damage. Steering and suspension: joints, shocks, and alignment signs. Fluids and leaks: oil, coolant, transmission, brake, and power steering. Belts and hoses: cracks or softness. Battery and charging: voltage and terminal corrosion. Lights and exhaust: function and rust-through.
A road test lets the technician feel noises, vibrations, pulling, shifting quality, and brake response—things you might notice but not diagnose. On a lift, the underbody reveals rust, previous collision repairs, and fluid seepage that owners cannot safely see at home. Ask for a written report with photos and condition notes rather than a verbal summary. Documentation helps you track changes and compare findings later.
Building a Baseline Service Record From Day One
When the service history is unknown, many owners reset basic maintenance items like engine oil and filter. This starts a clean record. Follow the owner’s manual schedule, not generic intervals, because the manufacturer accounts for your engine’s design and operating conditions. Check other fluids and filters—air, cabin, coolant, brake fluid—and decide on replacement based on inspection findings and the manufacturer’s guidance, not guesswork.
Gather existing receipts and look up the maintenance schedule in the owner’s manual. Start a simple log with date and mileage for every service. Do not assume anything was done just because the seller or listing said so, unless there are records. A written history protects you and future owners. Replacing unknown-condition fluids and filters gives you a verified baseline and prevents neglect-related failures.
Warning Lights, Stored Codes, and Early Symptoms to Note
During the first weeks, write down any dashboard warnings, unusual smells, sounds, leaks under the parked car, or changes in how it drives. These notes help a technician reproduce symptoms. A stored or pending trouble code can be scanned, but many codes have manufacturer-specific meanings that must be checked for the exact vehicle before anyone interprets them. A code is evidence to investigate, not a diagnosis.
A code points to a circuit or condition to test, not a confirmed failed part. Proper diagnosis needs professional testing with a scan tool and multimeter. Stop driving and get professional help immediately for flashing warnings, brake problems, overheating, or a smell of fuel. These indicate immediate safety risks. Do not attempt detailed repairs at home without proper knowledge and equipment—unsafe work can cause injury or further damage.
Prioritizing What to Fix First After the Inspection
After the inspection, sort findings into three groups: safety-critical now, needed soon, and monitor over time. Safety-critical includes brake failure risk, severe tire wear, steering or suspension looseness, and visible fluid leaks that could cause loss of control or fire. Needed soon items might be minor leaks, worn belts, or aging battery. Monitor items could be slight seepage or early rust. This priority system prevents overwhelm.
Brakes, tires, steering, suspension, and visible fluid leaks come before cosmetic or comfort items. Ask the shop to explain each recommendation, show the worn part or measurement, and give a written estimate before approving work. If a large or unclear repair is recommended, getting a second opinion is reasonable. A second shop may confirm the need or suggest a less expensive fix. This protects you from unnecessary work.
Paperwork, Warranty Windows, and Recall Status Checks
Review the sales contract, dealer or extended warranty terms, and any deadlines for reporting problems. Keep the inspection report with those documents. For open safety recalls, check the car’s VIN through official manufacturer or government lookup tools, without assuming any recall exists. Recalls are free to fix at dealerships, but only if your VIN is affected. Checking takes minutes and closes a safety gap.
If the inspection finds covered issues, contact the seller or warranty provider promptly and in writing. Describe the problem and include the inspection report. Written communication creates a record. This article is not legal advice. If a dispute arises, read your own documents or seek qualified help. Understanding your warranty and recall status helps you act within time limits and keep your used car safe and reliable.