Replacing Car Door Hinges: A Practical Guide
What Replacing Car Door Hinges Involves
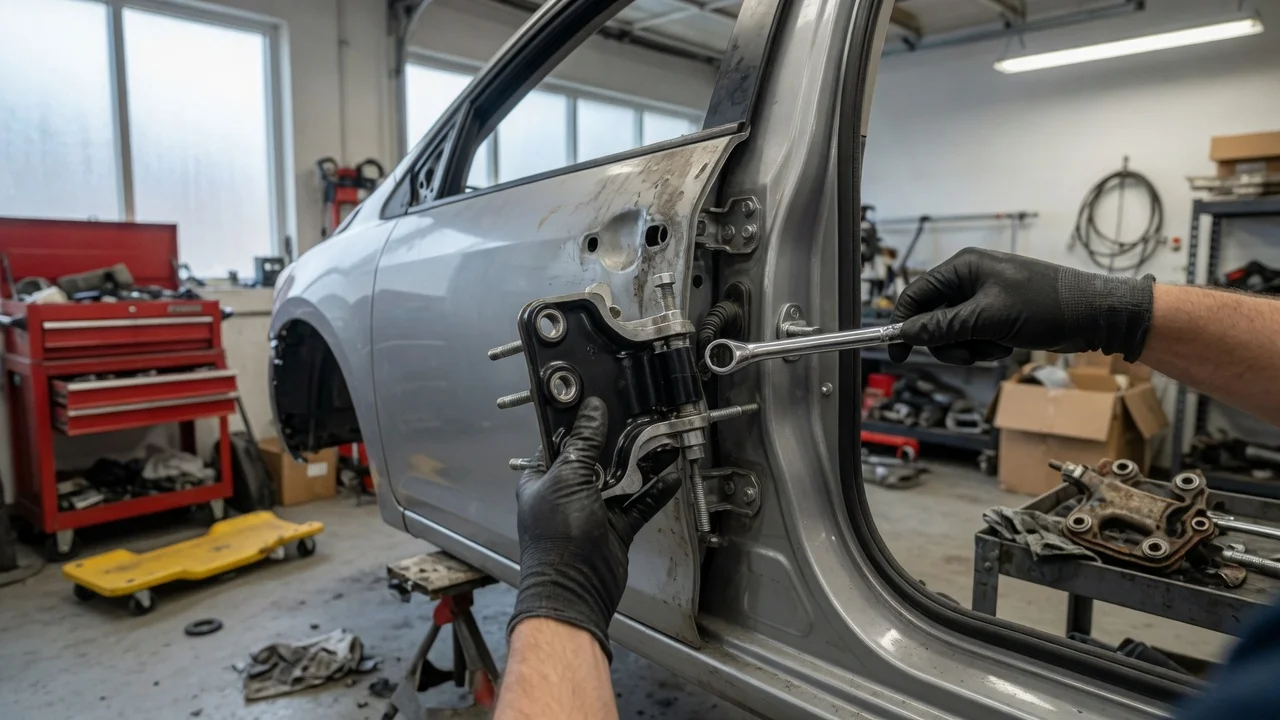
Replacing car door hinges means removing the original hinge assemblies that connect the door to the body or pillar and installing new ones. The job is usually done to correct a sagging door, remove play or noise, or restore proper panel alignment after wear or collision damage. The exact process depends on whether the vehicle uses welded hinges, bolted hinges, or a combination of both, as well as whether the hinge is attached to the door, the A-pillar, or the B-pillar.
When Replacement Is the Right Repair
Hinge replacement is appropriate when the hinge pin or bushing wear cannot be corrected by tightening fasteners or replacing only the pin and bushings. Symptoms that lead owners to this repair include a door that drops when opened, requires lifting to latch, rubs against the striker or surrounding sheet metal, or produces a popping or clicking sound during movement. If the metal around the hinge mounting points is cracked or deformed, the underlying structure must be assessed before installing new hinges.
Variations by Vehicle Design
Many passenger cars use hinges bolted to the door and to the body. Some light trucks and older vehicles use hinges welded to the body with a bolt-on door side. Weld-on hinges require cutting and welding, which is outside the scope of a simple component swap. For bolt-on hinges, the replacement procedure is broadly similar across vehicles, but fastener sizes, access points, and alignment adjustments vary by model, model year, and body style. Check the specific service information for the vehicle before starting.
Tools and Preparation
Typical tools include a socket set with extensions, combination wrenches, a breaker bar for tight fasteners, a jack or adjustable support for the door, and paint-marking or masking tape to record the original hinge position. A helper is useful because a fully assembled door is heavy and awkward to support alone. Disconnect the battery before working if the door contains wiring for power windows, locks, mirrors, or speakers, especially if the door harness must be unplugged to move the door away from the body.
Step-by-Step Replacement for Bolt-On Hinges
Mark the outline of each hinge on the door and body using tape or a fine marker. Support the door with a jack, stand, or helper so it cannot drop when the fasteners are removed. Unplug any door wiring connector if the harness must be separated to create working clearance. Remove the hinge fasteners that connect the hinge to the door or the body, starting with the side that gives the safest controlled movement. Lift the door away from the opening and set it on a padded surface. Unbolt the remaining hinge halves from the door or body. Clean the mounting surfaces and inspect the threads and sheet metal for cracks or distortion. Install the new hinges loosely at first, then align the door before final tightening.
Aligning the Door After Installation
Door alignment affects closing effort, wind noise, water sealing, and body line appearance. With the hinge fasteners snug but not fully tight, close the door gently and check the gaps along the front, rear, and bottom edges. Adjust the hinge position until the door sits flush with adjacent panels and the striker enters cleanly. Tighten the fasteners progressively, then open and close the door several times to confirm there is no binding or movement at the hinges.
Common Mistakes and Material Gaps
A frequent mistake is removing the door without marking the original hinge position, which makes realignment more time-consuming. Another is allowing the door to hang from the remaining hinge while the other side is removed, which can bend the hinge or the mounting area. This guide does not cover welding procedures, hinge pin and bushing-only rebuilds, or repairs to damaged pillar sheet metal. Those tasks require separate instructions and, in the case of structural repair, equipment and skills beyond ordinary component replacement.
Final Checks
After the hinges are replaced and aligned, operate the door through its full travel and check that the latch releases and engages without excessive force. Confirm that the weatherstrip contacts the door evenly and that no fasteners are loose. Reconnect any wiring and verify that all door-mounted electrical functions work. If the door still sags or binds, re-examine the hinge mounting surfaces for hidden damage before considering further adjustment or replacement of related components.