How to Replace a Car Heater Core
Before you start
A heater core replacement is usually a local, hands-on repair. You need a service manual or repair database entry for the exact vehicle because access varies widely between models. On some cars the heater core is reachable behind the instrument panel; on others the dashboard assembly must be removed or the heating and air conditioning housing must be opened. Confirm the replacement part's material, core size, and inlet and outlet positions before beginning.
The main prerequisites are a cold engine, a drain pan for coolant, fresh coolant approved for the vehicle, hose clamp pliers or the correct clamp tools, a socket and wrench set, and replacement O-rings or seals if the service information calls for them. Disconnect the negative battery cable before working near airbag components or electrical connectors. Work in a ventilated area and keep coolant away from pets because ethylene glycol is toxic.
Step-by-step instructions
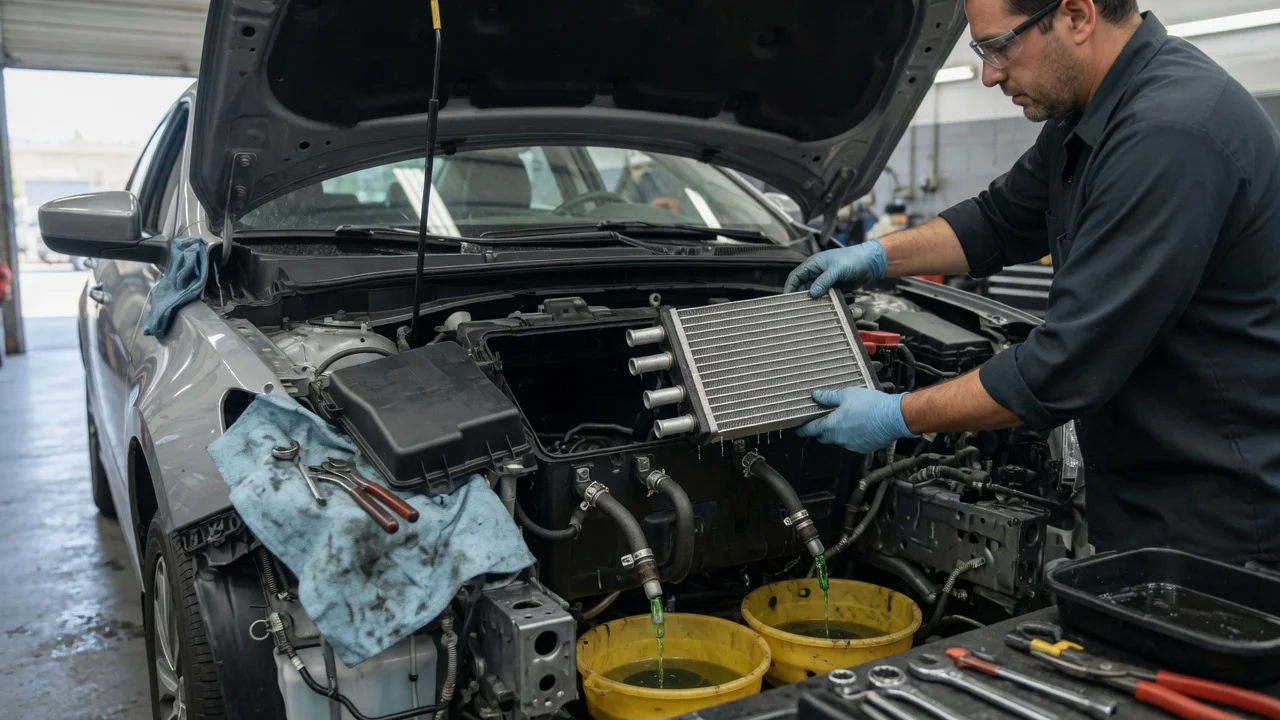
Start with the cooling system at ambient temperature. Place a drain pan under the radiator or cooling system drain point, then remove the pressure cap only after confirming the engine is cool. Drain enough coolant to lower the level below the heater hoses. If the vehicle has a separate drain valve, use it according to the service manual; otherwise, loosen the lower radiator hose connection and collect the fluid.
Locate the two heater hoses at the firewall or heater housing. Mark their positions or take a clear photo before removal so the inlet and outlet are not reversed during reassembly. Loosen the clamps, then twist the hoses gently to break the seal before pulling them off. Some coolant will remain in the core, so keep the drain pan in place.
Remove the access panels, console sections, lower trim, or glove box parts specified for the vehicle. If the heater core is retained by clips, brackets, or a cover plate, remove them without forcing plastic tabs. On systems where the heater core slides out of the housing, pull it straight in the direction shown in the service information. On vehicles that require dashboard removal, support the assembly and label every electrical connector before disconnecting it.
Compare the old and new heater core before installation. Check that the hose fittings, mounting points, and orientation match. Install new seals or O-rings where required, then slide the new core into the housing and refit the retainers. Make sure the core is fully seated and the cover or clamps are secure before moving on.
Reconnect the heater hoses to the correct fittings and tighten the clamps. Jumper clips may remain in place during this step. Refit the interior panels slowly, routing harnesses and cables exactly as they were found. Reconnect the battery last if no other electrical work is required.
Refill the cooling system with the recommended coolant mixture. If the service manual specifies a vacuum fill or bleed procedure, follow that sequence instead of simply filling the reservoir. Leave the pressure cap off during the initial warm-up only where the manual permits it, and watch the coolant level as trapped air escapes.
Check the output
With the engine at operating temperature and the heater set to maximum, check for warm air from the vents. Compare the temperature with an infrared thermometer if available, but do not rely on a single number because vent output varies with engine temperature and airflow. Look for coolant leaks at both hose connections and at the heater housing before replacing any splash shields.
Inspect the interior around the heater case for coolant odor or wet carpet. Monitor the coolant level in the reservoir after the engine cools and top it up only to the marked range. A correctly installed core should produce steady heat without fogging the windshield or leaving a sweet smell in the cabin.
Common problems and next steps
Cool air after replacement often means air is trapped in the cooling system or the heater hoses are reversed. Recheck the hose routing first, then use the bleed procedure specified for the vehicle. If the system still does not produce heat, a blocked control valve or an air door fault may be preventing airflow through the core.
A coolant smell inside the car after installation usually points to a leak at the new O-rings, hose connections, or a damaged fitting. Because the replacement area is tightly packed, inspect from both the engine bay and the footwell side. Clean any spilled coolant from carpet or insulation, since residue can continue to smell even after the leak is fixed.
Heater core replacement cost depends mainly on labor time. A core that is accessible behind a small panel may require only a few hours of work, while a dashboard removal can take much longer and increase the shop bill. The part itself is often modestly priced compared with the labor, but heater core replacement cost also changes with the vehicle, required seals, coolant, and any cabin air filter or evaporator-related work performed at the same time.
For vehicles with multiple heater cores, diagnose which circuit is leaking before ordering parts. Pressure testing or UV dye can help when an external leak is difficult to locate, but these methods require the correct equipment and vehicle-specific test pressure. If the heater core is not leaking and the only symptom is poor heat, rule out engine coolant level, thermostat operation, and water pump flow before replacing the core.