Replace car battery cables
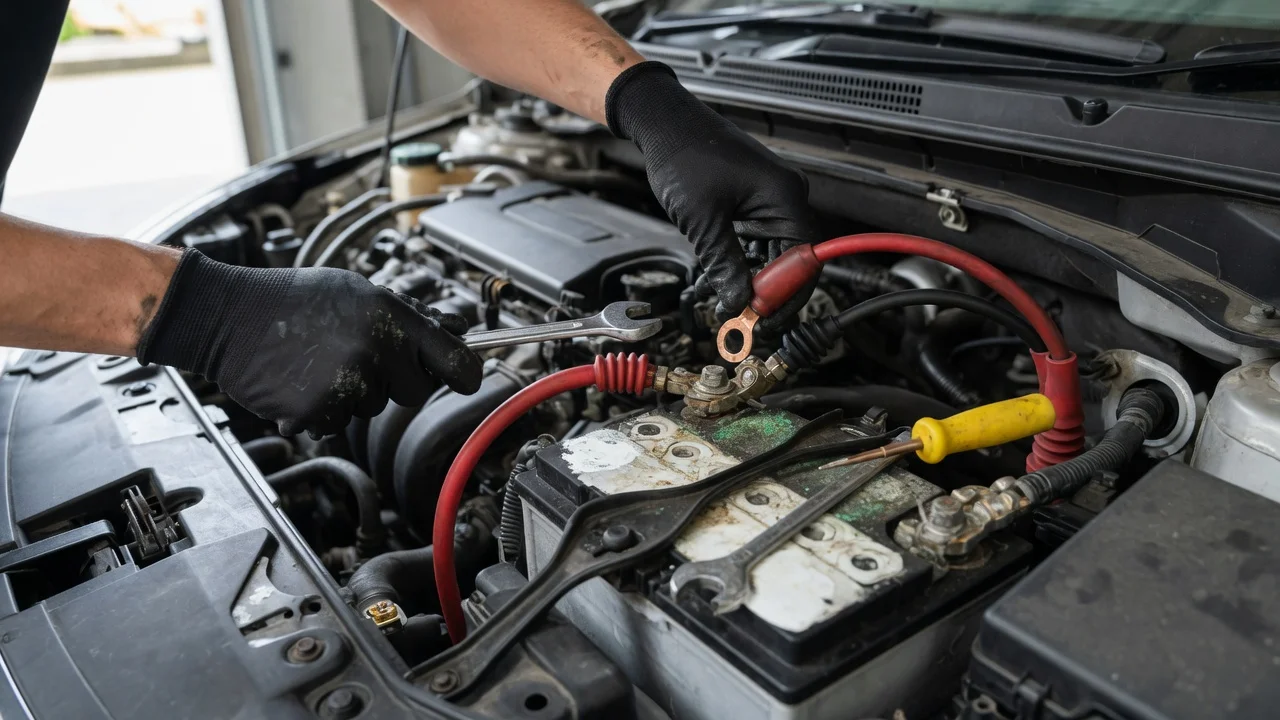
The short answer
On many conventional gasoline and diesel vehicles, replacing a battery cable is a manageable job with basic hand tools. You disconnect the battery, remove the damaged cable, fit a replacement of the same gauge, length and end type, and reconnect it with the negative cable last. Several factors can change this answer, however. These include hybrid or electric powertrains, battery monitoring sensors, cables built into a larger wiring harness, and batteries mounted away from the engine bay. The sections below explain each one.
Conditions that change the job
Hybrid and electric vehicles: These vehicles have a high-voltage system, usually identified by orange cabling, in addition to a conventional 12-volt battery. Only the 12-volt cables are a DIY consideration. Leave high-voltage cables to a qualified technician. Battery monitoring sensors: Many newer vehicles have an electronic sensor on the negative terminal that tracks battery condition. It may be part of the cable or a separate unit. Some vehicles also need the new battery or cable registered with a scan tool. Integrated harness cables: On some models, the positive cable branches to the starter, alternator and fuse box, or contains fusible links. These cables are often sold only as a complete assembly for that model. Remote battery locations: A battery under a seat, in the trunk or under the floor uses longer cable runs routed through the body. That makes access and routing more involved. Terminal style: Top-post and side-post batteries use different cable ends, so they are not interchangeable.
Which of these applies depends on the specific model year, market, trim and powertrain. Two versions of the same model can differ. Before buying parts, confirm the details against service information for your exact vehicle.
Signs a cable needs replacing
Replace a cable if you find any of the following:
Cracked, swollen or melted insulation; Corrosion that has spread under the insulation, often visible as green or white buildup or a stiff, bulging section near the terminal; A terminal that is broken or deformed, or that will no longer clamp tightly; Starting or charging problems that continue after the battery has tested good and the terminals have been cleaned
A voltage drop test can confirm a bad cable before you replace it. This test uses a multimeter to measure voltage lost across the cable while the engine is cranking. Use the acceptable limits given in the service manual for your vehicle.
Terminal repair or full cable replacement
Universal clamp-on terminals can fix a damaged end when the cable itself is in good condition. If corrosion has travelled into the copper strands, cutting off the end and fitting a new terminal usually does not fix the problem. In that case, replace the whole cable. Also inspect the ground straps that connect the engine and body. A failing ground can cause the same symptoms as a bad main cable, and these straps are often overlooked.
Choosing a replacement
Gauge: Match the original wire thickness or go thicker. Never fit a thinner cable. Length: Match the original length so the cable reaches without strain and does not leave excess slack that could rub against hot or moving parts. Ends: Match the terminal type at the battery end and the ring or connector at the other end. Branches and sensors: If the original cable has extra leads or an integrated sensor, the replacement needs them too. Fitment listing: Check that the part is listed for your exact model year, engine and trim, not just the model name.
General replacement steps
1) Turn off the ignition and remove the key or fob from the vehicle. Wear eye protection and gloves. 2) Note or photograph the cable routing and every connection point. 3) Disconnect the negative cable first. This keeps a tool from creating a short if it touches the body while you work on the positive side. 4) Disconnect the positive cable, then remove the cable you are replacing from both ends and from any clips along its route. 5) Clean the battery posts and the mounting points at the other end of the cable. 6) Route the new cable along the original path and secure it in the existing clips. 7) Tighten the connections to the torque specified in the service information. Overtightening can damage the terminals and battery posts. 8) Reconnect the positive cable first and the negative cable last. 9) Start the vehicle and check that it cranks and charges normally.
Disconnecting the battery can erase stored settings such as radio presets, clock time and power window positions. Some vehicles also need an idle or throttle relearn afterward. The owner's manual or service information explains what applies to your vehicle and the reset procedure.
Information not covered here
This guide does not include vehicle-specific cable gauges, lengths, torque values, part numbers, prices or labor times, because no model-specific data was supplied. You can get those figures from service information for your vehicle, a parts supplier's fitment lookup, or a dealer parts department.