Repairing a Broken Ignition Coil Connector or Wiring Harness
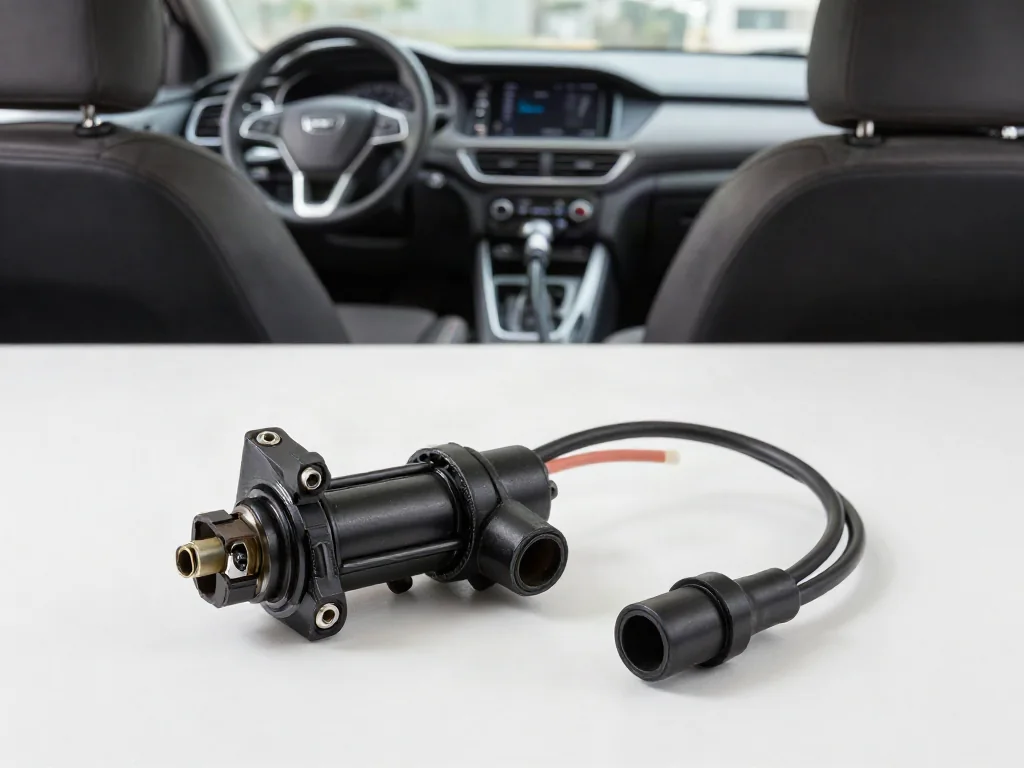
An ignition coil electrical connector is the plug that joins the coil to its wiring harness. A broken clip, corroded terminal, melted housing, or damaged ignition coil harness can interrupt spark without proving the coil itself has failed. Inspecting the connector, judging how far damage extends, identifying a matching repair kit or pigtail, and following a safe replacement sequence all require vehicle-specific confirmation, which Toyota examples later illustrate without implying one plug fits every application.
Locate the Connector and Understand Its Role
The connector for an ignition coil is a small electrical interface, not the coil body. Its connector housing holds the terminals, a locking tab keeps the plug mated, seals keep moisture out, and the attached wires continue into the ignition coil wiring harness. Distinguishing those parts matters because a failed clip, a pushed-back terminal, or a cracked housing can interrupt coil current even when the coil pack looks undamaged. The plug simply completes the circuit that commands and powers the coil.
Terminal count, connector shape, keying, and pin assignment depend on the vehicle and engine, so ignition coil connectors are not interchangeable by appearance alone. Some coils use a two-terminal power and ground path; others add a control or feedback circuit. A loose ignition coil connector plug can drop voltage or open the circuit and produce a misfire, yet rough running by itself does not identify the faulty component. The same symptoms can come from the coil, spark plug, injector, or engine control issues, so the connector is one inspection point rather than a diagnosis.
Inspect Broken Clips, Corrosion, and Heat Damage Safely
Limit owner inspection to parts you can see with the engine off and cool. Follow vehicle-specific electrical isolation guidance before touching any ignition coil electrical connector, because residual energy and hot surfaces remain hazards even after shutdown. Look for a broken locking tab, cracked connector housing, a terminal that has backed out of its cavity, a torn or missing connector seal, green or white terminal corrosion, or melted plastic around the plug. Those visible clues explain why the connection may not stay seated or may overheat at the contact.
An ignition coil connector clip that is broken still requires a retention and terminal check even if the plug looks pushed home. Without the lock, vibration can open the circuit intermittently while the housing appears seated. Melting or repeated corrosion is a symptom that needs a cause, such as a high-resistance terminal, oil contamination, or heat from the coil well, not just a new shell. Do not unplug a live connector, improvise probing into cavities, or treat tape and adhesive as a permanent lock. Those shortcuts can enlarge damage and leave the circuit unreliable.
Check How Far Damage Extends Into the Coil Harness
After the plug itself, inspect as much of the wiring harness for the ignition coil as you can see without forcing branches apart. Look for chafed wire insulation, exposed conductors, brittle coverings near heat sources, strained takeoffs, and broken clips or supports that once provided strain relief. Harness routing along the valve cover, through a loom, or beside a hot exhaust path is a common chafe zone. A connector that is cracked or melted does not prove the rest of the ignition coil harness is sound, because damage often continues under tape, conduit, or the next branch.
When damage extends past an accessible plug, the fault is intermittent, or the cause is still unclear, stop at visual inspection and have the circuit and terminals tested professionally. Hidden opens, high resistance, and poor terminal retention will not show on a glance. Stop driving and seek assistance if the engine shakes severely, the malfunction indicator flashes, or you notice smoke or a burning smell. Those signs can indicate an active misfire or an electrical heat event that a replacement pigtail will not contain. Continuing to drive in that condition can enlarge harness damage and affect catalytic components.
Identify the Correct Connector Repair Parts
An ignition coil connector repair kit is not a single standard package. Some kits contain only a connector housing and a new locking tab; others include terminals, seals, and a short wired pigtail already crimped. Check the actual contents before assuming the kit will finish the job. Housing-only parts cannot restore a burned cavity or a stretched conductor, and a pigtail cannot repair a harness break farther upstream. Match the parts to the vehicle, engine, connector keying, terminal design, and seal style using service information rather than a similar-looking plug from another engine.
The damage assessment decides the repair path. A broken clip with intact terminals may need only a housing. Displaced or corroded pins may need terminal replacement. Heat-damaged wire insulation near the plug often calls for a replacement pigtail, while damage deeper in the ignition coil harness requires broader harness work. Confirm cavity assignments from vehicle-specific wiring information. Wire colors and physical fit cannot establish compatibility, because similar housings can reverse pin assignment or use different terminal retention features. Installing the wrong keyed plug can leave a coil unpowered even when the connector clicks into place.
Follow a Safe Connector Replacement Sequence
Ignition coil connector replacement starts with identifying the exact plug and obtaining the applicable service procedure, then following its electrical isolation requirements. Do not treat a generic how-to as a substitute for that procedure. Before releasing the connector, document orientation and wire positions so the replacement housing or pigtail can be aligned later, but notes are not a substitute for a wiring diagram. Release the specified locks and secondary retainers; do not pull on the wires. If the housing is brittle or a terminal is already damaged, stop rather than forcing the plug apart.
Replacing an ignition coil connector at the terminal or splice level belongs in a professional workflow. Specified extraction tools, approved connections, sealing, and strain relief are required so the repair does not recreate an open or a high-resistance joint. After assembly, confirm full seating, lock engagement, and secure harness routing that does not restretch the new branch. If misfire or rough running continues, professional verification is still needed. Clearing a stored code does not confirm the repair, because the code only recorded an event; it does not prove the connector, coil, or harness is now sound.
Verify Toyota Application Details Before Replacement
Toyota ignition coil connector replacement is a useful example of why year, model, engine, and VIN-based parts information must be checked before ordering. One Toyota connector does not fit every Toyota, and coil-on-plug layouts vary by engine family. Confirm the original connector housing, terminal arrangement, locking mechanism, and the applicable Toyota service procedure before selecting a kit. An apparently simple broken-tab repair can still hide a backed-out terminal or a chafe in the coil harness, so the clip is the starting observation, not the complete repair plan.
If diagnostic codes appear during a Toyota coil-circuit complaint, verify what those codes mean for that specific vehicle before treating them as a connector verdict. Manufacturer-dependent definitions require the matching service information, and a stored misfire or coil-circuit code is evidence to interpret, not proof that the ignition coil connector has failed. The coil, plug, harness, and control circuit remain possible. Replacing the connector without that confirmation can leave the original fault in place. Use the Toyota case only as a reminder that application details, not a generic plug shape, decide the correct repair.