Repair a brake fluid leak
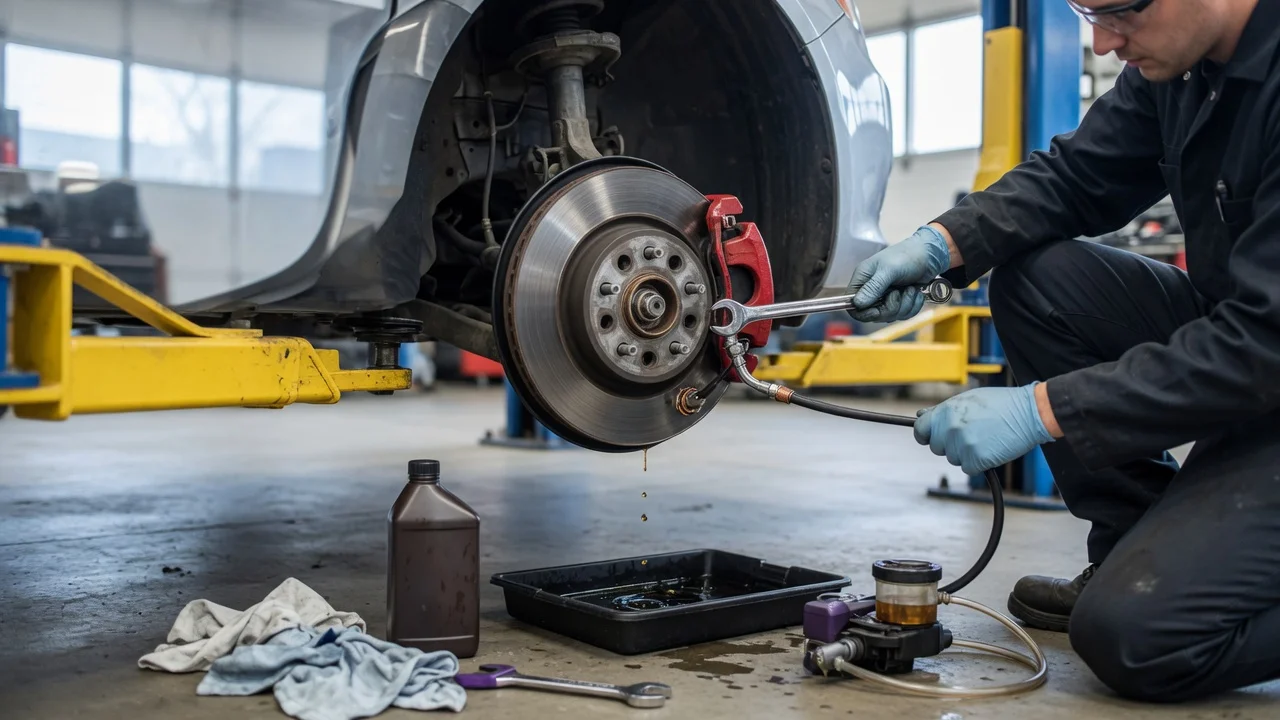
What actually fixes a brake fluid leak
A brake fluid leak is repaired by locating the exact opening in the hydraulic circuit, replacing or resealing that failed part, then filling and bleeding the system until the pedal is firm and the reservoir level stays stable. The job is finished only when the circuit holds fluid under the conditions the brakes actually use: a static wet spot after a spill is not the same as fluid leaving a pressurized line, hose, caliper, wheel cylinder, master cylinder, or modulator.
Scope matters. This guide covers the service-brake hydraulic circuit that uses the fluid in the brake reservoir. On some vehicles that reservoir also feeds a hydraulic clutch; a drop in level can come from the clutch side. Power-steering fluid, engine oil, and coolant can stain the same inner-fender and underbody areas, so a drip near a brake line is not automatically brake fluid. Layout also varies by model year, market, and configuration: disc or drum at each axle, vacuum or hydraulic booster, and whether an anti-lock braking system (ABS) hydraulic control unit sits in the circuit. Those differences change where you look and which bleed sequence the vehicle requires. This article does not give torque values, line pressures, or a fluid specification; those belong on the reservoir cap and in the procedure for that vehicle.
What you are seeing, and what it does not prove yet
A leak is an observation: fluid missing from the reservoir, wetness or staining on a hydraulic part, a soft or sinking pedal, a pull, or a warning lamp tied to low fluid or ABS. Each of those can have more than one cause. A stored fault code names a circuit or sensor condition; it is not proof that a particular seal, hose, or module must be replaced.
Separate what you can see from the failure you infer. A crusted union, a damp hose, or a wet caliper boot is a location clue. Pedal feel and a lamp tell you the hydraulic system is affected; they do not, by themselves, identify the opening. Fluid on the booster housing or a damp driver's-side carpet can mean the master cylinder is leaking into the booster rather than dripping onto the ground. A falling reservoir with a dry engine bay can still be an external leak at a wheel, an internal master-cylinder bypass, or, on shared-reservoir layouts, clutch-side loss.
Checks that distinguish the likely sources
Work from confirmation of the fluid, then the circuit, then the joint. Clean and dry the suspected area before you retest; leftover residue will mislead you. Interpret any electronic reading only under the operating conditions that code or test was written for. Definitions and pass/fail criteria are vehicle- and system-specific and are not supplied here, so treat a code as a pointer to a circuit, not as a parts list.
Confirm it is brake fluid from that reservoir: the level is down, the wetness is on the hydraulic path, and the fluid matches the appearance of what is in the reservoir. If the reservoir is full and stable, the stain may be a spill, another fluid, or an old leak that has already stopped. Note which end of the vehicle and which corner is wet. Dual-circuit brakes are split front-to-rear or diagonally depending on the vehicle; a wet left-front hose implicates that hose, that caliper or wheel cylinder, and the line feeding them, not the opposite unused corner. With the vehicle safely supported, clean the master cylinder, booster face, lines, hoses, unions, bleed screws, and the caliper or wheel cylinder. Dry them, apply the pedal several times, and reinspect immediately. Fresh wetness at one joint after that exercise is stronger evidence than a stained underbody. Inspect the master-cylinder reservoir, the body-to-housing seals, the line fittings, and the rear of the booster. Wetness at the booster or inside the car with little or no drip under the engine bay supports an internal master-cylinder leak into the booster. A cracked or poorly seated reservoir can lose fluid with almost no pressure in the lines. At each wheel, check the hose (including crimps and the inner face that rubs the tire or suspension), the steel line and flare, the banjo or junction, the bleed screw, and the piston boot or wheel-cylinder boots. A swollen, cracked, or weeping hose and a wet boot are different failures even though both empty the same circuit. If the vehicle has ABS, inspect the hydraulic control unit, its fittings, and the lines leaving it. Seepage there can drop the reservoir without a wet caliper. An ABS lamp or a communication fault with the module does not, on its own, mean the unit is the leak source; confirm wetness or a failed pressure-hold test for that hardware before replacing it. If no external wetness appears after a clean-and-retest, consider internal bypass in the master cylinder (pedal slowly sinks with the brakes applied and the vehicle stationary) or a leak that only shows when the suspension is loaded or the hose is flexed. Those still need a physical source; do not skip the wheel-off inspection.
What each result supports is narrow. Repeatable wetness at one fitting after a clean pedal application supports that joint or the part attached to it. A sinking pedal with a dry circuit supports internal master-cylinder bypass or, less often, a caliper piston that is not holding. A level drop with a wet clutch slave or hose, on a shared reservoir, supports clutch-side loss. A code without wetness leaves the leak location unresolved. If you cannot reproduce wetness and cannot confirm a falling level, you do not yet have a leak diagnosis.
Repair once the source is identified
Replace the failed component as a serviceable unit: a damaged hose, a corroded or chafed steel line, a leaking caliper or wheel cylinder, a weeping master cylinder, a cracked reservoir, or a leaking hydraulic control unit, according to what the inspection showed. Resealing is appropriate only where that vehicle’s repair method is a seal or boot kit for that part; a scored piston, a rust-through line, or a failed hose crimp is not a kit job. Fit new copper or specified sealing washers on banjo fittings when those washers are part of the joint. Tighten fittings to the vehicle’s specification; there is no universal torque given here.
Use only the brake fluid type marked on the reservoir cap or in that vehicle’s service information. Do not mix types unless that documentation allows it. Fill the reservoir, bleed the circuit that was opened using the sequence and method specified for that model (manual, pressure, or vacuum bleeding, and any ABS scan-tool bleed if the modulator was opened or ran dry). Air left in the circuit will mimic a leak at the pedal even after the joint is sealed.
After bleeding, hold a firm pedal and reinspect every disturbed joint and the original wet area. Recheck the reservoir after the fluid has settled and after a short series of moderate stops in a safe place. The repair holds when the level is stable, the joints stay dry, and the pedal does not fade. Until that is true, the vehicle’s service brakes are not restored. Capture and dispose of used fluid as local rules require; brake fluid damages paint, so keep it off bodywork while you work.
What this guide cannot specify
Bleed order, line-flare type, hose routing, whether the master cylinder is rebuilt or replaced, and whether an ABS modulator needs a scan-tool procedure all depend on the vehicle’s model year, brake configuration, and market. Fault-code definitions and the operating conditions required to interpret pressures or lamp tests are likewise system-specific and are not included here. If those details are missing for the vehicle in front of you, obtain them before opening the hydraulic circuit.