Remote Electric Brake Booster: Selection and Fitment Guide
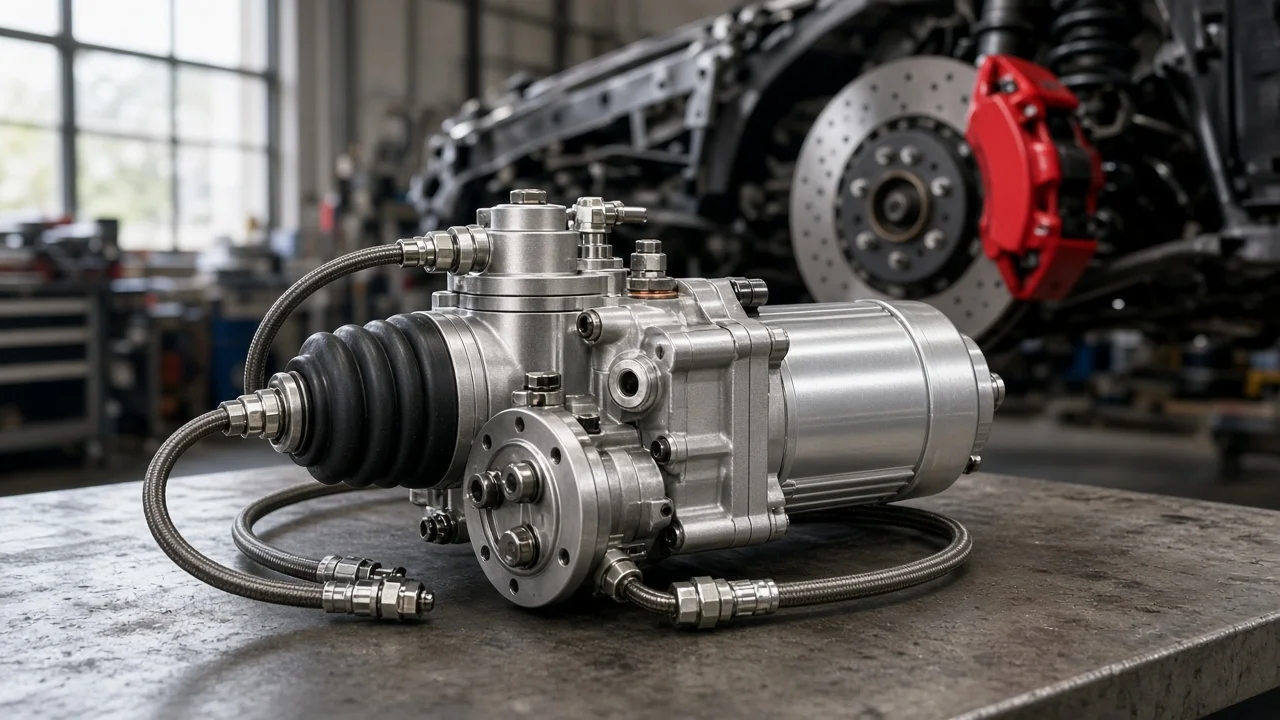
A remote electric brake booster provides power assist without engine vacuum, and it mounts away from the firewall wherever the chassis has room. It is a common answer for engine swaps, electric conversions, diesels and cars with crowded engine bays. Choosing one well depends less on the unit itself than on how it matches your master cylinder, pedal ratio, brake lines and electrical system. This guide covers what to check before buying and what a booster cannot fix.
Define the job the product must do
Start with the reason the vehicle needs assist. Electric conversions have no engine vacuum at all. Many diesels lack a usable vacuum source unless they carry a mechanical pump. Engines with long-duration camshafts can produce too little vacuum at idle, and boosted engines lose vacuum under load. A remote layout also helps when headers, a wide engine or a steering shaft leave no room for a conventional booster on the firewall. This is a passenger-vehicle brake component. It is unrelated to the electric brake controllers used for trailers.
Next, describe how the vehicle will be used and what limits the installation. A lightly driven cruiser, a daily driver, a tow vehicle and a car that sees track days place very different demands on assist, reserve capacity and heat management. Record the curb weight and the front and rear brake layout. Note whether the pedal assembly is manual or originally power-assisted. Find where a unit could mount with protection from road spray, debris and exhaust heat. Leave room for line routing and service access, because a booster tucked behind a crossmember still has to be bled and inspected.
Check compatibility
Most remote units sit in the hydraulic circuit rather than bolting to the pedal pushrod. The master cylinder pressurizes the booster's input side, and the booster multiplies that into output pressure for the brakes. That makes the hydraulic interface the first fitment check. Find out how many input and output circuits the unit has, its port thread sizes, and whether the fittings use inverted flare or bubble flare seats. Confirm that the design keeps the front and rear, or diagonal, circuits separate so a leak in one does not take out all braking. Also note where residual pressure valves and the proportioning valve must sit relative to the booster.
The manufacturer usually specifies a master cylinder bore range and pedal ratio to go with the unit. A bore that is too large produces a hard pedal. One that is too small gives long pedal travel and can run out of volume before the calipers and wheel cylinders are fully applied. Total fluid demand depends on caliper piston area, drum wheel cylinder size and line length. Compare those against the application notes rather than relying on a generic vehicle fitment claim. If the documentation does not cover your brake combination, ask the supplier before ordering.
The electrical side matters just as much. Check the operating voltage, peak and running current draw, recommended fuse and relay ratings, and wire gauge. Also check whether the unit needs an ignition-switched feed or a brake light switch signal. In an electric conversion, confirm that the 12-volt supply or DC-DC converter can carry the booster alongside lights, fans and other loads. Some units also specify a mounting orientation, for example to keep bleed screws at the highest point so air can escape.
Features that affect the choice
Remote electric boosters fall into two broad designs. One pairs an electric vacuum pump and reservoir with a vacuum booster, replacing the missing engine vacuum. The approach is familiar and widely understood, but the pump cycles audibly and the reservoir needs space. The other is electro-hydraulic, using an electric pump with an accumulator or a motor-driven actuator to build pressure directly. These units tend to be more compact. However, they rely more heavily on their own electronics and sensors, and a repair may mean replacing an assembly rather than a single part.
The features worth paying for are the ones that change safety or serviceability. Reserve capacity, whether stored vacuum or accumulator pressure, determines how many assisted stops remain if power is lost. A fault output or warning light tells the driver when assist has failed. Sealed connectors and enclosures matter for an underbody location. Adjustable switch points, replaceable pumps and check valves, and complete wiring and plumbing diagrams all make the unit easier to live with.
Treat labels such as universal fit, bolt-on or maximum boost with caution unless specifics back them up. Meaningful evidence includes published current draw, output pressure at a stated input pressure, port specifications, mounting dimensions, environmental ratings, warranty terms, and the availability of rebuild kits or replacement parts. A seller who can supply those details is easier to plan around than one offering only claims.
Limitations and ownership costs
Budget for more than the booster. A typical installation needs brackets, new hard lines and fittings, a relay and fuse holder, and wiring. It may also need a different master cylinder, plus fresh brake fluid of the type the manufacturer approves. Check seal compatibility before using silicone-based fluid, since many systems are not designed for it. Bleeding takes longer with an extra component in the circuit, and some units require a specific sequence or a powered bleeding procedure. Make the first test drive at low speed in a safe area before normal driving.
A booster only multiplies pedal effort. It does not add thermal capacity, correct a poor front-to-rear balance or compensate for worn parts. Before installation, measure brake pad friction material and brake rotor thickness against the vehicle-specific wear limits in the service information. Check calipers for sticking pistons or slides, and replace old or contaminated brake fluid. Undersized brakes remain undersized with assist; they simply reach their limits with less effort.
Ongoing costs are modest but real. They include periodic fluid changes, inspections for leaks and chafed lines, cleaning and protecting electrical connectors, and eventual pump or check valve replacement. Stop driving and have a qualified brake technician inspect the system if any of these occur: the warning light comes on, the pump runs continuously, the pedal sinks or turns suddenly hard, or fluid appears around the unit. Depending on the design, the brakes may still apply without assist. Pedal effort rises sharply, though, and stopping distances can increase.
Build a practical shortlist
Narrow the field by eliminating units that fail a hard requirement, then compare the rest on documentation and support. A short written checklist keeps the comparison honest and makes conversations with suppliers more productive.
First, confirm the power source: vacuum pump system or electro-hydraulic, and whether your 12-volt supply can carry it. Second, confirm hydraulic fitment: circuit count, separate front and rear or diagonal circuits, port threads and flare type, and the recommended master cylinder bore and pedal ratio. Third, confirm physical fitment: dimensions, mounting orientation, clearance from heat and debris, and access to bleed screws. Fourth, check safety features: reserve capacity, a failure warning and documented behavior when power is lost. Fifth, check support: wiring and plumbing diagrams, application notes for your brake combination, warranty and parts availability.
Any unit that leaves one of these questions unanswered should drop down the list until the supplier fills the gap. Once a candidate passes every item, plan the installation around the vehicle's service information. Treat the first drives as a test of the whole brake system, not just the booster.