Rear Axle Shaft Replacement: How to Replace the Shaft
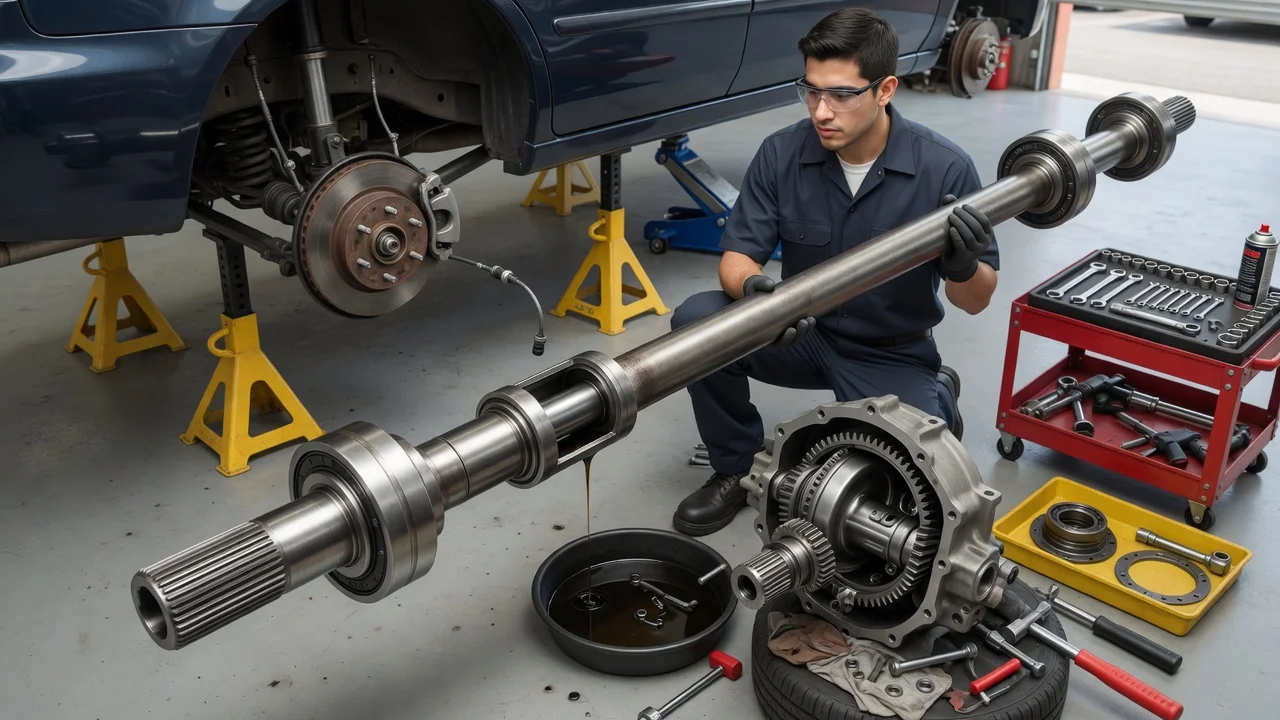
Rear axle shaft replacement rewards careful diagnosis and patient work. A bent, broken or worn shaft can cause clunks, vibration, gear oil leaks or a wheel that no longer drives the vehicle, but bearings, seals and differential parts can produce the same symptoms. This guide explains how to replace a rear axle shaft, with notes for Jeep Wrangler JK owners, and how to confirm the job was done right.
Confirm the part and repair scope
Before ordering a shaft, confirm what has actually failed. A snapped or twisted shaft usually leaves one wheel unable to drive the vehicle. A worn bearing surface, leaking seal or damaged spline more often shows up as noise, gear oil on the inside of the wheel or brake parts, or play at the hub. With the vehicle safely raised and supported, rock each rear wheel in and out and up and down, spin it by hand while listening for roughness, and compare both sides. If the shaft is straight and its bearing surface and splines are undamaged, the real fault may be a bearing or seal. That repair still requires pulling the shaft, but not buying a new one.
Replacement shafts are specific to the axle model, side, length, spline count, wheel bolt pattern and bearing arrangement. Some vehicles also use different shafts depending on brake package or differential type. Match the part to your exact vehicle configuration using the VIN, the axle identification tag or the original build information rather than the model name alone. For a Jeep JK rear axle shaft replacement, do not assume parts from another Wrangler generation will fit. Check the service history for regearing, aftermarket axles or upgraded shafts, because these change which replacement is correct.
Prepare tools and safe access
Before starting, identify how your axle retains the shaft, because it dictates the whole procedure. On a C-clip axle, a clip at the inner end of the shaft, inside the differential, holds it in place, so the differential cover must come off. On a bolted-retainer axle, a plate behind the brake assembly holds the shaft, and the bearing is pressed onto the shaft itself. The Jeep JK rear axle uses the bolted-retainer design. Get the factory service information for your vehicle, which gives the torque values, gear oil specification and fill procedure. Do not rely on generic numbers.
Typical tools include: • A floor jack, rated jack stands and wheel chocks; • Sockets and a torque wrench; • A slide hammer or axle puller; • A seal driver; • A drain pan, brake cleaner and shop towels; • New axle seals and the correct gear oil; • A new differential cover gasket or the sealant specified for a C-clip axle; If the new shaft does not come with a bearing installed, pressing one on requires a hydraulic press and the correct adapters. Many owners have a machine shop do that step.
This job involves brake components, wheel speed sensor wiring and working under a raised vehicle. Owners who are uncomfortable with brake work, pressing bearings or supporting a vehicle securely should leave it to a professional. Work on level ground. Chock the front wheels, and support the axle on stands rather than the jack. The parking brake will usually need to be released to remove the rear rotor or drum, so the chocks and stands must hold the vehicle on their own.
Remove without avoidable damage
Remove the wheel, then the brake caliper. Hang the caliper with wire or a strap so it does not dangle from its hose. Remove the caliper bracket if it blocks the rotor, then remove the rotor or drum. If the wheel speed sensor sits near the axle end or reads a tone ring on the shaft, unplug and remove the sensor before pulling the shaft so it is not struck or bent. Note how the parking brake hardware is arranged, and photograph it if it has to be disturbed.
On a C-clip axle, drain the gear oil and remove the differential cover. Remove the cross-shaft retaining bolt and slide out the cross shaft. Push the axle shaft inward slightly, then remove the C-clip from its groove and draw the shaft straight out. On a bolted-retainer axle such as the JK, reach through the access hole in the axle flange to remove the retainer fasteners. Then pull the shaft and bearing out together with a slide hammer or puller. With either design, keep the shaft level as it comes out. Dragging the splines across the inner seal or the housing bore can damage surfaces the new shaft relies on.
Once the shaft is out, inspect the housing bore, the seal area and the differential side gear splines, and clean out any metal debris or contaminated oil. Lay the old and new shafts side by side and confirm the length, spline count, flange and bearing arrangement match before going further. Any mismatch means the wrong part, and installing it anyway risks damaging the differential.
Install and restore the system
Fit a new axle seal squarely with a seal driver and lubricate its lip as the instructions direct. If your design uses a pressed bearing, retainer or tone ring that has to be transferred to the new shaft, follow the part manufacturer's procedure and orientation exactly. Slide the shaft in level, supporting its weight so the splines do not drag the seal. Rotate the shaft gently until the splines engage the side gear; never hammer it home.
On a C-clip axle, install the clip in its groove and pull the shaft outward so the clip seats in the side gear. Then reinstall the cross shaft and its retaining bolt, using thread locker if the service information calls for it, and seal the cover. On a bolted-retainer axle, tighten the retainer fasteners to the manufacturer's specifications. Fill the axle with the specified gear oil to the correct level. Add the friction modifier if your limited-slip differential requires it.
Reinstall the wheel speed sensor and route its wiring away from moving parts. Then refit the rotor or drum, caliper bracket and caliper, tightening each fastener to its specified torque. Adjust the parking brake as the service procedure describes. Mount the wheel and torque the lug nuts to specification. Pump the brake pedal until it is firm before moving the vehicle, because the caliper pistons need to reseat against the pads.
Check the completed work
Before lowering the vehicle, spin the wheel by hand. It should turn smoothly with only normal brake drag and no in-and-out play. Recheck the gear oil level at the fill plug and look for wetness at the seal, the retainer area and the differential cover. Once the vehicle is on the ground, confirm the brake pedal feels firm and the parking brake holds.
Road test at low speed first. Listen for clunks, grinding or humming, and feel for vibration under acceleration and coasting. Watch for ABS or traction control warning lights. After the drive, check again for leaks and recheck lug nut torque. Use these signs to guide further diagnosis: • A warning light usually points to sensor damage, poor seating or wiring. • A persistent noise suggests a bearing or differential problem. • Fresh oil at the axle end means the seal was not seated correctly. If the vehicle tows or regularly drives off-road or in water, include the axle ends in routine inspections.