Rear Adjustable Control Arms: Fitment and Selection
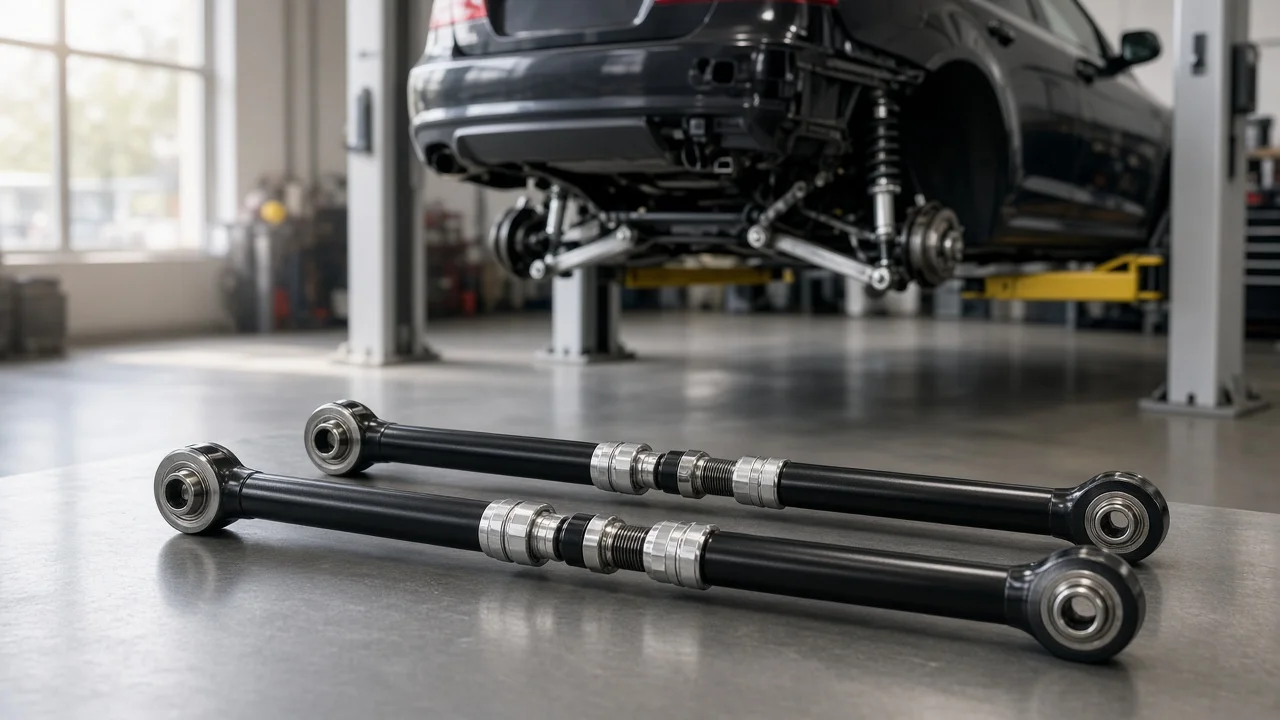
Rear adjustable control arms let you change suspension geometry that factory arms hold fixed. Owners usually buy them to bring camber or toe back into range after lowering, lifting or other suspension changes. The right set depends less on brand claims than on three things: which arm your rear suspension uses, how it mounts, and what the adjustment has to correct. This guide covers that decision, from defining the problem to building a shortlist.
Define the job the product must do
Start with the problem, not the part. Common reasons for buying adjustable rear arms include excessive negative camber after lowering springs or coilovers, inner-edge tire wear tied to that camber, and an alignment report showing rear camber or toe out of range with no factory adjustment left. On solid-axle trucks and older four-link cars, owners often want to correct axle position or pinion angle after a lift or drop. If your arms are only worn and the geometry is otherwise within specification, a quality fixed replacement arm may do the job for less money and less upkeep.
Next, identify which measurement is wrong and which arm controls it. Rear suspension designs vary widely. A multi-link independent setup may use a separate upper camber arm, a toe link and a trailing arm. A double-wishbone design adjusts camber through its upper or lower arm. A solid axle on a four-link uses upper and lower arms that set axle location and pinion angle. Buy the arm that adjusts the parameter you need, and be honest about how the vehicle is used. A daily driver on salted roads, a towing truck and a weekend track car call for different joint and bushing choices.
Check compatibility
Match the arm to the exact vehicle: make, model, year range, body style and drivetrain. All-wheel-drive and rear-wheel-drive versions of the same model sometimes use different rear hardware. Confirm the arm's position too, whether upper or lower, front or rear link, and left or right side if they differ. Then compare mounting points with the factory part: bushing sleeve width, bolt diameter, and the distance and orientation between pivots. Check what else the stock arm carries. Ride height sensor links for headlight leveling or air suspension, brake line and ABS wire clips, sway bar link mounts and spring seats all have to be reproduced or relocated properly, or the replacement will not work correctly.
Compare the adjustment range with your actual ride height change. Many manufacturers state the range in length or camber degrees, or the lowering amount the arm is intended to correct. A set designed for a mild drop may run out of thread on a heavily lowered car, and running an adjuster near its limit can leave too little thread engagement. Check clearance as well. A wider arm body, larger rod end or jam nut can contact wheels, tires, exhaust components, the fuel tank or the body at full suspension travel. Finally, read the installation instructions before buying so you know whether the job needs cutting, welding, spring removal or special tools.
Features that affect the choice
The adjustment mechanism decides how easy alignment will be. A turnbuckle-style sleeve with left-hand and right-hand threads changes length with the arm still installed, which saves the alignment technician time. A design with a single threaded rod end usually requires disconnecting one end to turn it, so each correction takes longer. Eccentric cam bolts or bushings are simpler but usually give a smaller range. Look for solid jam nuts or locking collars, and think about whether the adjuster can be reached with the vehicle on an alignment rack.
The pivot type is the main trade-off between precision and comfort. Rubber bushings are quiet and compliant but allow more deflection. Polyurethane is firmer and holds geometry more consistently, but it can transmit more vibration and may squeak without proper lubrication. Spherical bearings and rod ends give the most precise location but pass more noise and harshness into the cabin and wear over time. Unsealed rod ends exposed to grit, water and road salt usually need inspection and replacement sooner. For a daily vehicle in a wet or salted climate, sealed joints or protective boots are worth paying for.
Treat marketing labels with care. Terms like heavy-duty, race-proven or performance say little on their own. More useful evidence includes a published adjustment range, material and finish details, bearing or bushing type, whether joints can be serviced or replaced separately, the hardware included, clear vehicle-specific instructions and written warranty terms. Steel and aluminum arms can both work well. Choose based on the manufacturer's stated application and on corrosion protection suited to your climate, not weight claims alone.
Limitations and ownership costs
Installation needs proper vehicle support. Lift at the manufacturer's specified points and support the vehicle on rated jack stands. Never work under a car held only by a jack. On some designs the spring loads the arm, so the knuckle or arm must be supported, or the spring removed following the service procedure, before you unbolt anything. Tighten every bolt to the fastener specification in the factory service manual or the arm maker's instructions. Some original bolts are single-use. Bonded rubber bushings are normally given their final tightening with the suspension at normal ride height. Tightening them with the wheels hanging can preload the bushing, which shortens its life and can affect ride height.
Budget for a professional wheel alignment after installation. On many rear designs, changing camber also changes toe, so the arms must be set together on proper equipment. Do not rely on matching thread counts or eyeballing the arms. Adjustable arms also have limits. They will not fix worn bushings in other links, a bent knuckle or subframe, worn wheel bearings, or a vehicle lowered so far that it bottoms out. Correcting camber does not restore suspension travel or remove every handling side effect of a large drop.
Plan for ongoing maintenance. At tire rotations or oil changes, check the arms for joint play, loose jam nuts, torn boots, corrosion on exposed threads and new clunks over bumps. Rod ends and polyurethane bushings may need lubrication or replacement sooner than factory rubber. Each replacement or major adjustment means another alignment. Include these recurring costs when comparing a cheaper set with one that offers serviceable or better-sealed joints.
Build a practical shortlist
Narrow the options with a few checks. First, confirm the problem: a current alignment printout should show which rear measurement is out of range and by how much. Second, confirm the arm position that controls that measurement on your suspension. Third, verify exact fitment for your year, drivetrain and body style, including sensor and bracket provisions and the bushing and bolt dimensions at each mounting point. Fourth, make sure the stated adjustment range covers your ride height change with thread to spare.
Then compare the remaining options. Can the arm be adjusted while installed? Does the joint type suit your climate and tolerance for noise? Is the hardware included? Are the instructions specific to your vehicle? Does the warranty match your use? Drop any product whose fitment cannot be confirmed from the manufacturer's information. Add the cost of an alignment, and of professional installation if you lack the support equipment or service data, to each candidate's price. Choose the set that corrects your specific problem with the least compromise for how you drive, rather than the one with the most aggressive styling or the longest feature list.