Range Rover Air Suspension Valve Block Problems: Diagnostic Guide
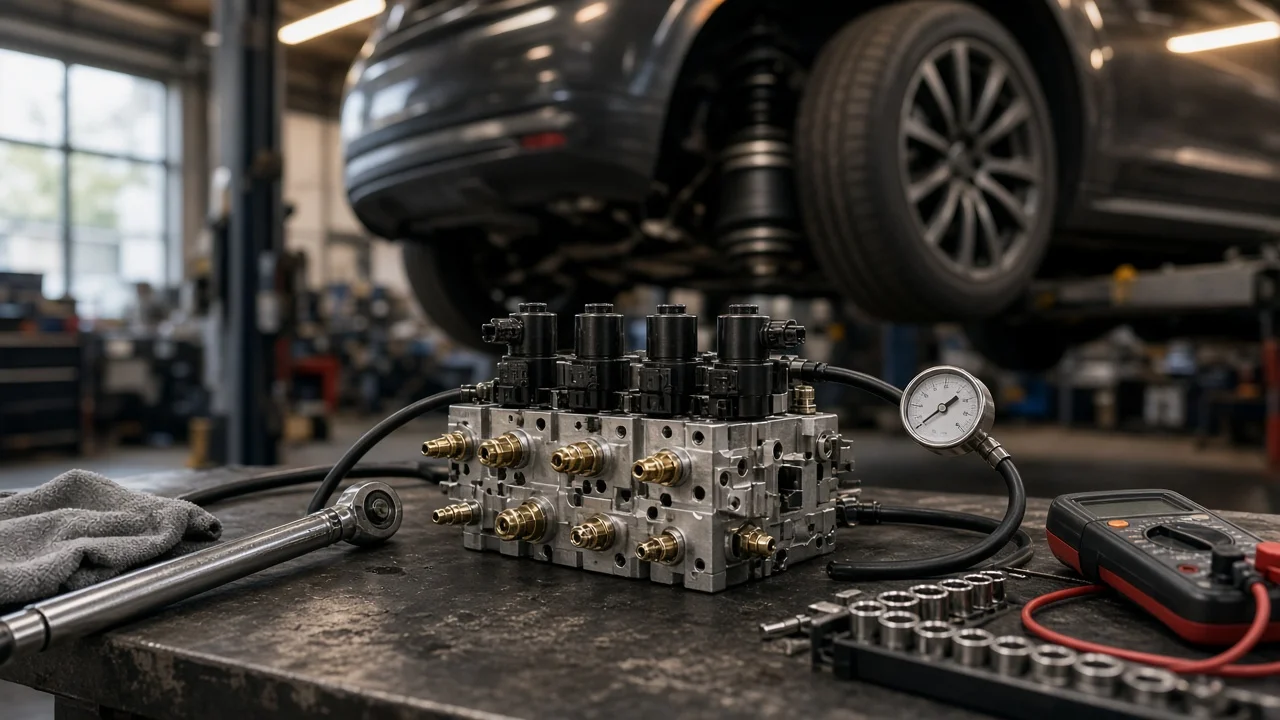
A failing valve block can leave a Range Rover sitting low at one corner, refusing to change height or running its compressor far longer than normal. Leaking air springs, tired compressors and faulty height sensors cause very similar complaints. This guide explains how to narrow the fault down safely, what each observation tells you and when the job should pass to a technician with model-specific procedures and a suitable diagnostic tool.
Establish the symptoms
Start with a record rather than a part. Note when the problem appears: after the vehicle sits overnight, only when raising to off-road height, only in cold weather, or while driving. Note whether one corner, one axle or the whole vehicle drops, and how quickly. Measure from the wheel center to the wheel arch edge at each corner, at the same time and on level ground. That gives you a repeatable comparison instead of an impression.
Write down any accompanying signs. These include suspension warning messages, a hiss from the vehicle after shutdown, the compressor running repeatedly or for long periods, clicking from the area of the valve block, slow height changes, or the vehicle locking at one height. Also list recent events such as a battery replacement, jump starting, suspension work, tire changes, deep water crossings or underbody washing. Moisture and voltage problems both affect air suspension behavior, so these details matter.
Distinguish plausible causes
The valve block routes air from the compressor, and the reservoir where fitted, to the individual air springs. It also vents air when the vehicle lowers. Common faults include worn O-rings at the line fittings, internal seals that let air pass between valves or out of the exhaust, sticking solenoids, failed coils and corroded connectors. Two observations support a valve block fault: a slow drop at a single corner with no visible leak at the spring, or a hiss from the block's exhaust while the system should be at rest.
Competing causes are just as common. Air springs crack with age and typically make one corner sag. A leaking line or push-fit connector does the same. A worn compressor or saturated dryer causes slow raising and long run times. Moisture or debris from those parts can also damage a valve block, so a block fault may be a consequence rather than the root problem. Height sensor faults or damaged sensor linkages make the system misjudge ride height, which gives an uneven stance without any leak. Low battery voltage and wiring faults can produce warnings that look like mechanical failure.
Patterns help you weigh these causes. A whole-axle drop points toward shared components, or toward a cross-link valve on systems that have one, rather than a single spring. A vehicle that holds height while running but drops with the ignition off suggests a leak that the compressor is masking. Fault codes that name a specific solenoid circuit point toward an electrical fault rather than air loss.
Checks in a useful order
Begin with safe observations. Park on level ground and record the height at each corner, then measure again after several hours. Listen around the springs, lines and valve block for hissing after shutdown. Look for chafed or kinked air lines, a cracked or bulging spring bellows, and corrosion or water around the valve block connector. Confirm the battery and charging system are healthy, since low voltage can trigger suspension faults. Spraying soapy water on accessible springs and fittings will show bubbles at a leak. None of these steps needs disassembly or requires you to place any part of your body under the vehicle.
Some checks need a scan tool that supports the suspension functions of your specific Range Rover. These include reading fault codes, viewing live height sensor data, activating individual valves and running ride height calibration. Some generations must also be placed in a service or jacking mode before lifting. Never get under a vehicle held up only by its air suspension. Use a lift or rated stands at the manufacturer's vehicle support points, with the system set as that model's procedure directs.
Some work belongs to a qualified technician or an owner following model-specific procedures. This includes disconnecting air lines, removing the valve block, testing solenoid resistance against specification and checking compressor output pressure. The system stores pressure in its lines and reservoir, and releasing a fitting under pressure can eject components and cause injury. Mounting points, the fastener specification and the correct depressurizing sequence must come from the service information for that model and year, not from guesswork.
Interpret the findings
Bubbles at a spring confirm a spring leak, but they do not clear the valve block, because both can fail together. Bubbles at the valve block fittings point to O-rings or connectors, which may be serviceable on some blocks. Air escaping from the block's exhaust while the system is at rest indicates an internal leak. A technician can confirm which valve is passing air by isolating circuits. A stored solenoid circuit code combined with an out-of-specification coil reading or a corroded connector indicates an electrical failure rather than a mechanical one.
A steady drop at one corner with no external leak strongly suggests the valve controlling that spring. However, a hidden line leak, or a spring leak beyond the reach of soapy water, is still possible. If live data shows incorrect heights while the vehicle looks level, or the reverse, the height sensor or its linkage needs attention before any air components.
Before fitting a new valve block, confirm that the compressor reaches and holds pressure and that the dryer is not saturated. Moisture or debris from a failing compressor can quickly ruin a replacement. Depending on the model, ride height calibration may be needed after repair. If ride height changed, a wheel alignment check is sensible, because suspension geometry depends on correct height. While the vehicle is lifted, a technician can also check joint play in suspension and steering components, since worn joints can blur the picture of a ride complaint.
Urgency and next action
Stop driving and arrange recovery if any of these apply: the vehicle rests on its bump stops, a tire contacts the bodywork or arch liner, the vehicle leans noticeably, the steering feels wrong, or the instrument cluster shows a suspension fault with a speed restriction. A compressor that runs constantly can overheat and fail, which adds to the repair. No guide can tell you how far a vehicle with an air leak will remain safe to drive, so treat any worsening drop as a reason to stop.
For an efficient repair, give the workshop the model, year and VIN, plus any stored fault codes with freeze frame data. Tell them which corners drop and how fast, along with your measured corner heights. Also describe when the warnings appear and mention any recent work, battery events or water exposure. Ask whether the diagnosis ruled out the springs, lines, compressor and dryer before blaming the valve block. Also ask whether calibration and an alignment check will follow the repair. This information helps avoid replacing a valve block when the real fault lies elsewhere.