Power Steering Pump Pulley Removal and Installation With a Puller
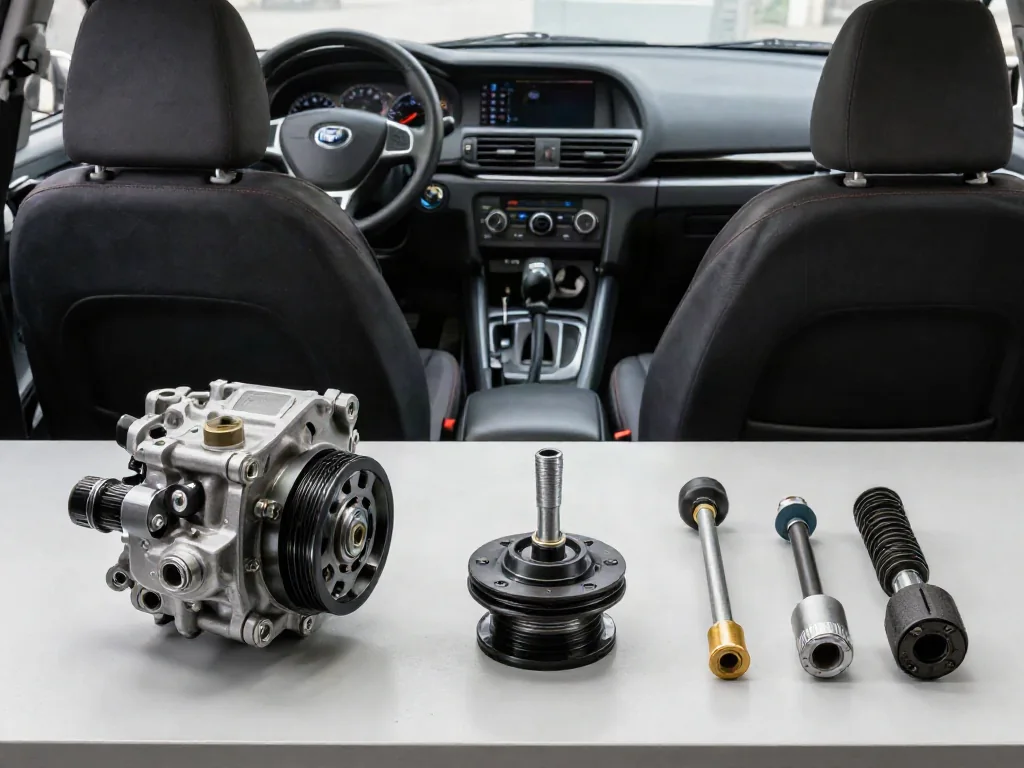
A power steering pump pulley looks simple, but it is a precision press-fit part that sets belt alignment for the accessory drive. To remove a power steering pump pulley safely, use a proper power steering pulley puller. To put it back, press it to the correct depth with an installer. Doing both correctly prevents bent shafts, cracked hubs and damaged belts. This guide explains what the pulley does, how the tools work and where mistakes happen.
How the Pulley Drives the Power Steering Pump
On a belt-driven hydraulic system, the serpentine or V-belt wraps around the pulley on the power steering pump and turns it whenever the engine runs. The pulley passes that rotation to the pump shaft, which spins the internal vanes or rotor that pressurize fluid for the steering gear or rack. The pump and pulley work as one rotating assembly, so the pulley must sit concentric and square on the shaft. Any wobble or offset shows up as belt wear, noise or uneven drive.
Three features matter during service. The pulley hub is the thick center section pressed onto the shaft, often with a lip that the puller grips. The pulley grooves carry the belt, so cracks or bent flanges affect how the belt tracks. The pump shaft may have internal threads that an installer uses. This guide covers serviceable press-fit designs. Some power steering pulleys are bolted or retained differently, so confirm how yours attaches. Whine, belt wandering or heavy steering can also come from the belt, tensioner, fluid or pump. Symptoms alone do not prove the pulley is bad.
Selecting a Puller and Installer That Fit the Pulley
A dedicated power steering pump pulley puller engages a specific hub feature, usually the lip behind the hub, through a split puller collar. A forcing screw then presses on the shaft end, often through a protective button, and draws the pulley straight off with steady, controlled force. A generic jaw puller grabs the rim. This design loads only the hub, so the thin pressed-steel web and grooves do not bend. Whether it will work depends on the pulley's construction, the hub dimensions, the shaft design and the space around the pump.
A power steering pulley puller kit often combines removal and installation hardware: collars sized for different hubs, a forcing screw, an installer stud that threads into the shaft, a thrust bearing and a pulling nut. Contents vary, and no single power steering pulley removal tool fits every pulley. Check the tool instructions and the vehicle service information for compatibility. A search for a power steering pump puller can also turn up tools built for other pump or pulley designs. A matching product name does not tell you which tool your pulley needs.
Checks Before Removing the Pulley
Work only on a cool engine that is shut off, with the key removed or the vehicle otherwise secured so it cannot start. Release belt tension using the vehicle's prescribed method, such as rotating an automatic tensioner or loosening an adjuster, rather than prying the belt off. Next, check whether you can reach the pulley squarely with the pump still installed. A radiator, frame rail or bracket may keep the forcing screw from lining up with the shaft. In that case the pump may need to come out, which is best left to a professional.
Before touching the pulley, photograph the belt routing and measure the pulley's current position relative to the shaft end or pump face. Treat that measurement as a reference, not a specification, because an earlier repair may have left the pulley too deep or too shallow. Inspect the parts closely at this stage. Cracks in the web, distorted pulley grooves, a chipped or rolled hub lip or damaged shaft threads are reasons to stop and get a repair assessment. A puller or installer may not grip or seat damaged parts safely.
How a Dedicated Puller Removes a Press-Fit Pulley
At an overview level, removing the pulley from a power steering pump with a dedicated tool is straightforward. Fit the collar fully onto the specified hub feature, thread the tool body over it and center the forcing screw on the pump shaft. Use any shaft-contact button or protector the instructions call for, so the screw does not damage the shaft end or its threads. Then operate the tool as its instructions describe, holding the body steady while the screw advances and the pulley draws off evenly.
Keep the tool centered throughout removal. An off-center pull cocks the hub, scores the shaft and can crack the pulley. Stop if the collar slips, the pulley visibly distorts, the screw binds or resistance rises well beyond a steady draw. Never force a seized assembly. Do not pry, hammer, heat or pull on the pulley rim with a jaw puller, since any of these can bend the web, damage pump bearings or harm seals. If the tool cannot seat correctly or the assembly is damaged, take the job to a professional.
Pressing the Pulley On to the Specified Position
Installation reverses the direction of force. A compatible installer threads a stud into the pump shaft's internal threads, or into whatever attachment point the design specifies. A thrust bearing and pulling nut then push against the hub face, drawing the pulley onto the shaft instead of driving it on. Before starting, confirm that the pulley is the correct part and the press-fit surfaces are clean and undamaged. Also check that the adapter matches the shaft's thread specification and that the stud threads in fully. Partial thread engagement can strip the shaft threads under load.
The final installation depth or offset comes from the vehicle service information. On some setups the hub ends flush with the shaft end, but flush is not a universal target. The specification exists to keep the belt aligned. Tighten the nut gradually and watch that the pulley moves on squarely without tilting. If it binds, moves unevenly or takes unusual effort, stop and recheck the fit and alignment. Never hammer a pulley on, and do not use torque or depth values borrowed from a different vehicle.
Alignment Checks and Mistakes That Require Reassessment
With the engine off, confirm the pulley sits at the specified position. Then sight along the belt path to see that its grooves line up with the neighboring pulleys. Look for fresh scratches on the hub, damaged threads or a bent flange. Reinstall the belt following the routing you recorded, check that every rib sits in its groove and restore belt tension using the prescribed procedure. Only then should the vehicle go back into service, with all tools removed from the engine bay.
Common mistakes include pressing the pulley too far or not far enough, using an adapter with mismatched threads and running the installer without full thread engagement. Each can strip threads, distort the hub, stress the pump bearings or misalign the belt so that it chirps, frays or walks off. If you notice persistent noise, visible wobble, a slipping belt or abnormal steering assist after the job, diagnose further rather than assuming one cause. Keep hands and tools away from a moving belt, and have a professional check alignment, shaft damage or steering operation if in doubt.