Pencil Tire Pressure Gauge: How It Works and How to Read It
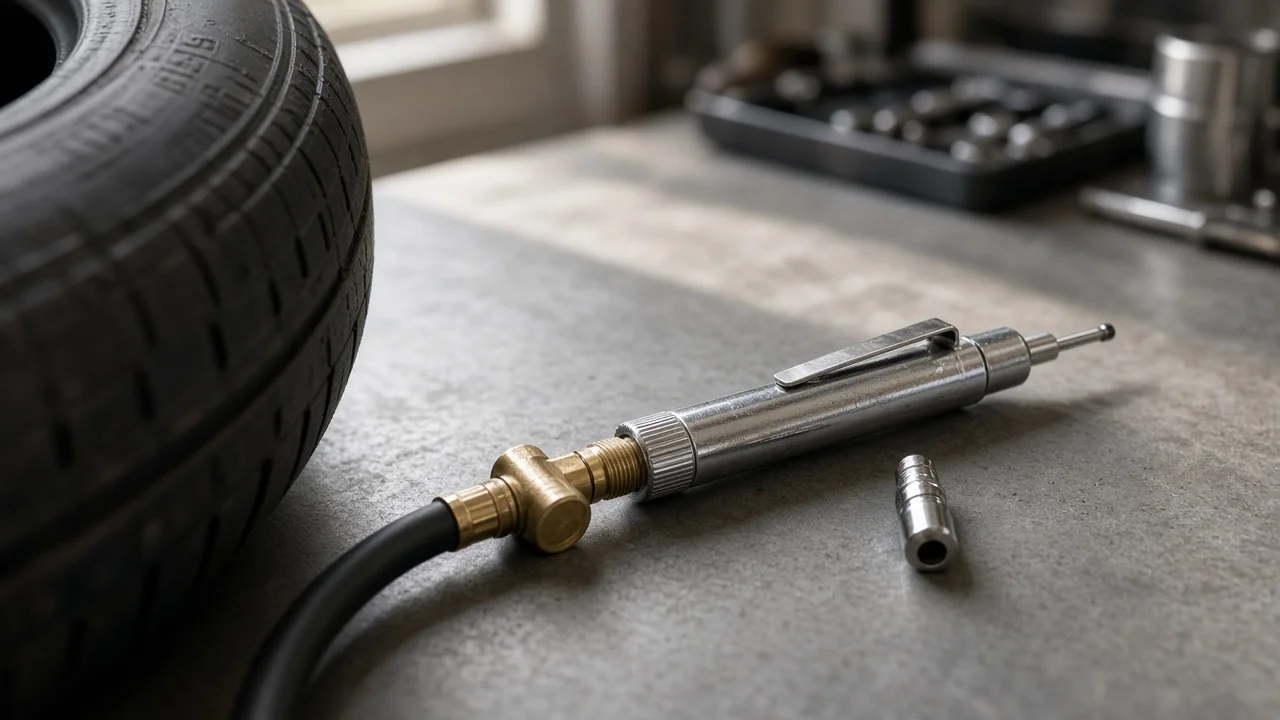
A pencil tire pressure gauge is the slim, stick-shaped tool many drivers keep in the glove box. It has no battery and no dial, yet it can give a dependable reading if you know what it measures and compare the number with the right figure. This guide explains how a pen-style gauge works, what affects its readings, and how to use it to set your tires to your vehicle specification.
Is a Pencil Tire Pressure Gauge Good Enough?
For routine checks on a passenger car, SUV or light truck, a well-made pencil gauge is good enough. It measures the air pressure inside the tire relative to the surrounding atmosphere. The reading appears in psi and often on a second scale such as kPa or bar. It does not tell you what the pressure should be. That target comes from your vehicle, not from the tool or the tire. The main tradeoff is readability. The markings on a pencil type gauge are small, often in steps of one or two psi, so you need to read them carefully. If you check tires often in poor light or want a finer readout, a digital or dial gauge may be easier to use. A stick gauge is compact, inexpensive and needs no batteries.
How a Pencil-Style Gauge Works
Inside the metal barrel is a small piston, sealed against the bore and backed by a calibrated spring. When you press the chuck onto the valve stem, a pin in the head opens the valve core. Air pressure then pushes the piston against the spring, and the piston drives out a graduated indicator bar. Higher pressure compresses the spring further and pushes the bar out farther.
When you pull the gauge away, the piston returns. The bar stays where it was pushed because friction holds it in the tube, so you read the number where the bar exits the barrel after removing the gauge. Push the bar fully back in before each new reading. If you don't, a lower pressure will not move it and you will simply see the previous reading again.
What Changes the Reading
Tire temperature is the biggest variable. Specified pressures are cold pressures, meaning the vehicle has been parked for several hours or driven only a short distance. Driving warms the air and raises the pressure, so a reading taken after highway travel will look high. Do not let air out of hot tires to match the cold specification, because they will be underinflated once they cool. Outdoor temperature also matters. A common rule of thumb is roughly 1 psi of change for every 10°F.
The connection affects accuracy. If the chuck is not pressed squarely onto the stem, air escapes with a hiss and the bar may stop short. A straight head suits most cars, while an angled or dual-foot head helps reach the inner dual rear wheels on some trucks and motorhomes. Measurement range matters too. A gauge whose scale tops out near the pressure you are checking is harder to read precisely. Many compact temporary spares call for pressures around 60 psi, which is beyond the scale of some passenger-car gauges. Heavy-duty and RV tires may need a higher-range model.
Finally, confirm the units. Dual-scale bars print psi on one face and kPa or bar on another, and it is easy to read the wrong side.
Finding the Right Vehicle Specification
Compare your reading with the pressure on the tire and loading information placard, which is usually on the driver's door jamb, or with the owner's manual. Some vehicles list different front and rear pressures, or separate values for heavy loads or towing. The number molded into the tire sidewall is the maximum the tire is rated to hold. It is not the recommended operating pressure for your vehicle. If your tires were replaced with a different size or load range than the original equipment, the placard may no longer apply, and a tire professional should confirm the correct figure.
How to Take an Accurate Reading
Check the tires cold, before driving or after the vehicle has rested. Remove the valve cap and push the indicator bar all the way into the barrel. Press the chuck firmly and squarely onto the valve stem for a second or two, until any hissing stops. Remove the gauge and read the bar at the end of the barrel with the gauge held at eye level. Take a second reading on each tire. If the two readings differ by more than a small amount, the seal was probably poor.
Add air in short bursts and recheck after each one. To release air, press the valve core briefly. Repeat until each tire matches the specification, and include the spare if you can reach it. Refit the valve caps, which keep dirt and moisture out of the valve. Checking monthly and before long trips is a reasonable routine. Have a tire that keeps losing pressure inspected for a puncture or a leaking valve.
Choosing and Caring for a Stick Gauge
When shopping, look for a measurement range that covers every tire you maintain with some headroom. You also want clear graduations, the units you actually use, and an accuracy rating stated on the package. A metal barrel and a solid chuck generally outlast thin plastic. A pocket clip makes the gauge easy to keep in a glove box or door pocket.
Owners usually cannot recalibrate a pencil gauge. Dirt, moisture, a bent barrel or a weakened spring can make the bar stick or read incorrectly. To check calibration, compare it with a reliable digital or dial gauge on the same tire at the same time. If the difference is consistent you can allow for it, but a gauge that sticks, reads inconsistently or has been dropped hard is cheap to replace.
Limitations and When to Get Help
A pencil gauge measures inflation, not tire condition. It cannot detect slow leaks between checks, internal damage, uneven wear or alignment problems. If the tire pressure warning light stays on after all tires are set to specification, the monitoring system may need a reset or service. The steps vary by vehicle and are described in the owner's manual. Have a tire shop or technician inspect the vehicle if you see repeated pressure loss or visible bulges, or if you are unsure of the correct pressure after a tire size change.