Parking Brake Cable Removal Tools at AutoZone: Fitment and Use
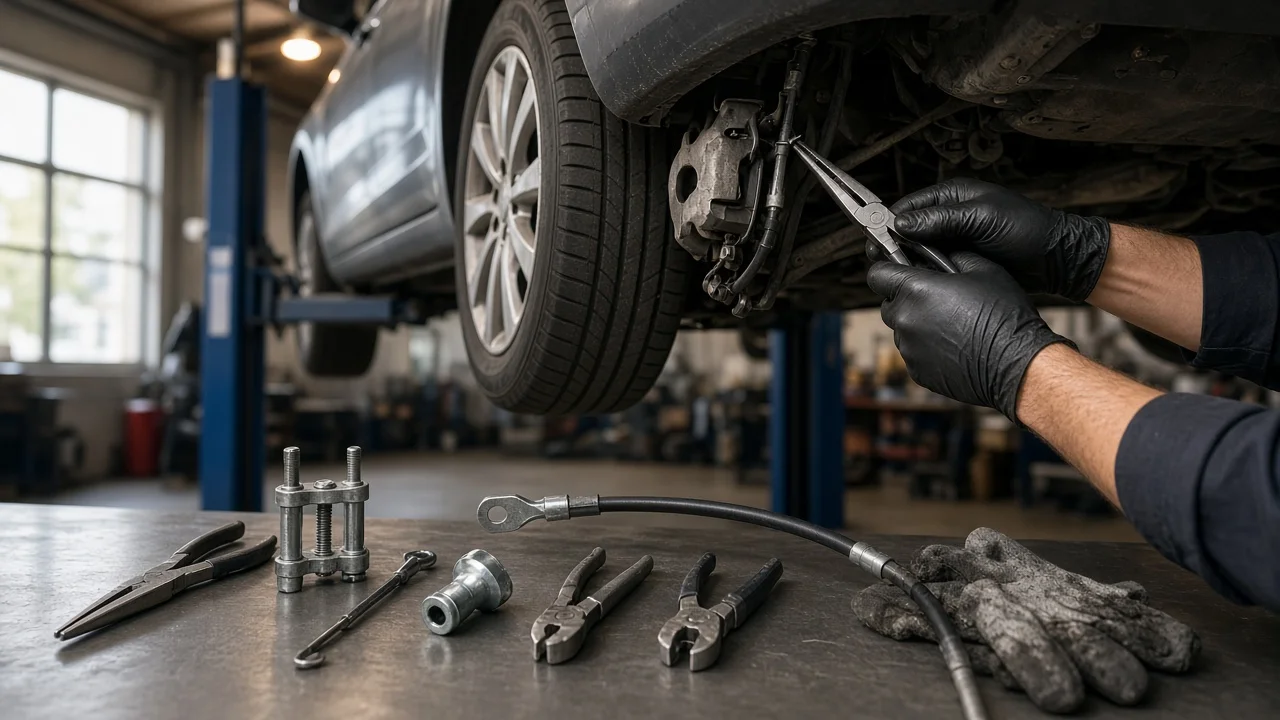
When a parking brake cable has to come out, the hardest part is often the retainer where the cable housing locks into the backing plate, caliper bracket or chassis mount. A parking brake cable removal tool squeezes the spring-steel fingers on that retainer evenly, so the housing slides free instead of being pried or cut. This guide covers choosing the right tool at AutoZone and using it in a cable replacement that is correctly adjusted and verified.
Confirm the part and repair scope
Before buying a tool or cable, make sure the cable is really the fault. Several symptoms can point to a stretched, frayed or seized cable. The lever or pedal may travel too far, the brake may not hold on a slope, or the rear wheels may drag after release. The same symptoms can also come from other faults. These include worn rear brake pads or shoes, a seized parking brake lever on the caliper, a drum out of adjustment, or a stuck equalizer. Check the rear friction material against the wear limits in your vehicle's service information. Confirm that the brake rotors or drums are within specification. Then look along the cable for corrosion, kinks, broken strands or a torn boot. If the service brakes themselves are worn or contaminated, a new cable will not fix the problem.
Vehicle fitment matters for both the cable and the tool. Replacement cables are specific to year, make and model. They often also depend on drivetrain, wheelbase and rear brake type. Many vehicles use separate front, intermediate and rear sections, so confirm which section has failed. Removal tools are usually a slotted sleeve or clamp-style tool that fits over common retainer diameters, sometimes sold as a multi-size set. Stock and loaner availability vary by store, so ask at the counter. Check that your cable actually uses a finger-style retainer. Some mounts use a bolt, clip or bracket that needs no special tool. Vehicles with an electronic parking brake use motor-driven actuators instead. For those, follow that system's own service procedure, which usually requires a scan tool.
Prepare tools and safe access
Get the vehicle-specific service information before starting. You need the cable routing, the location of the equalizer and adjuster, and any lockout procedure for self-adjusting mechanisms. You also need the adjustment specification and the torque values for bracket bolts and wheel fasteners. Typical tools include the cable removal tool, a socket set, pliers for retaining clips, penetrating oil, a wire brush, safety glasses and gloves. Add brake spring tools if the cable end sits inside a drum. Rear drum shoe hardware and drum-in-hat parking brakes have loaded springs and small parts that are easy to put back incorrectly. If you have not worked on drum brakes before, consider handing this job to a professional.
Work on level, solid ground and chock the wheels that stay on the ground. Support the vehicle on rated jack stands at the specified lift points, never on a jack alone. Release the parking brake before you begin so the cable is slack. Clean brake dust with brake cleaner and a damp cloth rather than compressed air. Keep cleaner and penetrating oil off the pads, shoes and rotors. The hydraulic system normally stays sealed during a cable job, so you should not need to open any brake fluid lines.
Remove without avoidable damage
Start by relieving tension at the equalizer or adjuster, which sits either under the vehicle or inside the console. On a threaded adjuster, back the nut off until the cable is slack. On self-adjusting designs, follow the service information, which may call for a lockout pin or a specific release sequence. Disconnect the cable end from the equalizer, then release it from each body clip and guide along its run. Photograph the routing, clip positions and grommets first. As you pull the cable free, keep it clear of brake lines, fuel lines and wheel speed sensor wiring.
At the wheel end, the connection depends on the brake design. With rear drums or drum-in-hat systems, remove the wheel and drum, then unhook the cable eye from the parking brake lever on the shoe. If the drum will not come off, you may need to back off its adjuster. Some rear disc brakes have the parking brake built into the caliper. On those, unclip the cable from the caliper lever and its bracket. Do not force the lever, because that can damage the caliper mechanism.
Now use the removal tool on the retainer. Slide it over the housing and onto the retainer until all of the spring fingers are compressed at once. Then push or pull the housing out of its hole. If even one finger stays partly extended, it will catch, so reposition the tool rather than adding force. On a corroded fitting, apply penetrating oil, give it time to work, and clean the area with a wire brush. Avoid prying with a screwdriver or twisting with pliers. Either one can tear the boot, distort the backing plate hole or crack a plastic bracket, turning a cable job into a bigger repair.
Install and restore the system
Before installing, compare the new cable with the old one for length, end fittings and retainer style. Route it exactly along the original path. Reinstall every clip, grommet and heat shield, and keep the cable away from the exhaust and moving suspension parts. Push each retainer into its mounting hole until the fingers spring out and lock, then tug the housing to confirm it is seated. At the wheel, hook the cable end onto the shoe lever or caliper lever. Reassemble drum hardware in its original orientation, using your photos and the service diagram. Seat the opposite end in the equalizer and make sure the boot covers the exposed inner cable.
Adjustment order matters. On drum and drum-in-hat systems, the shoes are typically adjusted to the drum first. Only then is the cable set at the equalizer to the lever or pedal travel stated in the service information. A cable that is too tight keeps the shoes or caliper lever partly applied. That causes drag, heat and early wear of the friction material. A cable that is too loose will not hold. Some vehicles also specify a bedding procedure for drum-in-hat shoes, so follow it where it applies. Reinstall the drums and wheels and torque the wheel fasteners to specification.
Check the completed work
With the wheels still raised, apply and release the parking brake several times. Count the clicks or measure pedal travel and compare the result with the specification. With the brake released, each rear wheel should turn freely with no scraping. With it applied, both sides should resist turning about equally. Confirm that the parking brake warning light comes on when applied and goes out when fully released. Lower the vehicle and recheck wheel fastener torque. Then test holding on a gentle slope, or try a slow, light-throttle drive-off in an empty lot with the parking brake set. Keep your foot ready on the service brake during this test.
After a short drive, compare the temperature of the two rear wheels, taking care because brake parts can be hot. A noticeably hotter side suggests drag. Further diagnosis is needed if any of these occur: lever travel stays excessive after adjustment, one wheel does not hold, the warning light stays on, the vehicle pulls under braking, or you hear grinding or smell hot brakes. Uneven holding usually points to a seized caliper lever, contaminated shoes or a binding cable. If the service brakes feel different, the pedal is low or the vehicle will not hold securely, stop using it. Have the braking system inspected by a qualified technician.