Parking Brake Cable Removal Tools: Choosing a Remover or Pliers
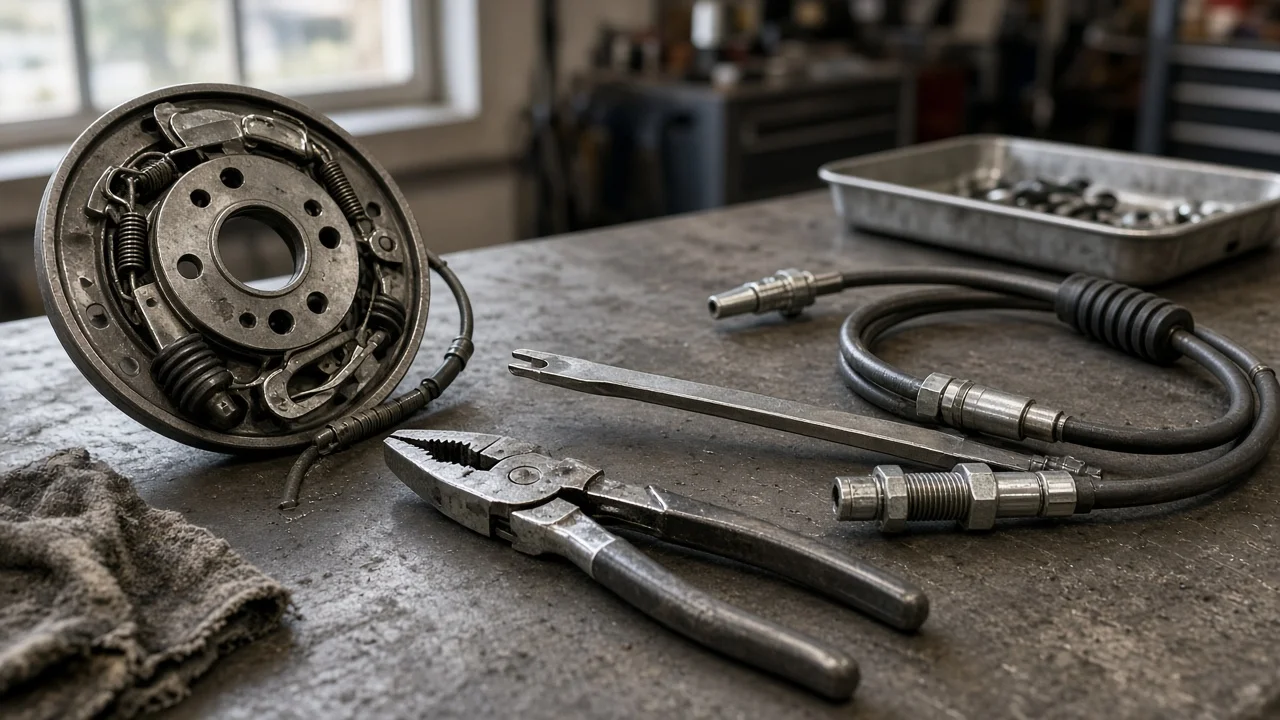
Disconnecting a parking brake cable sounds simple until a spring-steel retainer refuses to let the housing slide out of the backing plate, or the cable end will not come off the shoe lever. A parking brake cable removal tool or a pair of cable pliers solves one of those specific problems. This guide helps vehicle owners decide which tool fits their job, what to check before buying, and where the tool's usefulness ends.
Define the job the tool must do
Two different tasks often get lumped together. The first is freeing the cable housing from the backing plate or a bracket. On many rear drum and drum-in-hat systems, the housing end carries a spring-steel retainer with several fingers that snap outward once they pass through the mounting hole. A parking brake cable release tool, usually a slotted tube or collar, slides over the housing and squeezes all the fingers at once so the housing can be pushed back through the hole. The second task is unhooking the cable end from the parking brake lever on the brake shoe, from the equalizer, or from the lever on a rear caliper with an integrated parking brake. That is where parking brake cable pliers help: they grip the cable behind its end fitting and pull against the return spring to create enough slack to lift the end out of its slot.
Before buying, decide why the cable is coming off. Replacing a frayed or seized cable, servicing rear shoes, or removing a drum or rotor each involves a different amount of disassembly, and some jobs only require loosening the adjuster rather than disconnecting anything. Consider working space too: a vehicle on a lift gives far better access than one on jack stands, and heavy corrosion changes the job entirely. If the vehicle has an electronic parking brake with motors at the calipers, cable tools generally do not apply; those systems typically need a service procedure, often performed with a scan tool, before any caliper or brake pad work. Some electronic systems still pull conventional cables from a central actuator, so confirm the layout in the service information first.
Check compatibility with your vehicle
The retainer design decides whether a dedicated cable remover is useful at all. Fingered spring retainers are the classic application, but some vehicles hold the housing with a separate clip, an E-clip, or a bolted bracket, and none of those need a compression tool. Where fingers are used, size matters: a tube that is too large will not compress the fingers evenly, and one that is too small will not slide over the retainer. Some kits include several diameters while others offer a single size. Look at the retainer on the vehicle, or on the replacement cable if you already have it, and compare it with the sizes the tool actually lists rather than trusting a broad vehicle fitment claim on the packaging.
For pliers, compatibility is about reach and grip. The jaws need to get into the drum assembly or around the caliper lever without hitting the shoes, springs, or backing plate, and they should hold the cable without crushing or cutting the strands if you intend to reuse it. Check the service information for the removal sequence as well. Some designs require backing off the adjuster or releasing tension at the equalizer before either end can be freed, and forcing the cable without that slack can damage the lever, the retainer, or the shoe hardware.
Features that affect the choice
On a release tool, the most useful feature is a slot along its length so it can slip over the cable without disconnecting the far end. Next is how evenly it compresses the full circle of retainer fingers; a squared, uniform end does this better than a thin, flared stamping that can tilt and leave one finger caught. Wall thickness and material affect whether the tube keeps its shape after repeated use on stubborn retainers. A handle or extra length helps when the retainer sits behind the backing plate near suspension parts. Labels such as universal or professional grade say little on their own. Better evidence is a listed diameter range, a clear photo of the slot and working end, and a match with the retainer you actually measured.
For parking brake cable pliers, look for long reach, angled jaws that suit the access you have, and a notch or groove that holds the cable without slipping. A locking mechanism can help when you need to hold tension while guiding the end into its slot during reassembly. It is also worth knowing that many technicians compress retainer fingers with a properly sized box-end wrench or a small hose clamp. Those substitutes can work for a one-time job, but they are slower and more likely to bend a finger or leave it half-engaged than a correctly sized dedicated tool.
Limitations and ownership costs
A removal tool only releases a retainer or a cable end. It cannot free a cable seized inside its housing, adjust the parking brake, or explain why a rear brake drags. Badly corroded retainers may crack or crumble during removal, so plan on replacing the cable rather than reinstalling a damaged one; replacement cables commonly come with the retainer already fitted, but confirm this for the part you buy. Ownership costs are mostly in consumables: penetrating oil for rusted fittings, brake cleaner, high-temperature brake lubricant for metal contact points, and new shoe hardware springs where the old ones are tired. The tools themselves need little upkeep beyond cleaning and checking that tube ends and plier jaws have not deformed.
While the brake is apart, inspect the friction material on the shoes or brake pads against the wear limits in the vehicle's service information, and check the drums or brake rotors for wear and damage. Keep lubricant off friction surfaces, and avoid blowing brake dust around with compressed air. If a wheel cylinder or caliper is leaking brake fluid, or the linings are contaminated with grease or fluid, those problems need correcting before reassembly, not after. Adjust the parking brake as the procedure specifies and confirm it holds. If it will not hold, the warning light stays on, or the service brakes feel different afterward, stop using the vehicle and have it checked by a professional.
Build a practical shortlist
Start by confirming the brake type: rear drum, drum-in-hat, rear caliper with a parking brake lever, or electronic parking brake. Then identify how the cable housing is retained and measure the retainer if it uses spring fingers. From there, decide whether you need a cable remover, a pair of pliers, or both. For a release tool, check that its listed sizes cover your retainer, that it is slotted, that the working end looks square and sturdy, and that its length suits your access. For pliers, check jaw angle, reach, a secure cable notch, and whether a locking feature would help with reassembly.
Finally, weigh how often you will use it. For a single cable replacement on one vehicle, a correctly sized single tool, or even a careful substitute, may be enough. If you service rear brakes regularly or work on several vehicles, a multi-size release set and a dedicated pair of pliers save time and reduce damaged retainers. Whatever you choose, buy after seeing the actual parts on your vehicle and reading its service procedure, because the right parking brake cable tool is the one that matches that hardware, not the one with the longest feature list.