Parking Brake Actuator Replacement: Procedure and Setup Requirements
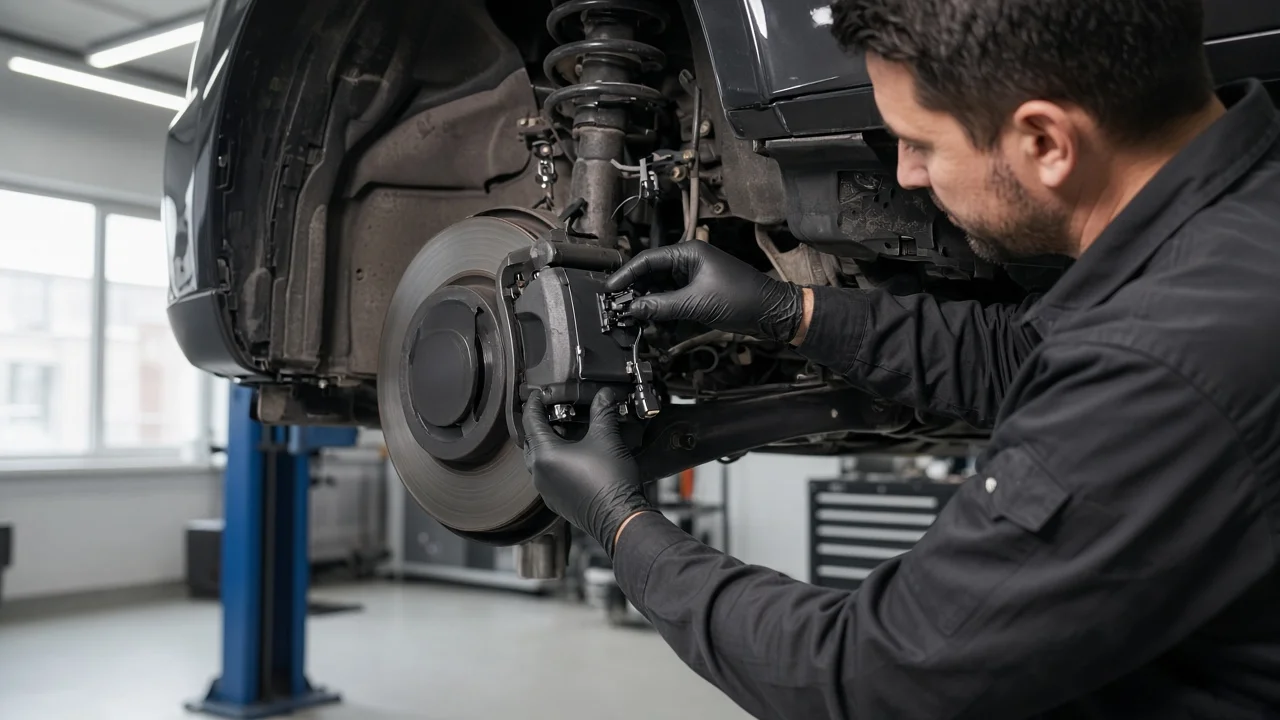
A failed parking brake actuator usually shows up as a warning light, a brake that will not apply or release, or a motor that whirs without finishing its cycle. Swapping the actuator is often a bolt-on job. On most electronic systems, though, the brake must go into service mode before removal and through a setup routine afterward. This guide covers the procedure as a brake technician would approach it, from confirming the diagnosis to proving the repair.
Confirm the part and repair scope
Before ordering anything, read the stored fault codes with a scan tool that can access the parking brake module. Codes and live data such as motor current or apply status help separate a failed actuator motor from problems that cause the same symptoms. These include a damaged harness or connector near the wheel, a faulty switch, low battery voltage, a module fault, or a caliper whose piston or internal spindle is seized. A seized caliper can overload a healthy motor, so replacing only the actuator would not fix the root cause. Rear-mounted units sit in the path of road spray, so corrosion inside the connector is common, and cleaning or repairing the terminals sometimes resolves the fault. If one side works and the other does not, compare the readings between sides. Some vehicles use a central cable-pulling actuator instead of motors on each caliper. On those, check for stretched, seized or disconnected cables before condemning the unit.
Vehicle fitment matters more here than with many brake parts. Caliper-mounted actuators are usually side-specific. Connector style, housing shape and spline drive can differ between model years, trim levels and brake packages on the same nameplate. Match the replacement by vehicle identification number or original part number rather than by appearance. On some vehicles the actuator is sold only as part of the complete rear caliper, which turns the job into a hydraulic repair that requires bleeding afterward. Check the service information early so you know whether you are replacing a motor, a caliper assembly or a central unit. Also plan for new brake pads or brake rotors if inspection shows they are at or beyond their wear limits.
Prepare tools and safe access
On electronic systems, the key requirement is a way to put the parking brake into maintenance or service mode. That usually means a scan tool, though some vehicles have their own procedure. This mode drives the internal spindle fully back so the caliper is not under clamp load when the motor comes off, and it often locks out the system so nothing applies while you work. Some vehicles offer a menu or a key-and-pedal sequence for this, but many require diagnostic software. You will also need wheel chocks, a suitable jack and jack stands, and the correct sockets or Torx bits for the actuator fasteners. Add a torque wrench, plus a battery maintainer if the procedure keeps the ignition on for a long time. Have the manufacturer's torque values and setup procedure in hand before starting rather than guessing them.
The parking brake will be disabled during the job, so chock the wheels on the opposite axle. Support the vehicle on stands on firm, level ground, never on the jack alone. Some situations call for a professional brake shop instead: you cannot enter service mode, you cannot get the torque specifications, or the diagnosis points to a seized caliper. Do not drive a vehicle whose parking brake cannot hold, or that drags or overheats a rear brake, until it is repaired.
Remove without avoidable damage
With the ignition on, command service mode and confirm the system reports that it has retracted. Some tools display a status message, and some instrument clusters show a warning. Then switch the ignition off as the procedure directs, and disconnect the battery if the service information requires it. Remove the wheel and clean the dirt from around the actuator so debris does not fall into the caliper. Release the connector lock and unplug the harness carefully. Locking tabs become brittle with heat, so support the connector rather than prying on it.
Remove the actuator fasteners and ease the motor straight off the caliper housing. Do not lever against the caliper or twist the motor hard. The drive spline engages a gear or spindle inside the caliper, and forcing it can damage the spindle or its seal. Never wind back the piston or turn the spindle with a tool unless the manufacturer specifically allows it, because the electronic system relies on knowing the spindle position. Once the motor is off, inspect the mating surface and seal for corrosion and the spline for wear, and check whether moisture has entered the caliper. This is also a good moment to measure the remaining friction material and look over the rotor surface.
Install and restore the system
Clean the mounting face and fit the new seal or O-ring supplied with the actuator. A reused, hardened seal lets water into the gearbox and invites an early repeat failure. Line up the actuator drive with the caliper spline; you may need to rotate the motor slightly until it seats fully by hand. Then install the fasteners and tighten them to the specified torque. Overtightening can crack the housing, and a motor that is not fully seated can bind. Reconnect the harness until the lock engages, route it away from the rotor and suspension parts, and refit the wheel with the specified lug nut torque.
Reconnect the battery if it was disconnected. Then exit service mode with the scan tool or procedure so the system can drive the spindle back out and relearn its position. Many vehicles need a separate calibration, initialization or apply-and-release routine after an actuator change, and some need the new part registered with the module. If you also replaced the brake pads, follow any pad reset or bedding steps in the same procedure. If you pushed the piston back for new pads, check the brake fluid level, since the displaced fluid returns to the reservoir. If the caliper was replaced or opened, bleed the hydraulic system as directed. Clear stored codes only after the setup is complete.
Check the completed work
With the vehicle still safely supported, apply and release the parking brake several times. Confirm that both sides respond, with the motors running briefly and stopping cleanly. After release, spin each rear wheel by hand to make sure there is no drag. The warning light should go out, and a fresh scan should show no returning codes. Next, check that the brake holds the car on level ground, then on a modest incline with nobody standing in front of or behind it. If the vehicle has automatic release or auto-hold functions, confirm they work during a short, low-speed test drive.
After the drive, check whether either rear wheel is noticeably hotter than the other, which can indicate a dragging caliper. Further diagnosis is needed if the warning light returns, the motor clicks or runs continuously, or one side fails to apply or release. The same applies if the brake will not hold on an incline or you hear grinding from the caliper. These symptoms usually point to a wiring fault, a module problem, incorrect calibration or internal caliper damage rather than the new actuator. Do not rely on the vehicle until the cause is found and corrected.