P2675, P2676 and P2677: Air Cleaner Inlet Control Circuit Codes
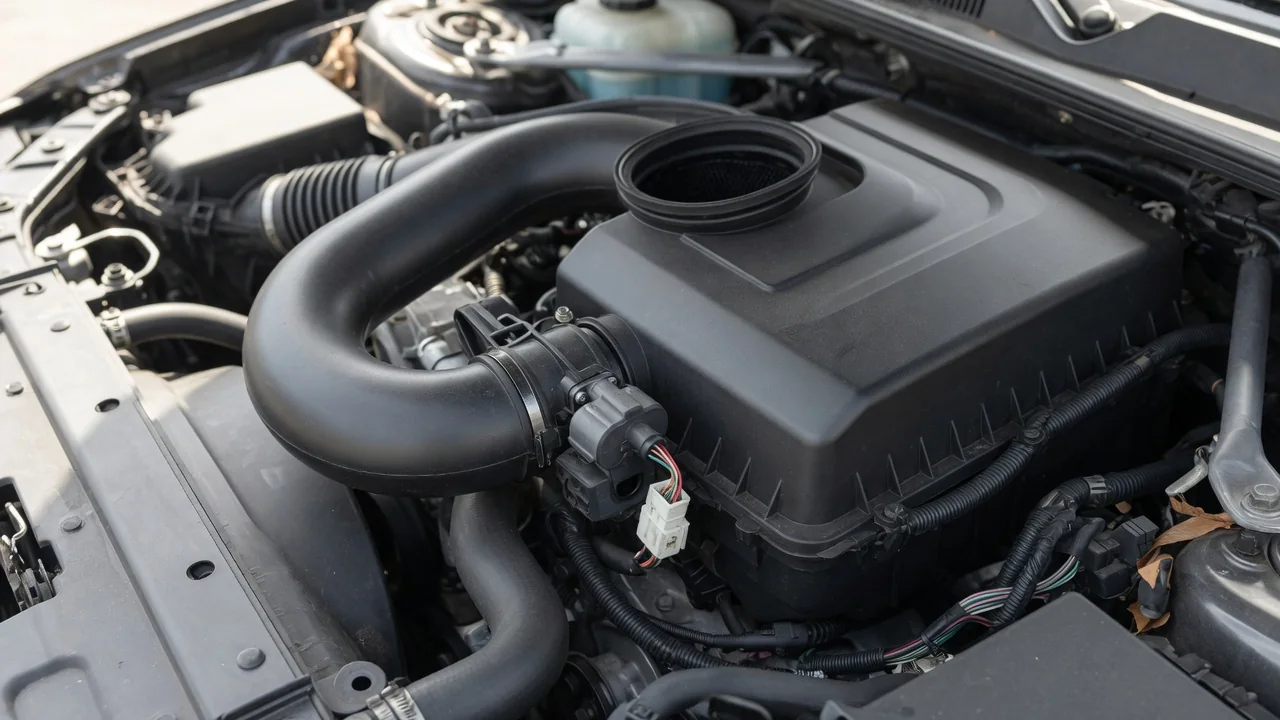
Seeing an air cleaner inlet control circuit code such as P2675, P2676, or P2677 can be puzzling because the part names and system designs vary between automakers. These diagnostic trouble codes relate to the electrical circuit for an intake inlet actuator, air intake flap, or similar control valve that the engine control module operates. A fault here can set the check engine light with no noticeable drivability change, or it may produce subtle intake noise or performance shifts. Understanding the circuit basics, possible causes, and safe next steps helps you interpret the code correctly before any repair.
What the Air Cleaner Inlet Control Circuit Does
Some engines use an electrically controlled flap, valve, or actuator in the air intake path. The engine control module commands this component to move according to operating conditions and monitors the circuit for electrical faults. Because the component’s location, name, and exact role depend on the vehicle, one model may use it for intake tuning while another uses it to control airflow for emissions or noise. The generic code descriptions only tell us the module saw an abnormal electrical condition; they do not identify which part is faulty.
The standardized OBD-II list gives generic definitions: P2675 means the air cleaner inlet control circuit is open, P2676 signals low voltage, and P2677 signals high voltage. However, manufacturers may map these codes to different specific meanings or use them in unique ways. A capable scan tool or factory service information should be checked before interpreting any of these codes on a particular vehicle. All three codes mean the module detected a problem in the control circuit, which is different from proving that the flap or actuator itself has failed.
P2675: Air Cleaner Inlet Control Circuit Open
An open-circuit code generally means the module sees no continuity or an unexpected voltage that suggests a break somewhere in the control circuit. For P2675, the manufacturer’s exact definition should be confirmed, but common possibilities include a disconnected or loose connector, a damaged or broken wire, a corroded terminal, a failed actuator winding, or less often a control module fault. Because an open circuit can come and go with vibration, heat, or moisture, an intermittent code may not show up during a quick visual inspection.
Recording freeze-frame data and noting whether the code is current, pending, or historic before clearing it helps a technician later. Freeze-frame captures the operating conditions when the code set, such as engine temperature, rpm, and load, which can point to the trigger. Clearing the code erases this information, so if the fault is intermittent, valuable clues disappear. Instead of clearing first, write down all stored codes and their freeze-frame data, then clear only after saving a record.
P2676: Air Cleaner Inlet Control Circuit Low
A circuit-low code such as P2676 generally means the module measured a voltage below its expected range. This is often linked to a short to ground or excessive resistance in the circuit, but the manufacturer’s definition takes priority. General possibilities include chafed wiring touching a grounded surface, a damaged harness near hot or moving parts, water in a connector, or an internal actuator fault. Without testing, there is no way to know which fault is present, so the code alone is not a diagnosis.
A low-circuit condition may appear with other codes that share a power feed or ground. Reviewing all stored codes together gives better context than looking at P2676 alone. For example, if several sensors on the same circuit report low voltage, that may point to a shared wiring or connector problem rather than a faulty actuator. Replacing parts based only on the code is risky because the same low reading could come from wiring, connector, actuator, or module faults.
P2677: Air Cleaner Inlet Control Circuit High
A circuit-high code like P2677 generally means the module measured a voltage above its expected range. This is often linked to a short to power or an open in the ground side of the circuit, but the vehicle-specific meaning must be verified. Possible causes include a wire shorted to a voltage source, a poor ground connection, a damaged connector, or an actuator internal fault. Without testing against the wiring diagram for the exact vehicle, these possibilities remain guesses rather than a diagnosis.
Wiring damage from previous repairs, aftermarket accessories, or rodents can create unexpected circuit faults. For example, a poorly routed wire from a new alarm or stereo may rub against a metal bracket and short to power, setting a high-circuit code. If any recent engine bay work was done, it is worth checking near that area. A high-circuit fault can look similar to other electrical problems, so correct diagnosis depends on circuit testing against the manufacturer’s specifications.
Symptoms Drivers May or May Not Notice
The check engine light is often the main or only sign of these codes. Many drivers notice no change in how the car drives, and the vehicle may operate normally. Possible but not guaranteed effects include a change in intake noise, slightly different performance or fuel economy, or the flap staying in one position. These symptoms depend on the system design and how the module responds, so they cannot be predicted from the generic code alone.
How the module responds—warning light only, stored code, or reduced function—varies by manufacturer. Some vehicles may enter a fail-safe mode that limits power or disables certain functions; others continue normally with just a light. To help diagnosis, note when the light came on, the weather, driving conditions, and any other warning lights. This information, along with freeze-frame data, can help a technician reproduce the fault and narrow down the cause.
Safe Checks You Can Make and What They Can't Tell You
With the engine off and cool, you can safely look for an obviously unplugged connector, visibly damaged or chafed wiring, a loose intake duct, or a damaged air cleaner housing near the inlet area. These observations can find an easy fix, such as reconnecting a connector that came loose, but they are not a complete diagnosis. Always avoid touching hot or moving parts, and do not force any component to move by hand, because this can damage the actuator or its linkage.
Reading and saving all stored codes and freeze-frame data with a scan tool before clearing anything is essential because clearing codes erases useful diagnostic information. A visual check has limits: wiring can look fine while being damaged inside, and a connector can look seated while having poor terminal contact. Do not probe connectors, back-probe live circuits, bypass wiring, or force the flap by hand, because this can damage the circuit or the control module and may create new faults.
When Professional Diagnosis Is Needed
Confirming whether the fault is in the wiring, connector, actuator, or module requires circuit testing against manufacturer specifications and wiring diagrams. This usually means a qualified technician with the correct tools and service information. Professional diagnosis is especially recommended if the code comes back after being cleared, appears with other electrical or intake codes, or shows up together with noticeable drivability changes. A trained technician can perform voltage drop tests, continuity checks, and actuator function tests safely.
Before visiting a shop, give the technician the exact code, freeze-frame data, symptom notes, and any recent repair history to avoid unnecessary parts replacement. Also check whether any manufacturer service bulletins or warranty coverage apply to your specific vehicle through a dealer, without assuming any exist. Some automakers issue software updates or known issues for these circuits, so a dealer check may save time and money. However, do not rely on bulletins alone; proper testing is still needed.