P1867 Code: Verify Its Meaning and Plan the Diagnosis
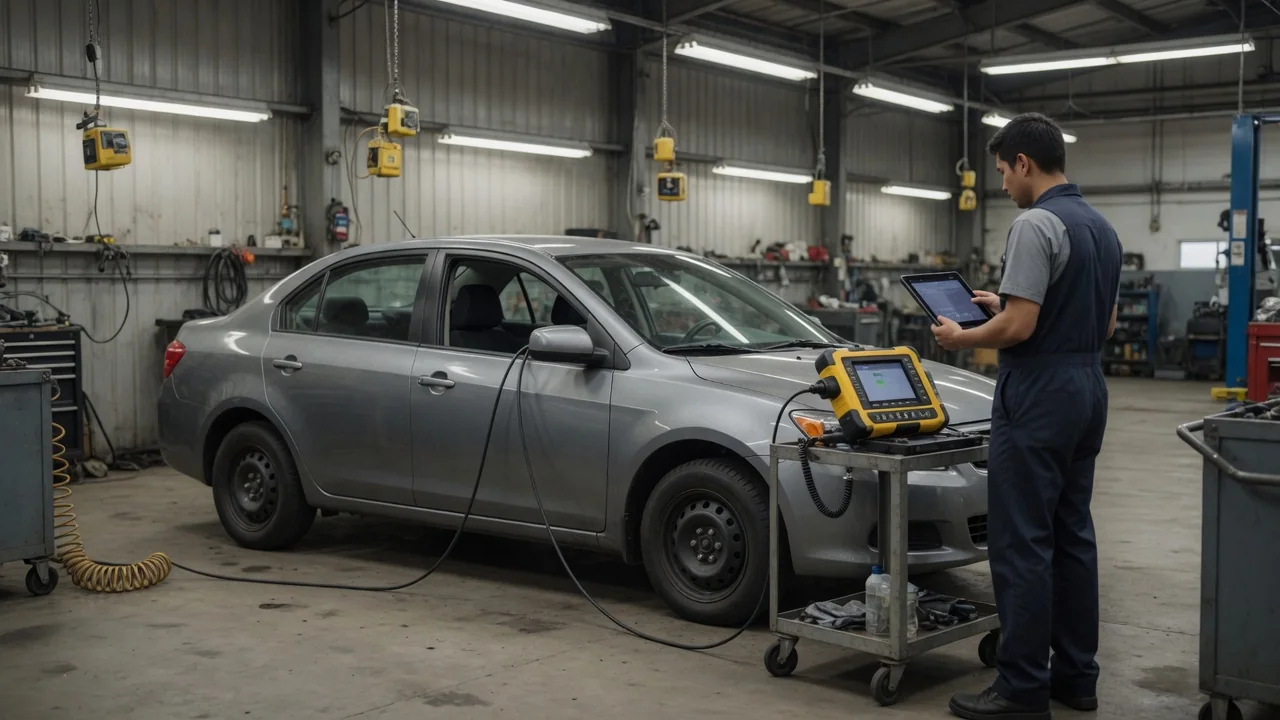
A P1867 code can point to different faults depending on the vehicle make, model, and powertrain, because it is a manufacturer-specific trouble code. Reading the code with a basic scan tool is only the first step; the same number may carry different meanings across brands or even between model years. To avoid misdiagnosis, you must verify the exact definition, the reporting control module, and any related data for your specific vehicle before planning repairs.
Verify What P1867 Means for Your Vehicle
Because P1867 is not defined by a universal OBD-II standard, the first step is to confirm what it means for your vehicle. The code name alone does not identify a failed component; it only refers to a condition detected by a particular control module. You need the make, model, model year, engine, transmission type, and often the vehicle identification number to look up the applicable interpretation in factory service information. Without this, any diagnosis is guesswork and can lead to replacing the wrong part.
When you pull the code, note which module reported it and the exact description shown on your scan tool. For example, the same P1867 might relate to a transfer case control circuit on one pickup and a transmission pressure control solenoid on another. Look for references to specific circuits, sensors, or control functions in the description. Cross-check this against a manufacturer-specific database or service manual for your model. A bare code number from a generic scanner is not enough; it must be matched to the vehicle's configuration.
Record Symptoms Without Assuming Their Cause
Record whatever you observed when the code appeared or when the malfunction was first noticed. Warning lamps, message center alerts, changes in shift feel, engine response, or even unusual sounds are useful clues. Write down whether the concern happened at startup, while driving, or intermittently, and note the conditions at the time. These observations help a technician reproduce or interpret the fault, but they do not confirm which component is responsible. A stored P1867 does not prove that a particular part has failed.
Some drivers may never notice any change in vehicle behavior even though a code is present. The absence of symptoms does not mean the code is harmless or should be ignored. If the vehicle loses normal control or propulsion, produces smoke, or shows a stop-driving warning, pull over safely and arrange for professional assistance. Do not attempt to continue driving to test the fault. Your recorded symptoms, or lack of them, become part of the diagnostic evidence when interpreted alongside the verified code definition.
Preserve Diagnostic Evidence Before Clearing the Code
Before clearing any codes or disconnecting the battery, capture everything your scan tool can show. List all stored, pending, and history codes along with the modules that reported them. Where available, save freeze-frame data or event records; these snapshots include engine temperature, vehicle speed, mileage, and other conditions at the moment the fault was set. Access to such data varies by vehicle and scanner, but it often provides the best clue to the circumstances that triggered the code.
Recent repairs, battery replacement, or jump-start events may or may not be related, but their timing can help a technician understand the history. Do not assume that a recent battery disconnect caused the code or that a past repair fixed it. Clearing codes or removing battery power erases freeze-frame data and resets readiness monitors, making the diagnosis harder and potentially masking an intermittent defect. Leave the evidence intact unless you have documented it and are prepared to follow the correct diagnostic path.
Identify Possible Causes From the Confirmed Definition
Once you have verified the exact definition of P1867 for your vehicle, look for likely causes described in the manufacturer's diagnostic procedure. The code may point to a wiring issue, a connector problem, a low power supply, an implausible signal, a mechanical fault, or a module concern. Each possibility must be tested and confirmed before any repair is made. A code that says “circuit low” could be caused by a broken wire, a corroded terminal, or a failed sensor, but it never proves which one.
Companion codes often narrow down the area of fault. For example, a P1867 accompanied by a voltage-related code may suggest a shared power or ground problem. The recorded freeze-frame data can show whether the fault occurred in a specific operating mode. Use this information to guide professional testing, but do not assume any particular cause is common or certain. Only a systematic check of the circuits and components named in the verified definition, using the appropriate tools and procedures, will identify the actual fault.
Separate Safe Observations From Professional Testing
As an owner, limit your own inspection to what is visible and safe. Check for obvious damage to wiring harnesses, loose or corroded connectors, or signs of fluid contamination around accessible components—but do not reach into moving parts or hot areas. Dashboard messages and scanner data you have already recorded are also safe to review. Any testing that involves probing energized circuits, bypassing controls, or working beneath a vehicle should be left to a professional with the proper equipment and training.
A technician will need a scan tool that can communicate with the specific reporting module and access live data, bidirectional controls, and manufacturer-specific test routines. Depending on the confirmed definition, they may check power and ground feeds, signal continuity, sensor waveforms, or mechanical operation. They may also use service bulletins that describe known fixes for your vehicle. All testing must follow the method in the factory diagnostic manual, because guessing and swapping parts can create new problems and waste money.
Approve an Evidence-Based Repair and Verify the Result
Before approving any repair, ask for an explanation based on evidence, not just the code number. A legitimate repair recommendation should include the verified code definition, the specific tests performed, the measured values or observations that failed, and the reason a particular part or wiring repair is needed. If the technician cannot show how the test results prove the fault, ask them to continue diagnosing. Replacing a component solely because the code mentions it is often ineffective and unnecessary.
After the repair, the technician should clear the code, perform any required programming or calibration, and then verify the result. This may involve driving the vehicle through the conditions that set the code, monitoring live data, and confirming the code does not return. If the repair included module replacement, the new unit may need configuration to match the vehicle. A clean scan and a normal operational check are the only ways to confirm the repair was successful; simply erasing the warning light is not enough.