P1774 Code: Vehicle-Specific Meaning, Causes, and Diagnosis
When a P1774 code appears, its meaning depends on the vehicle that stored it. This manufacturer-specific trouble code is not a universal definition, so the same identifier can point to different circuits, components, or control strategies in different models. A generic scanner description may be incomplete, and acting on the wrong assumption can lead to unnecessary repairs. The following sections explain how to verify the exact definition for your vehicle ID, interpret symptoms, narrow plausible causes, preserve diagnostic evidence, and support a confirmed repair.
Verify What P1774 Means for Your Vehicle
P1774 is a manufacturer-dependent code, meaning it cannot be assigned a single component, failure mode, or repair without checking the exact year, make, model, and powertrain. For example, one vehicle may use P1774 for a transmission control module internal error, while another may define it as a low-voltage condition on a specific solenoid circuit. The only reliable way to begin is to look up the code in the applicable manufacturer service information and note which control module reported the fault.
Record the full scanner description, not just the OBD-II code number, because a generic scan tool label can be vague or even misleading. Some tools show only a generic phrase such as 'manufacturer control' instead of the precise definition. Next, distinguish the code's defined detection condition—the specific electrical or functional check the module performed—from a confirmed diagnosis. The code tells you what the module observed, not which part has failed or why.
Document Symptoms and Decide Whether to Keep Driving
Start by documenting warning lights and drivability changes. A stored P1774 does not always produce obvious symptoms; it may appear as a pending or historical code after a low-battery event. If the verified definition relates to transmission operation, possible symptoms might include harsh or delayed shifts, failure to engage a gear, or limited gear operation. However, these are not universal to P1774—they depend entirely on the vehicle-specific fault criteria.
Note when symptoms occur: at cold start, after warming up, or during steady highway driving. Do not deliberately recreate unsafe behavior such as forcing a slip or overheating condition. If the vehicle loses propulsion, exhibits severe engagement problems, produces smoke, or shows an overheating warning, stop safely as soon as possible and arrange professional assistance. Continued driving in those conditions can turn an electrical fault into an expensive internal failure.
Understand Which Causes the Verified Definition Supports
The verified code definition determines which causes are plausible. For a confirmed electrical circuit definition, the fault may be caused by damaged wiring, corroded connectors, poor power supply, or the named component itself—but none of those can be assumed without testing. The applicable diagnostic procedure usually begins with connector inspection and voltage or resistance checks before condemning a solenoid, sensor, or module.
Fluid, hydraulic, or internal mechanical causes should be considered only when the manufacturer's diagnostic path and observed symptoms support them. For example, a transmission slipping complaint alongside a P1774 defined as a gear-ratio error may point to internal wear, but low fluid level or a faulty speed sensor could produce similar data. The code alone cannot establish whether a control module, actuator, or internal assembly needs replacement; only test results can.
Save Useful Evidence Before the Shop Visit
Before clearing anything, preserve all available scan tool data. Write down every code—current, pending, or stored—along with its status and any freeze-frame data such as engine speed, vehicle speed, temperature, and load at the moment the fault was recorded. This snapshot can reveal whether the code set during a specific condition and may be vital if the fault is intermittent.
Also record the vehicle mileage, any recent repairs, battery problems, or jump-start events, and the circumstances surrounding the first warning. From outside the parked vehicle, note visible fluid spots or unusual odors, but do not crawl underneath or touch hot parts. Limit any owner fluid checks to procedures explicitly permitted in the owner's manual; sealed, hot, or under-vehicle checks must be left to a professional.
What Professional P1774 Diagnosis Should Establish
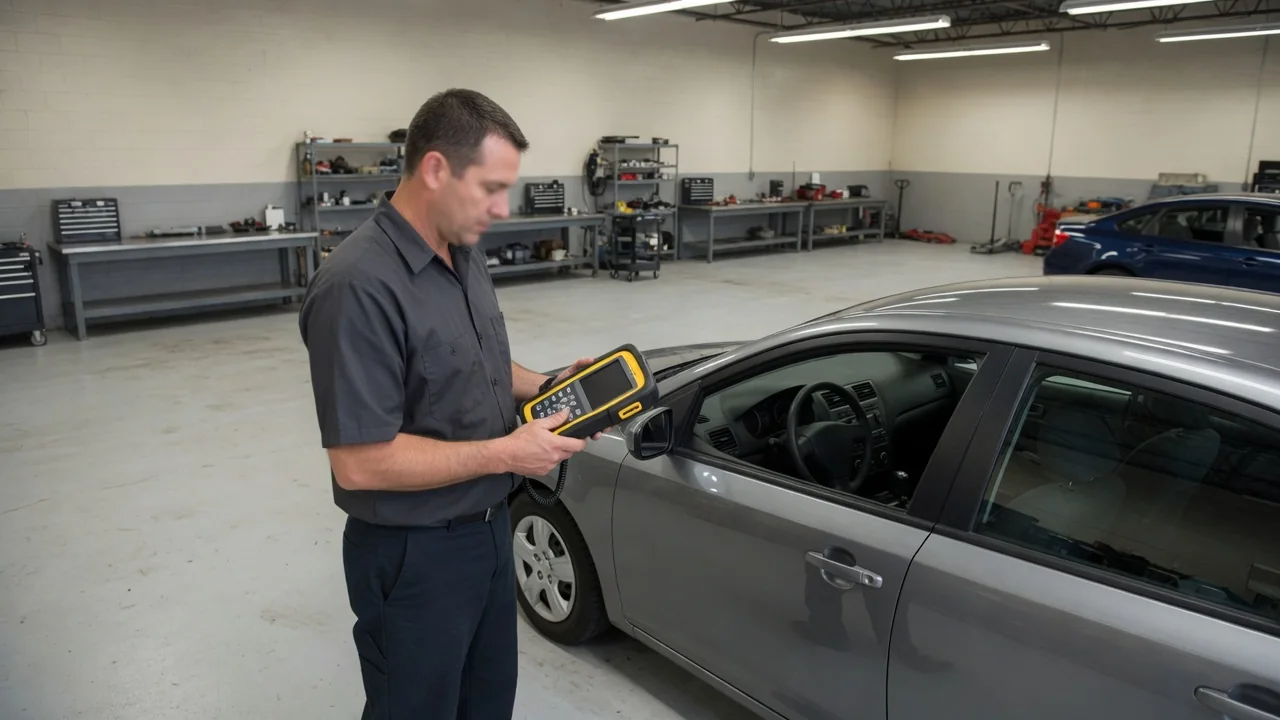
A professional diagnosis should use a scan tool that can access the relevant modules and manufacturer-specific fault information, not just generic OBD-II data. This allows the technician to read the exact code definition, view live data, and run bidirectional tests when available. Companion fault codes must be evaluated together, because another code may be the root cause and P1774 only a secondary effect.
Depending on the verified definition, testing may include electrical circuit checks, component operation commands, or hydraulic pressure evaluation. A methodical process follows the manufacturer procedure rather than guessing. Intermittent faults often require wiggling harnesses, monitoring data over time, or using a breakout box. An unreproduced symptom does not prove the problem is resolved; it may simply mean the conditions for failure did not occur during testing.
Choose a Supported Repair and Verify the Result
Every repair recommendation must be tied to a demonstrated fault, and there is no universal P1774 replacement part or reset procedure. If an electrical test confirms an open circuit in a specific wire, the repair is wiring repair; if a solenoid fails its resistance and operation test, replacement may be justified. Clearing the code or disconnecting the battery does not establish that the underlying problem has been repaired, because the module will simply re-run its self-test later.
Programming, adaptation, or relearn work should be performed only when specified for the vehicle and completed with appropriate equipment, such as a factory-level scan tool. After any repair, verification involves rescanning for codes, checking that the original symptoms have not returned under safe conditions, and following the applicable diagnostic procedure to confirm the fix. Ask for the confirmed code definition, test findings, repair rationale, and verification results on the repair order.