P1625 Code: Meaning, Symptoms, Causes, and Repair Options
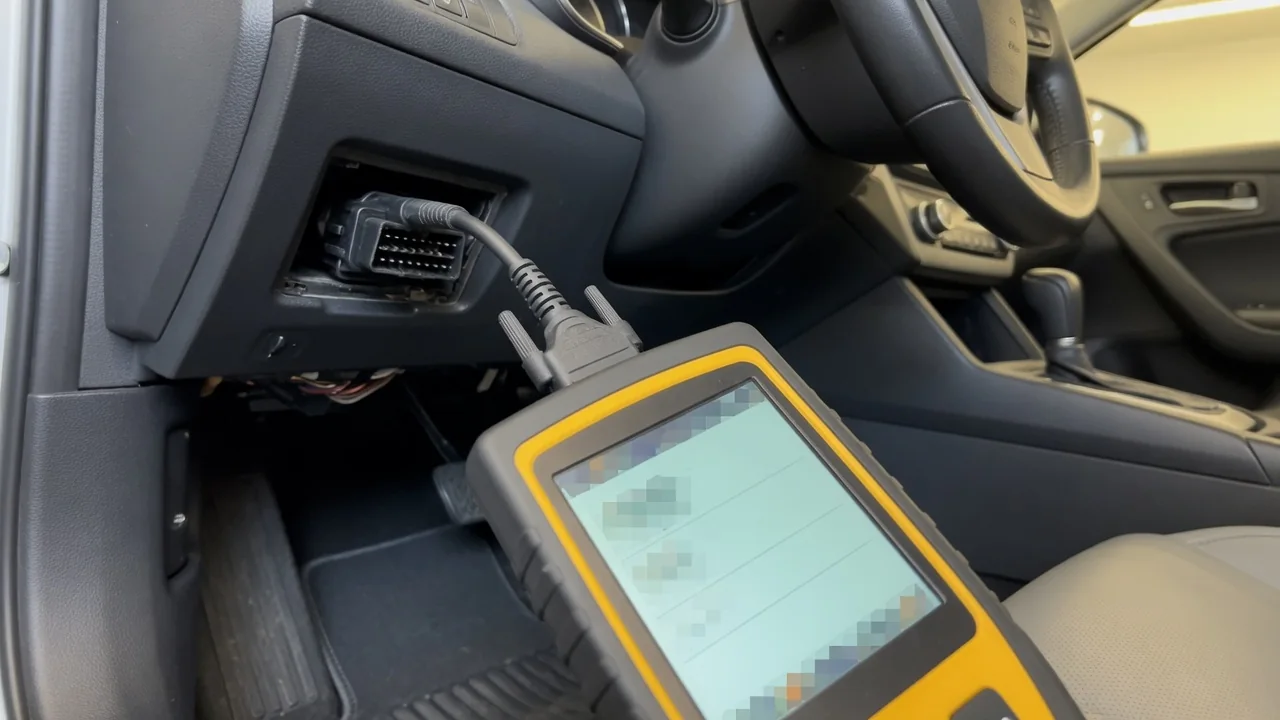
The P1625 code is not a single numeric fault with one fixed meaning. Because it belongs to the P1xxx range, the actual definition depends on the vehicle manufacturer, model year, and even the specific engine or transmission calibration. Reading a generic code list and guessing at a cause can send you chasing the wrong circuit and replacing expensive parts needlessly. Before interpreting the code, confirm exactly what your vehicle’s manufacturer says it means using the correct service information. Only then can you evaluate symptoms, inspect likely areas, and choose a repair or diagnostic step that actually fits your car.
What the P1625 Code Means and Why the Definition Depends on the Manufacturer
A P1625 code is classified as manufacturer-specific, which means each vehicle maker can assign it a different meaning. One brand may use it for an immobilizer or anti-theft signal issue, while another could define it as a cooling fan control circuit fault or a powertrain control module internal error. The same code on two different vehicles can point to completely different systems. Therefore, no single online definition can be trusted as universal, and applying a definition from one make to another creates incorrect diagnostics and wrong part replacements.
To verify the exact definition for your vehicle, check the factory service information, a dealer-level resource, or a scan tool that includes enhanced manufacturer-specific definitions. Generic OBD-II scanners typically show only a basic description or sometimes none at all for P1xxx codes. Before spending time or money on a repair, write down the code and then confirm its meaning for your specific make, model, year, and engine. This small step prevents misdiagnosis and keeps you from replacing parts that were never related to the actual fault.
Reading the Code Correctly: Freeze Frame Data, Related Codes, and Code Status
The full scan result matters more than the code number alone. A capable scanner can read codes stored in multiple control modules, not just the engine computer. A P1625 may appear alongside other powertrain codes or even body or chassis codes that reveal a shared power supply or network problem. Freeze frame data captures the conditions when the code set, including engine temperature, speed, and load. Reviewing that snapshot can show whether the fault occurred during cold start, hot idle, or high RPM, which narrows the possible circuit or environmental trigger.
Understanding code status also helps. A pending code means the fault was detected once or twice but the monitor has not completed enough checks to confirm it. A confirmed or current code has repeated and is actively present. A history code indicates a past issue that may be intermittent or already resolved. Before clearing anything, record every code and all freeze frame data from every module. Clearing erases that diagnostic information permanently, which can force you to wait for the fault to return and set the code again.
Symptoms Drivers May Notice With a P1625 Code
Because P1625 has different meanings across manufacturers, the symptoms drivers notice also vary. Some vehicles may store the code without lighting the check engine light, while others may turn on a warning lamp and continue running normally. In certain systems, a P1625 can trigger a reduced-power mode, limp-home strategy, or a no-start condition if the module believes a critical signal or security function is lost. Without the exact vehicle definition, you cannot predict which symptom applies, so treat your car’s behavior as the primary clue for a technician.
When the code does set, note the conditions: was the engine cold or fully warmed up, was the weather wet or extremely hot, and did the symptom appear right after a battery replacement, jump start, or accessory installation? These observations can point to wiring, charging, or module initialization problems. Also watch for other warning lights, such as the battery light, ABS, or security indicator, because a shared voltage drop or communication error can set multiple codes across different modules.
Possible Cause Categories to Consider After Confirming the Definition
Once you confirm the vehicle-specific definition, you can organize possible causes into general categories. The most common checks after a module-related code are wiring and connectors: look for cracked insulation, chafing against sharp brackets, water intrusion, or corrosion at terminals. Low or unstable system voltage often affects module operation, so a weak battery, loose ground, or failing alternator can set a code even if the named component itself is good. Sensor and actuator faults remain possible, especially if the confirmed definition points to a specific input or output circuit.
Recent electrical work can also set module-related codes. If a battery was disconnected or replaced, or if the vehicle was jump-started with reversed cables or a heavy spark, the powertrain control module may log a communication or internal voltage error. Adding aftermarket electronic accessories that draw power or inject noise into circuits can also create false fault codes. Do not rank these causes by frequency or name a specific part as failed until the circuit and system voltage have been tested according to the manufacturer’s service information.
Safe Checks You Can Do and the Limits of DIY Diagnosis
With the engine off and the key removed, you can perform several low-risk visual checks. Inspect the battery terminals for tightness and corrosion, and follow the main ground cables where visible for loose or corroded connections. Look at accessible wiring harnesses near the engine, transmission, and body for melted insulation, rubbed spots, or connectors that are not fully seated. These simple observations can identify an obvious power or ground issue that would cause a module-related code without any special tools.
If the vehicle drives safely, you can also complete a normal drive cycle and then rescan to see whether the code returns immediately or after conditions change. A code that returns right away suggests a hard fault, while one that stays away for several days may be intermittent. However, a fault code is evidence that a circuit or system behaved abnormally, not proof that a specific part has failed. Replacing a sensor or module based on a code alone is expensive and often fails to fix the underlying problem.
When Professional Testing Is Needed and What It Usually Involves
Go to a professional when the code keeps returning after you have checked the basics, when multiple warning lights appear, when drivability worsens, or when the vehicle will not start. A repair shop with a manufacturer-level scan tool can read all modules, perform bidirectional tests, and access the exact service procedure for your VIN. They may check wiring continuity, pin-fit tension, module power and ground, and communication network signals. They can also look up technical service bulletins to see if the manufacturer has issued a repair pattern or software update for your specific code.
Software updates matter because some manufacturer-specific codes are caused by a known calibration error, not a hardware failure. Reprogramming a module with the latest dealer software may correct the fault without replacing any part. When you talk to the shop, ask which test actually confirmed the problem, whether the code definition was checked against your exact vehicle, and whether a bulletin or update applies. A good technician should be able to explain the circuit or signal that failed, not just read the code back to you.
Repair Options and How to Confirm the Fix Worked
Repair options follow directly from the confirmed cause. Wiring or connector damage may require splicing in new wire, replacing a terminal, or cleaning corrosion and applying dielectric grease. Battery or charging system problems are corrected by repairing the charging circuit or replacing the battery or alternator only after testing proves they are faulty. If a sensor or actuator did fail, replacement is the usual path, but only after the circuit tests confirm the part is not receiving the correct power, ground, or signal. Some module faults are fixed by reprogramming the existing module rather than replacing it.
After the repair, the shop should clear the codes and complete the manufacturer’s specified drive cycle to run the monitors and confirm the code does not return. Some replacement modules or components may require programming or initialization with dealer-level tools before they will work properly. Repair cost depends on the cost of the failed part, the amount of labor to reach it, and whether programming or special equipment is needed. Rechecking for pending or returning codes after a few days of normal driving is the best way to know the fix actually worked.