P1425 Code: Verify Its Meaning and Plan the Next Steps
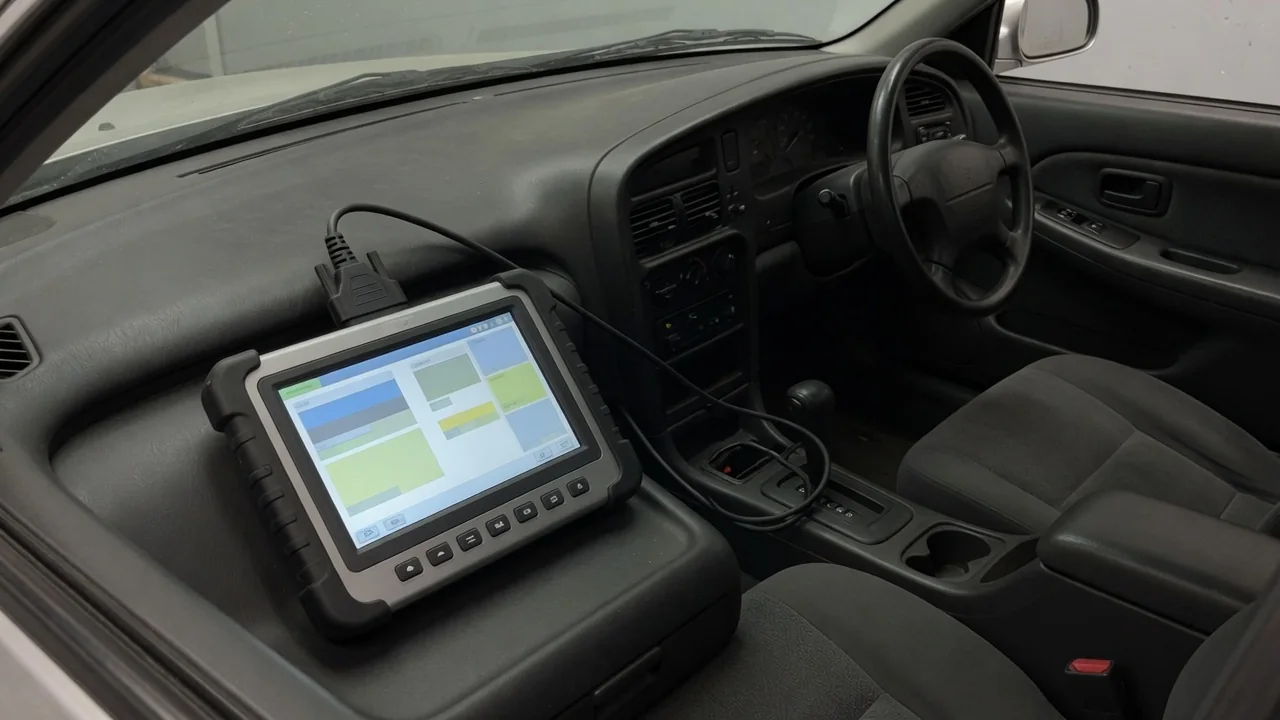
A P1425 diagnostic trouble code can appear on many vehicles, but its meaning is not universal. Because this is a manufacturer-specific code, the same number may describe different detected conditions depending on the make, model, model year, engine, and control module. Before interpreting the warning or planning any repair, the exact vehicle must be verified. A generic scan tool label may be incomplete, and the code alone does not identify a failed part. The following sections outline how to confirm the definition, preserve diagnostic evidence, evaluate drivability, narrow causes, separate observations from testing, and pursue a verified repair.
Verify What P1425 Means for the Exact Vehicle
P1425 is assigned by individual vehicle manufacturers, so its definition changes across brands and platforms. Two vehicles with the same code may require completely different diagnostic steps. To interpret the code correctly, record the year, make, model, engine designation, and the control module that reported the fault. Vehicle service information for that specific application is the only reliable source for the full code description and the conditions that set it. Without this step, assumptions based on common patterns for other vehicles can lead to misdiagnosis.
Even when a scan tool displays a text label next to P1425, that label may be generic or drawn from a database that does not match the vehicle. The code identifies a condition the manufacturer expects its software to monitor, such as a circuit range or performance check. It does not prove which component is defective. A wiring fault, connector problem, or a condition elsewhere in the system can trigger the same code. Verification against the applicable service information is the first diagnostic action.
Record Scan Results Before Clearing Anything
Before clearing any diagnostic trouble code, record the exact code text, the reporting module, the code status including pending or confirmed, and any freeze-frame data available on the scan tool. Freeze-frame data captures operating values, such as engine speed and temperature, at the moment the fault was detected. These values can reveal whether the code set under acceleration, during warm-up, or under another specific condition. Accompanying codes should also be noted because one fault may influence another and change the order of testing.
Clearing codes erases freeze-frame data and resets readiness monitors that show whether emission tests have completed. If the underlying condition remains, the code may return only after a specific drive cycle, leaving the technician without the captured conditions. Note any recent repairs, battery disconnections, or unusual events before the warning first appeared. Timing alone does not prove a cause, but it helps the technician evaluate whether the fault is intermittent, stable, or related to a known system change.
Document Symptoms and Assess Whether to Keep Driving
A warning light may be the only noticeable symptom associated with P1425. Many manufacturer-specific codes monitor circuits or systems that have no direct effect on drive feel. Other drivers may report starting difficulty, rough idle, reduced power, unusual exhaust odor, or changes in fuel economy. These observations are not universal symptoms of P1425 and cannot confirm what the code means on a particular vehicle. However, documenting exactly when each symptom occurs and whether it changes with engine temperature or load provides useful direction for later testing.
Whether the vehicle can be driven safely depends on the verified code definition, the actual symptoms, and any additional warnings on the instrument panel. A steady malfunction indicator light often allows continued operation if the vehicle behaves normally, but a flashing light, severe misfire, overheating, smoke, or a strong fuel odor requires stopping safely and seeking assistance. If the verified code relates to a critical system such as the throttle or fuel delivery, or if the vehicle enters a reduced power mode, avoid driving until a professional diagnosis is completed.
Connect Possible Causes to the Verified Code Definition
Possible causes for P1425 must be limited to the system and detection conditions identified in the vehicle-specific service information. The code description often points to a monitored circuit, a subsystem performance range, or a correlation between two sensor readings. From that definition, a technician can determine whether to test electrical connectors, wiring continuity, component response, or related system behavior. These checks are only appropriate when the verified code definition supports them, not based on a generic fault list for the number.
Operating conditions captured in freeze-frame data and any accompanying codes help narrow the diagnostic path. For example, if the code sets only during cold start and another code indicates a sensor heater issue, the technician may check shared power or ground paths. If the code appears only under high load, the diagnostic focus may shift to voltage supply or a solenoid response. Without vehicle-specific evidence, naming a most common failure or recommending a replacement part would be premature. The role of the technician is to follow the test procedure that matches the exact code definition.
Separate Safe Observations From Professional Testing
Owners can safely record dashboard messages, note any symptoms, and look for obvious visible damage with the vehicle parked and powered off. A visual inspection may reveal a disconnected hose, corroded connector, or damaged wiring near a heat source. However, an intact-looking component or connector does not establish correct operation. Internal faults, high resistance, or intermittent opens can exist without visible signs. Observations are useful for the technician but cannot replace circuit tests or scan data evaluation.
Professional diagnosis follows the test procedure specified for the vehicle and the verified P1425 definition. The technician evaluates live scan data, compares actual values to expected ranges, and checks the identified circuit or system using the manufacturer’s sequence. This may include electrical measurements, component activation through a scan tool, or pressure testing, depending on the verified code meaning. Electrical probing, backprobing connectors, pressure testing, and access near hot or moving components should be reserved for qualified technicians using proper safety procedures and service information.
Choose an Evidence-Based Repair and Confirm the Result
The appropriate repair follows a confirmed fault identified during testing. Depending on the verified definition, the fault may be a loose connection, damaged wiring, a failed component, or a related system condition that affects the monitored circuit. Ask the shop to explain the verified code meaning, the test findings, and the evidence supporting the proposed repair. A professional should be able to show which measurement or scan data value fell outside the expected range and how the recommended part or repair addresses that specific deviation.
Repair cost varies with the vehicle, diagnostic labor, access difficulty, and the confirmed fault, so precise prices cannot be quoted without that information. After the repair, the applicable procedure should be followed to verify success. This often includes clearing the code, running the manufacturer’s drive cycle for the relevant monitor, and confirming that no codes return and the symptoms are gone. Simply clearing the warning light does not prove success; the system must complete its self-test and produce a passing result before the repair can be considered confirmed.