P1295 Code: Verify Its Meaning, Diagnose the Cause, and Plan Repairs
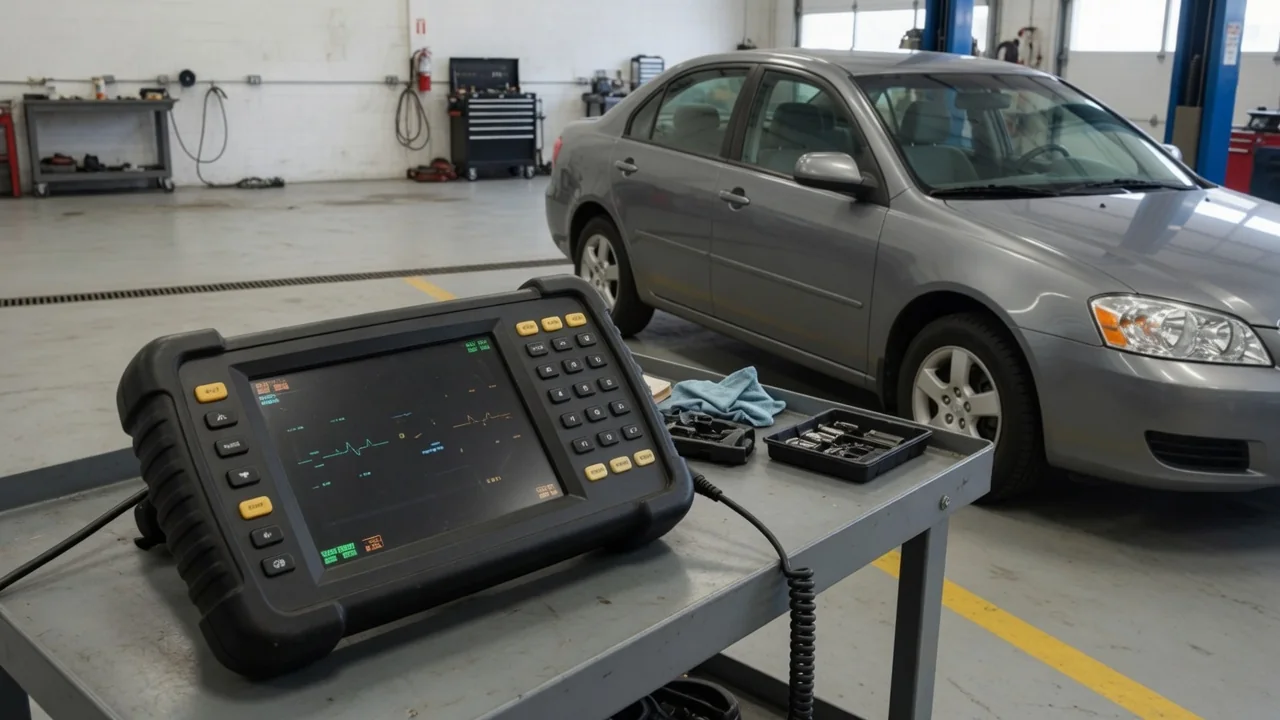
When your scan tool displays a P1295 code, the meaning is not universal. This manufacturer-controlled diagnostic trouble code can point to different faults depending on the vehicle's make, model, year, and engine. You need vehicle-specific service information to interpret it accurately. Drivers often see P1295 alongside other warning lights or driveability concerns, but sometimes there are no symptoms at all. The right response starts with recording what you observe and confirming the exact definition before any repair decisions.
Verify What P1295 Means for Your Vehicle
P1295 is a manufacturer-specific powertrain code, meaning its definition is assigned by the vehicle maker rather than mandated by an industry standard. A generic OBD-II scanner may offer only a short or misleading description. Without the make, model, year, engine, and relevant vehicle identification details, you cannot know whether the code applies to a fuel injector circuit, a throttle actuator, a turbocharger control, or another system entirely. Any attempt to diagnose or repair based on a generic interpretation risks misdirected work.
The confirmed definition determines which diagnostic procedure applies, so pulling the code is just the first step. Vehicle-specific service information will list the exact setting conditions, the electrical circuit involved, and the expected scan data. This is the same information a professional technician uses to separate a P1295 that indicates a sensor plausibility error from one that monitors an actuator driver. Until that definition is verified, the code remains a signpost rather than a diagnosis.
Record Symptoms and Decide Whether to Keep Driving
Before doing anything else, make a written record of warning lights, starting behavior, idle quality, power delivery, and when the concern occurs. Does the engine crank slowly? Does it misfire only when cold? Is there hesitation during acceleration? These observations help later, but they do not prove what the code is about. A P1295 may be stored without any obvious driving symptom, and the absence of symptoms does not mean the fault is minor or safe to ignore.
If the vehicle stalls, has unreliable accelerator response, severe power loss, overheating, or behaves unsafely, stop in a safe location and seek assistance. Continue driving only if the vehicle is operating normally and no safety-related symptom is present. Do not attempt test drives to reproduce a potentially dangerous condition. A stored code is evidence for diagnosis, not a green light to push the vehicle into a hazardous state.
Understand Possible Causes After Confirming the Definition
Once you have verified the vehicle-specific definition of P1295, you can organize possible causes around the system it points to. If the code relates to a circuit, consider wiring, connectors, electrical supply, and the component itself. If it is a performance or rationality code, look at sensors and mechanical conditions. But the code alone cannot tell you whether a wire is broken, a connector is corroded, or a sensor has failed. It only says the control module saw a value outside the expected range.
A fault code identifying a circuit or system does not prove that a named component needs replacement. Replacing a sensor or actuator based on the code alone often leaves the real problem untouched. For example, a code that references a particular sensor may be caused by high resistance in its ground circuit or a damaged connector. Avoid claiming a most common failure or recommending a replacement part without vehicle-specific evidence. The diagnostic procedure will include tests to isolate the actual cause.
Save Diagnostic Evidence Before Clearing P1295
Before clearing P1295, save all the diagnostic evidence. Write down the exact code description, the diagnostic trouble code status, any companion fault codes, and the freeze-frame data. Freeze-frame data captures the operating conditions when the fault set, such as engine speed, coolant temperature, load, and fuel trims. A pattern in that data can help a technician diagnose an intermittent concern that does not occur during a shop visit.
Recent repairs, battery issues, and the sequence of symptoms are all useful history, but timing is not proof of cause. A low battery can trigger communication errors and spurious codes; a recent repair might have left a connector loose. Keep owner observations limited to accessible areas with the engine off and cool. Do not probe circuits, disconnect components, or reach near moving parts. The goal is to preserve information safely, not to perform a roadside diagnosis.
Know What Professional Testing Must Establish
A professional technician should follow the diagnostic procedure for the confirmed P1295 application, not a generic flowchart. This procedure often begins with checking relevant companion codes and reading scan data to see if the fault is currently present. Electrical measurements, actuator commands, and system tests can then establish whether the reported condition is active or intermittent. The test sequence is designed to avoid replacing parts based on guesswork.
Intermittent faults may require additional observation when the initial inspection is inconclusive. The technician may use a scan tool to monitor live data while the vehicle is driven under safe conditions, or may secure a breakout box to watch a signal over time. The exact method depends on the system involved and the service information. Circuit testing and component access should be performed only by someone with the proper tools and training; the explanation here is not a how-to for hazardous repairs.
Choose an Evidence-Based Repair and Verify the Result
Choose a repair only after the diagnostic procedure has confirmed the cause. If a connector is corroded, repair it. If a wire is broken, fix the circuit. If a component is actually out of specification, replace it. Clearing P1295 alone does not repair anything; it merely erases the evidence until the fault sets again. The confirmed cause, not the code, determines the parts and labor needed.
After the repair, run the applicable verification procedure. This may include checking that the code status becomes history or cleared, observing scan data within specification, and confirming symptom resolution under safe operating conditions. If P1295 returns, do not fall back to repeated part replacement. The saved evidence and the new code data allow renewed diagnosis, often with a different focus. The goal is a verified fix, not a guess that happens to turn off the light.