P1261 Code: Meaning, Symptoms, Causes, and Fixes
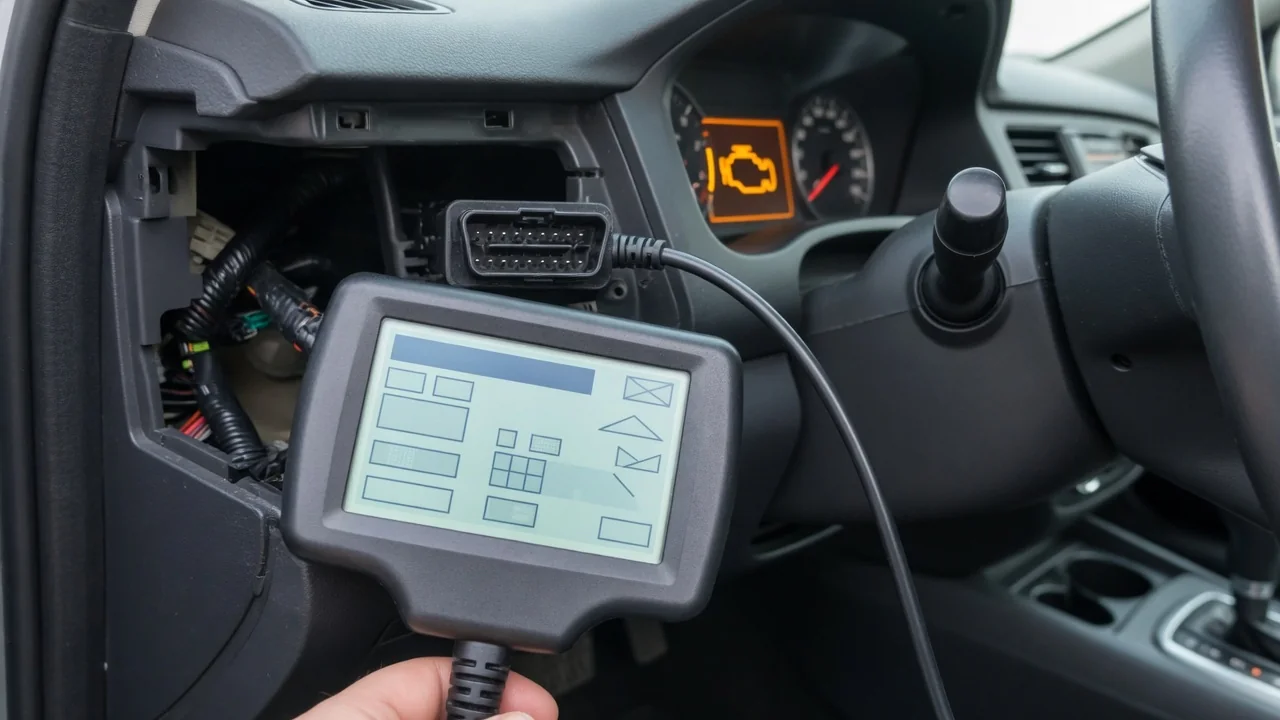
A stored P1261 code leaves many drivers guessing because it does not point to one universal fault. Unlike generic powertrain codes, P1xxx entries are manufacturer-specific, so the same number can carry different meanings across brands, engines, and model years. Before replacing parts or worrying about the check engine light, the exact definition for your vehicle must be confirmed. The following sections explain why this code is ambiguous, how to read supporting scan data, what symptoms may appear, and how to approach diagnosis and repair without unnecessary expense.
What P1261 Means and Why the Definition Depends on the Manufacturer
P1261 belongs to the P1xxx range, which automakers reserve for enhanced diagnostic codes. There is no single definition that applies to every vehicle, because each manufacturer assigns its own meaning to this number. On one brand it may refer to an injector circuit condition, while on another it could relate to a glow plug module or throttle actuator. The generic OBD-II standard stops at P0xxx definitions, so any lookup that treats P1261 as a universal code is unreliable. Treating a wrong definition as fact can send diagnosis in a completely wrong direction and waste money on unnecessary parts.
The only way to know what P1261 means for a particular vehicle is to use a scan tool that reads manufacturer-enhanced codes, consult OEM service information, or contact a dealer. Even within the same brand, the definition can change between model years and engine families. Before drawing any conclusion, confirm the exact wording and set conditions from a source that matches the vehicle identification and calibration. This first step is not optional: every later diagnostic and repair decision should be based on the confirmed vehicle-specific meaning rather than an assumption from a generic code chart.
Reading the Full Scan Data Before Drawing Conclusions
Before clearing the code or attempting any repair, a full scan should be saved. Record every stored, pending, and history code alongside P1261. A related code can change the diagnostic direction entirely: for example, a circuit code from another module may point to a shared power or ground concern. Some vehicles set multiple codes for a single root cause, and reading only the first one can hide the real problem. A basic code reader may show only the primary code, so a more capable scan tool or a professional system may be needed to reveal the complete picture.
Freeze frame data is equally important because it captures engine conditions at the moment the code was set, such as coolant temperature, engine speed, and calculated load. This snapshot can show whether the fault occurred during a cold start, under heavy acceleration, or after a long highway run. Note the behavior of the check engine light: is it steady or flashing? Flashing generally indicates a misfire condition that may damage the catalytic converter. Clearing the code erases freeze frame information, so doing so only to see if the code returns removes evidence that a technician would otherwise use.
Symptoms Drivers May Notice With P1261
Because P1261 does not have one fixed meaning, there is no universal symptom list. The observed symptoms depend entirely on the system that the manufacturer has tied to this code. In some cases, a P1261 may set without any noticeable change in drivability; the warning light may be the only clue. In other cases, the fault condition may affect idle stability, cause hesitation on acceleration, or reduce available power. Hard starting, rough running, or an unusual exhaust odor can also appear, but none of these are guaranteed for every vehicle with this code.
Certain symptoms should never be ignored, especially if they appear together with a check engine light. A flashing light, strong fuel smell, overheating, or an active reduced-power mode indicates a condition that could cause further damage or create a safety risk. Continuing to drive under those circumstances can be dangerous and may turn a simple electrical repair into an expensive mechanical one. If any of these serious warnings are present, the vehicle should be stopped as soon as it is safe and towed to a repair facility. Otherwise, the vehicle may be driven cautiously while diagnosis is arranged, provided the light remains steady and operation feels normal.
Possible Cause Categories Once the Meaning Is Confirmed
Once the vehicle-specific definition is known, the possible causes can be grouped into broad categories. Wiring and connector problems are common for many P1xxx codes, including chafed insulation, loose terminals, corrosion, or a connector that has backed out. Circuit faults can include opens, shorts to ground, or shorts to voltage, and these are often diagnosed by testing the circuit rather than replacing a component. Component failures are possible, but the code alone rarely proves that a particular part has failed. A manufacturer-specific trouble code identifies a condition or a circuit that is outside expected parameters, not necessarily a bad sensor or actuator.
Control module and software problems should also be considered. Some codes are set by a module that has an internal fault or an outdated calibration, and a technical service bulletin may describe a known issue with a repair procedure or software update. Checking with a dealer or OEM information for the specific vehicle is the reliable way to find such bulletins. Replacing a part without verifying the circuit and checking for updates often results in the code returning shortly after the repair. The confirmed definition should guide which of these categories is most plausible, and testing should be used to narrow the list.
Safe Checks an Owner Can Do and Their Limits
With the engine off and cool, an owner can perform some safe visual checks. Look for obviously damaged, chafed, melted, or disconnected wiring and connectors in the area related to the confirmed code. Pay attention to harness routing near hot or moving parts, because heat and vibration are common causes of wire damage. If the code is associated with a particular component, inspect its connector for signs of corrosion or moisture. These observations are low risk, but they should be done without unplugging components unless the key is off and the system is known to be safe.
Noting when the fault appears can help a technician reproduce the condition. Does the code set on a cold start, after driving in rain, or only when the engine is fully warm? This pattern is valuable diagnostic information and costs nothing to record. However, a visual check and a basic code reader cannot prove wiring integrity or confirm a failed component. Probing high-voltage, fuel system, or injector circuits is not safe for a typical owner and should be left to a professional. Guessing at parts based on a code definition is often expensive and frequently does not fix the problem.
How Professional Diagnosis of P1261 Typically Works
A professional technician begins with the manufacturer's diagnostic procedure for the confirmed P1261 definition. This procedure usually starts with the recorded freeze frame data and any related codes, then moves to circuit testing. Tests may include checking for power, ground, and signal continuity with a digital multimeter, or using a scope to look at waveform patterns. Live data is often reviewed to see how the relevant sensor or actuator responds when the engine is running and conditions change. Without this step, a repair is only a guess.
Specialized scan tools may be needed for certain enhanced diagnostic functions, such as running component tests, reading module-specific parameters, or checking for software updates. A generic code reader cannot perform these tasks. Before approving a parts replacement, an owner should ask for the test results that support the recommendation. If the technician can show an open circuit, a short, or a failed actuator test, the evidence is clear. After the repair, a road test and a final code recheck are necessary to confirm that the fix actually resolved the condition and did not simply clear the code temporarily.
Repair Approach and Whether It Is Safe to Keep Driving
The correct repair for P1261 depends entirely on the verified cause. It may be as simple as repairing a damaged wire or cleaning a corroded connector, or it may require replacing a failed component. In some cases, a software update or a module reprogramming is the only fix. Because the code is manufacturer-specific, no single repair applies to every vehicle. The decision to keep driving also depends on the symptoms. If the vehicle runs normally and the check engine light is steady, a short drive to a repair shop is usually acceptable. If drivability is poor or the light is flashing, towing is the safer choice.
Ignoring a recurring P1261 is not recommended. An unresolved fault can affect emissions readiness, reduce performance, or set the stage for a secondary failure. The most cost-effective sequence is to confirm the vehicle-specific meaning, record all scan data before clearing, perform safe visual observations, and then seek professional testing if the cause is not obvious. A code number is a starting point, not a conclusion. With the right information, many P1261 faults turn out to be simple and inexpensive to repair, while blind parts replacement can quickly become costly and frustrating.