P1251 Code: Meaning, Symptoms, Causes, and How to Approach Repairs
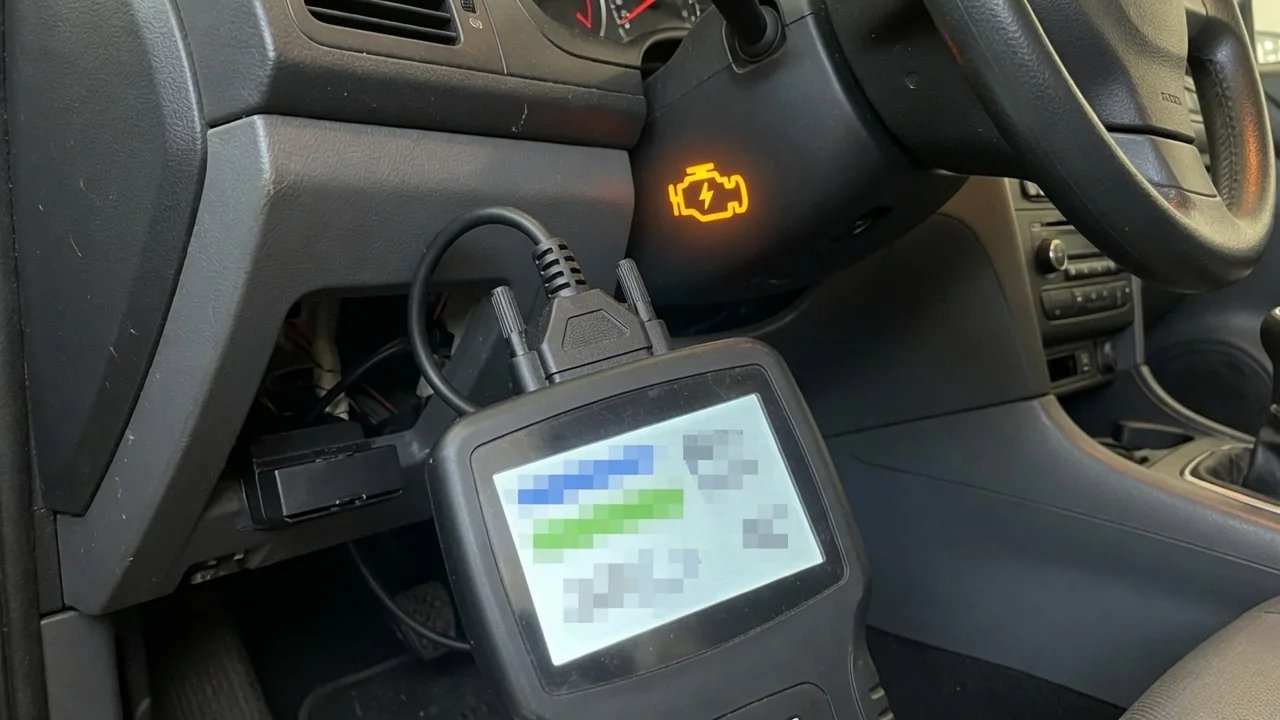
A P1251 code is a manufacturer-specific diagnostic trouble code, meaning its interpretation varies by vehicle make, model, year, and engine. The check engine light signals a fault, but without the correct definition you risk chasing the wrong system. Confirm the exact meaning for your vehicle using factory service information or an enhanced scan tool before checking symptoms or planning repairs. This article explains how to interpret P1251, recognize related symptoms, consider cause categories, perform safe initial checks, and understand professional diagnosis and repair confirmation.
What P1251 Means and Why the Definition Depends on Your Vehicle
OBD-II trouble codes beginning with P1 fall into the manufacturer-controlled range. The letter P indicates a powertrain fault, the first digit 1 denotes a manufacturer-specific extension, and the following digits further identify the fault only within that automaker's system. Therefore, P1251 lacks a universal definition; the same code on a different vehicle may point to an actuator circuit, a sensor, or a control module issue. Always confirm the definition for your exact make, model, year, and engine from factory service information, a dealer, or a scan tool with enhanced manufacturer data.
Relying on generic code lists or forum posts that do not match your vehicle is unreliable. An incorrect definition leads to wrong diagnostics, unneeded parts, and wasted money. Because P1251 can represent different systems even within one brand depending on model year or engine option, treat the code as a starting point rather than a conclusion. Use vehicle-specific resources to identify the affected subsystem, then proceed with focused testing. Accurate interpretation is the first step toward an efficient repair.
Symptoms Drivers May Notice With P1251 Stored
Symptoms associated with P1251 depend entirely on the system the manufacturer has assigned to the code, so no single list applies to every vehicle. Drivers may observe a steady check engine light or a flashing light indicating a severe misfire or catalyst-damaging condition. Other possible signs include rough idle, hesitation during acceleration, reduced power, or a limp-mode feel that limits performance. Some vehicles may show no noticeable drivability change while the code is stored, making the warning light the primary clue.
Note when symptoms appear to assist a technician later. Record whether the problem occurs on a cold start, at warm idle, under load, or at highway speed. Watch for changes in fuel economy or unusual noises. If the check engine light flashes or you experience a major loss of power, limit driving and have the vehicle inspected promptly. These signs indicate a condition that could damage emissions components or cause a breakdown, so timely attention is important.
Common Categories of Causes Behind a Manufacturer-Specific Code
Once the exact definition of P1251 is known, cause categories become more focused. Common categories across many manufacturer-specific codes include wiring and connector problems such as corrosion, loose terminals, or chafed insulation; a failed actuator or sensor within the referenced circuit; vacuum or hose issues like cracks or disconnections that alter pressure readings; and control module or software concerns affecting system operation. The actual likely causes for your vehicle depend on the factory diagnostic information and the components involved in that specific circuit.
Review all related codes stored at the same time because they may share a power supply, ground, or data bus and change the interpretation. Avoid assuming a particular part is the most common failure or assigning failure rates without supporting data. Instead, test the system described in the confirmed definition. This category-based approach prevents premature focus on a single component before diagnostic evidence supports it.
Safe First Checks You Can Do Before Visiting a Shop
Before visiting a shop, gather useful information safely. Use an OBD-II scanner to read all stored and pending codes, and record freeze frame data that captures engine conditions such as RPM, temperature, and load at the moment the code set. Do not clear the codes. With the engine off and cool, perform visual checks on easily accessible areas: look for obviously loose or damaged connectors, chafed wiring, and disconnected or cracked hoses. These observations may reveal simple faults but are not a substitute for professional diagnosis.
Check whether the manufacturer has published technical service bulletins or software updates for your vehicle, though do not assume one exists. Clearing the code without a repair only hides the problem and erases freeze frame and readiness monitor data that a technician needs. Keep all checks observational only; do not probe electrical circuits, remove components, or work near hot, moving, or high-pressure parts. Safety is essential.
How a Technician Diagnoses P1251 Properly
A professional technician begins by confirming the manufacturer definition for P1251 on your exact vehicle and then follows the factory diagnostic procedure. They connect a scan tool capable of reading live data from the related system and perform circuit checks, actuator commands, and component tests that require proper equipment and specifications. A basic code reader only displays the code, while enhanced or dealer-level tools show live sensor values, force actuators to operate, and access manufacturer-specific tests to pinpoint the fault.
When taking your vehicle to a shop, ask specific questions: What is the confirmed definition of P1251 for this car? What test revealed the fault? Why does the recommended repair address that test result? A trustworthy technician will explain how the diagnosis points to a specific component or wiring issue rather than suggesting a part based solely on the code number. This understanding helps you avoid unnecessary replacements and builds confidence in the repair plan.
Repair Approach, Driving Concerns, and Confirming the Fix
The repair for P1251 depends on the verified cause and may range from fixing a connection or replacing a damaged wire to installing a new component or updating software. Never replace parts based only on the code number; a test-confirmed diagnosis saves money and prevents repeat failures. For example, if a wiring issue causes an intermittent signal, replacing a sensor will not solve the problem. Proper diagnosis identifies whether the issue is electrical, mechanical, or software-related before any parts are ordered.
To judge whether you can continue driving, consider the check engine light behavior and other symptoms. A steady light with normal driving may allow a short drive to a shop, but a flashing light, warning messages, or clear drivability problems require stopping and seeking immediate help. After the repair, confirm the fix by clearing codes, completing the relevant drive cycles, and checking that the code does not return and readiness monitors complete. Repair costs vary depending on the confirmed cause and the vehicle, so obtain an estimate based on the diagnosis rather than a generic code lookup.