P1237 Code: Vehicle-Specific Meaning, Symptoms, and Repair
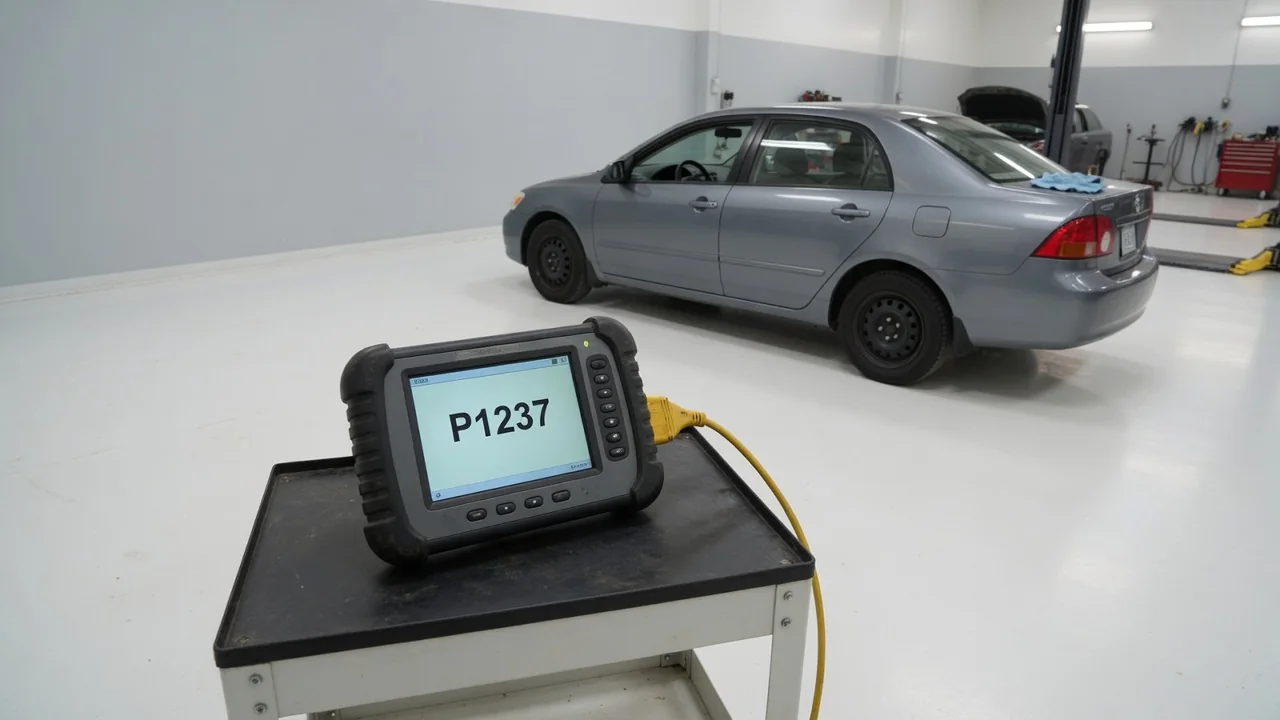
When a scan tool displays P1237, the description may be vague or incorrect because this is a manufacturer-specific trouble code. The same code can point to different systems depending on the make, model, year, and engine. Before suspecting any part, you need vehicle-specific information to understand what the powertrain control module is reporting. This article explains how to verify the meaning, interpret symptoms, preserve diagnostic evidence, and choose a repair based on confirmed testing rather than guesswork.
Verify What P1237 Means for Your Vehicle
P1237 does not have a universal definition across all vehicles. It belongs to a range of codes that automakers can assign to unique monitoring circuits or logic. For one brand it may relate to a fuel pump driver module feedback circuit, while for another it could indicate a turbocharger bypass valve position sensor concern. Using a generic OBD-II scanner may show a broad description, but this cannot tell you which system or component needs attention on your specific vehicle.
To verify what P1237 means, record the complete vehicle identification details: make, model, model year, engine displacement, fuel type, and any submodel or trim. This information allows you to look up the correct manufacturer diagnostic information, such as the factory service manual or a reputable online database. Only after confirming the vehicle-specific definition can you interpret symptoms, potential causes, and test procedures accurately. All subsequent sections assume this verification has been done.
Record Symptoms and Decide Whether to Keep Driving
A stored P1237 code may illuminate the check engine light or another warning lamp, but sometimes no obvious change in operation is noticed. Depending on the confirmed definition, you might experience hard starting, stalling, or a loss of power, but these are not universal symptoms. Some vehicles may enter a fail-safe mode that limits performance while still running. If the code relates to an emissions device, drivability may remain normal, yet the light stays on to alert you to a monitored fault.
Record exactly when the concern occurs: during cold startup, after the engine warms up, under acceleration, at idle, or only on rough roads. Note the outside temperature, engine temperature, and whether the problem appears consistently or intermittently. Do not deliberately recreate a dangerous condition such as full-throttle operation during a misfire or fuel smell. If you experience stalling, severe power loss, a raw fuel odor, or visible smoke, stop driving as soon as it is safe and have the vehicle towed to avoid further damage or a safety hazard.
Understand Potential Causes Without Condemning a Part
Once you know which circuit or system the P1237 definition references, you can build a cause list from that information. Potential causes often include damaged wiring, corroded connectors, poor terminal contact, a failed sensor or actuator, or an issue with power and ground supply to a module. For example, a fuel pressure sensor circuit code could be set by a chafed wire shorted to ground, not necessarily a faulty sensor. The code tells you the control module detected a signal outside expected parameters.
It is essential to understand that a diagnostic trouble code is not a component verdict. P1237 identifies a monitored condition, such as an implausible voltage or a correlation error between two sensors, but it does not prove that the named part has failed. Condemning a fuel pump, turbocharger, or throttle body based only on the code often leads to expensive and ineffective repairs. Treat the code as the starting point for diagnosis, and avoid labeling any cause as common without evidence from the specific vehicle's service history and test results.
Preserve Diagnostic Evidence and Make Safe Observations
Before clearing any code, write down the exact description, status (stored, pending, or permanent), and any accompanying codes. Many scan tools can display freeze-frame data, which captures engine speed, coolant temperature, vehicle speed, and fuel trims at the moment the fault was recorded. This snapshot is vital for reproducing the conditions during testing. Also note any recent repairs, battery replacement, or jump-start events, as voltage interruptions or disconnected connectors can trigger temporary codes that are not current faults.
With the engine off and cool, you may visually inspect accessible wiring and connectors related to the confirmed system. Look for obvious damage such as cracked insulation, loose plugs, corrosion, or signs of rodent chewing, but do not disconnect or probe any component unless you have the correct service information and tools. Clearing codes or disconnecting the battery before diagnosis erases the freeze-frame data and readiness monitors, making it harder for a technician to confirm the fault. Preserve all evidence until the cause is found.
Know What Professional P1237 Testing Should Establish
A professional diagnosis of P1237 should begin by following the manufacturer's specific diagnostic procedure for that exact code and vehicle. The technician will review the code description, compare the freeze-frame data to the current operating conditions, and attempt to reproduce the fault. Related codes are not random; they often share a common power supply, ground path, or data bus. For example, multiple sensor circuit codes may point to a shared 5-volt reference shorted by one failed sensor. Skilled interpretation of the recorded data narrows the test sequence.
Professional testing typically includes checking wiring continuity, connector pin tension, power and ground integrity, and the component's resistance or output signal using a digital multimeter or lab scope. The exact method depends on the circuit, but the concept is always to verify whether the monitored signal falls outside the expected range when the fault condition is met. An intermittent P1237 may require a road test with a data logger or a wiggle test. An inconclusive test result does not justify replacing a part speculatively; it means further observation or different test conditions are needed.
Choose a Supported Repair and Confirm the Result
A supported repair follows directly from a demonstrated fault. If a connector terminal is loose or a wire is open, the repair is to restore the connection properly. If a sensor fails its resistance or output test under the conditions specified by the factory manual, replacing that sensor is justified. For any replacement part, confirm that it is the exact part number for your vehicle and that no programming, initialization, or setup procedure is required afterward. Some modules need to be configured with a scan tool before they will operate correctly.
Clearing P1237 with a scanner is not a repair. Once the fault is corrected, clear the code, perform a drive cycle as described in the service information, and verify that the symptom is gone and the code does not return. If the code comes back, do not start replacing other parts based on new guesses. Instead, review the original freeze-frame data, compare the conditions of the return, and recheck the previous test results. Often the first repair addressed a secondary issue, and the actual root cause was missed or a new fault has appeared.