P1236 Code: Verify Its Meaning, Symptoms, and Repair Path
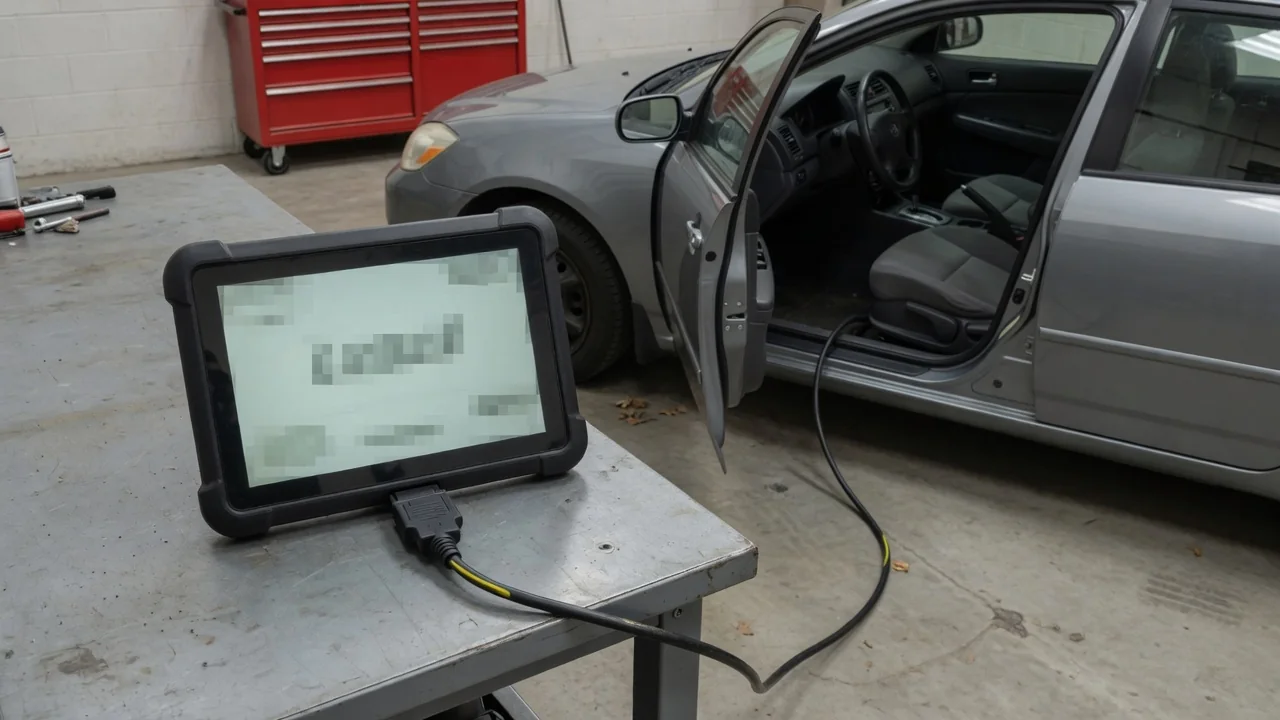
A P1236 diagnostic trouble code can appear when your vehicle’s control module detects a condition outside expected parameters, yet the exact meaning is not universal. Because this is a manufacturer-specific code, the monitored system, fault criteria, and likely causes vary by year, make, model, and engine. Reading the code alone is only a starting point. Safe and accurate repair requires confirming the definition in vehicle-specific service information, then interpreting symptoms, freeze-frame data, and related codes before any component is replaced or cleared.
Verify What P1236 Means for Your Vehicle
P1236 is not defined by a single generic standard across all vehicles. One manufacturer may use it to flag a fuel pump control circuit issue, while another applies it to a turbocharger or glow plug control concern. The only reliable way to know what the code means for your vehicle is to check the service information for the exact year, make, model, engine, and sometimes the VIN or calibration level. Without that confirmation, any internet list of causes or fixes could send you toward the wrong system.
A scanner often displays a brief description such as “Fuel Pump Secondary Circuit Fault,” but that label can be incomplete or misleading. The description may reference a generic code family rather than the specific monitored condition your powertrain control module evaluated. The actual fault criteria—the voltage, time, or plausibility threshold that set the code—live in the manufacturer’s diagnostic documentation. That document also identifies the involved pins, component locations, and test steps, so treat the scanner text as a clue, not a diagnosis.
Record Symptoms and Decide Whether to Stop Driving
A stored P1236 code is a record of a past condition, not a prediction of how the vehicle will drive today. The same code can appear with no noticeable change in performance, or it may coincide with hard starting, rough idle, or reduced throttle response. Write down what you actually observe: warning lights, cranking time, unusual sounds, and whether the issue happens cold, hot, under load, or only after a fill-up. Avoid intentionally creating the fault just to see when it recurs; that can place unnecessary stress on components.
Some symptoms are more urgent than others. If the engine stalls in traffic, loses power suddenly, produces visible smoke, or you smell raw fuel, stop driving as soon as it is safe and arrange professional help. These signs suggest a fault that could affect safety, emissions, or cause further damage, but they are not present with every P1236 application. A simple warning light without drivability changes may allow a short, cautious trip to a shop, but never ignore a flashing or red warning indicator.
Identify Possible Causes Only After Confirming the Definition
Only after the definition is confirmed can you begin to list possible causes for P1236. The manufacturer’s diagnostic procedure will narrow the search to a specific circuit, sensor, actuator, or control strategy. For example, if P1236 applies to a fuel pressure sensor, the possible branches might include the sensor itself, its wiring, connector terminals, the reference voltage supply, or the module that reads it. Each branch exists only if the service information lists it for that code on that vehicle.
A code that mentions a component name does not mean that component has failed. P1236 might say “fuel pump control circuit” and still be caused by a rubbed wire, corroded terminal, or a blown fuse. The control module detects an electrical value outside its expected range and sets the code based on voltage, not on a direct proof of mechanical failure. Rank causes by testing evidence, not by internet popularity, and never replace a part simply because its name appears in the scanner description.
Preserve Useful Evidence Before Testing
Before clearing P1236 or allowing a shop to do so, preserve the diagnostic evidence. Save the complete scan report showing the code status—whether it is current, pending, or history—plus any related codes and freeze-frame data. The freeze frame captures the engine temperature, rpm, vehicle speed, and fuel trims at the moment the code set. Those values can reveal whether the fault occurred only during warm-up, under heavy load, or at a specific throttle position, narrowing the diagnostic path.
Also record recent events: a battery replacement, jump-start, previous repairs, or whether the code appears only occasionally. An intermittent concern can be the hardest to diagnose, and timing alone—such as “it only happens after rain”—does not prove moisture is the cause. Keep your observations limited to what you can safely check with the engine off and the key out. Do not probe electrical connectors, disconnect fuel lines, or touch hot or rotating parts; let the technician gather the additional evidence.
Understand What Professional Diagnosis Must Establish
Professional diagnosis starts with the verified code definition, then uses the related faults and freeze-frame data to choose a test path. If the manufacturer’s procedure calls for checking a control circuit, the technician may inspect the wiring harness, load-test the circuit, or measure voltage drop across connectors with the appropriate service tool. These tests are vehicle-specific and may require disabling fuel or ignition to avoid damage or injury, so they are not owner-level checks. The goal is to reproduce the fault condition or find a measurable deviation.
For intermittent P1236 codes that cannot be made to set again, the technician may need to monitor live data while wiggling harnesses or operating the suspected component. The repair should not be authorized until the fault is isolated to a crimp, a connector, a sensor, or a module, not just to a code description. If the shop cannot confirm the cause, replacing the most likely part is guessing. A defensible diagnosis shows which test failed and why that failure explains the code.
Plan the Repair and Confirm the Result
The correct repair for P1236 depends entirely on the confirmed defect. A damaged wire might need a soldered splice with heat-shrink protection; a failed sensor calls for the exact replacement specified for that engine calibration. There is no universal P1236 fix, and the labor to reach a connector behind the intake manifold can be far greater than the part cost. The estimate should reflect diagnostic time already spent, the fault location, and the labor to access and verify the repair.
After the repair, the technician should follow the manufacturer’s post-repair procedure, which may include clearing the code, performing a drive cycle, and checking that the readiness monitors complete. A follow-up scan should show no P1236 and no related codes, but clearing the code alone is not proof of a fix. The vehicle must be operated under the conditions that originally set the code while live data confirms the monitored values stay within range. Only then is the repair considered verified.