P1179 Code: Meaning, Symptoms and Fixes
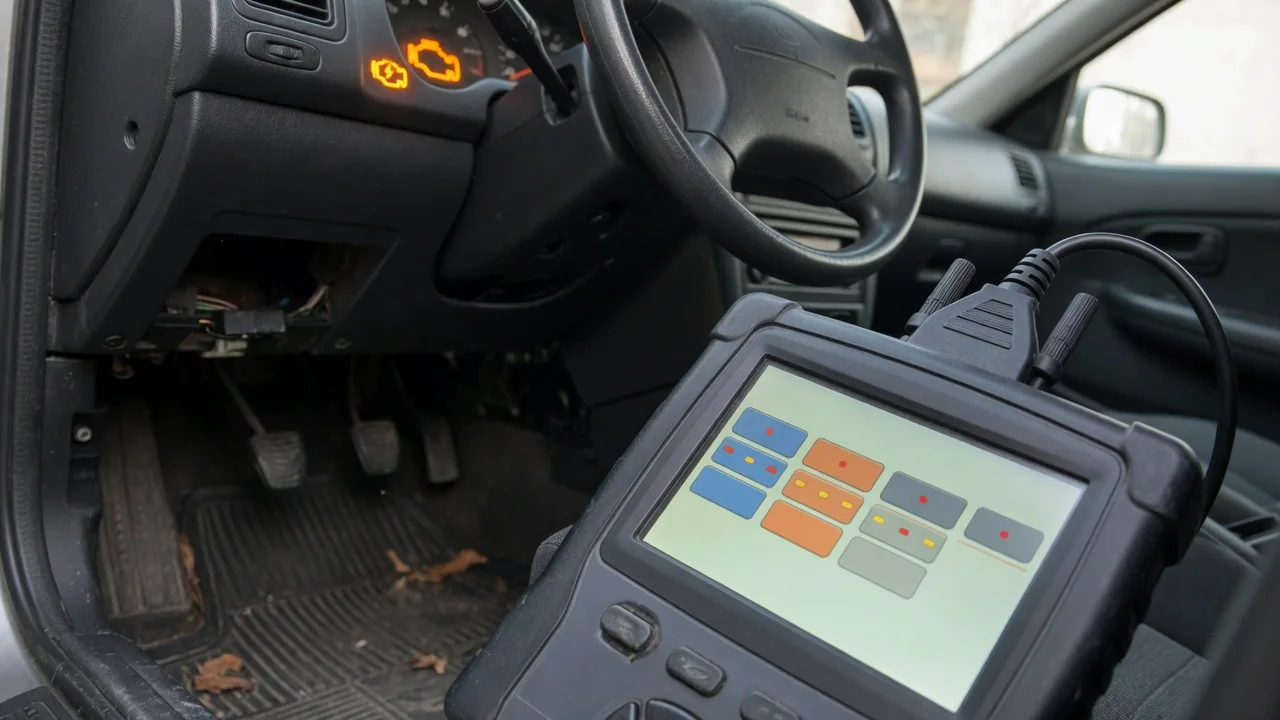
A P1179 code stored in your vehicle’s computer means the powertrain control module logged a manufacturer-specific diagnostic trouble code. Unlike generic P0xxx or P2xxx codes, P1xxx definitions vary by automaker, so the same number can point to different systems on different cars. Reading the correct description for your exact make, model, year and engine is essential before buying parts or clearing the light.
What P1179 Means and Why the Definition Depends on the Manufacturer
P1179 belongs to the manufacturer-specific range of OBD-II codes, meaning the automaker assigns its own meaning instead of following a universal standard. A P1179 on one brand might reference a fuel pressure sensor circuit, while on another it could relate to an oxygen sensor heater or an intake air temperature signal. Because the powertrain control module sets the code based on proprietary logic, no single definition applies to every vehicle.
Confirm the exact P1179 description using factory service information, a dealer, or a scan tool with enhanced manufacturer definitions. Generic code lookup sites often list only one possible meaning, which may not match your vehicle and can lead to unnecessary repairs. Review the definition together with freeze frame data and any other stored codes, since those details show the operating conditions when the fault occurred and help narrow the diagnosis.
How to Read P1179 Correctly With a Scan Tool
Start by connecting a scanner and recording the full code list before clearing anything. Note whether P1179 is currently active or pending, and save the freeze frame data that captures sensor readings at the moment the code was set. Write down the mileage, engine temperature, RPM and load if shown. This evidence can reveal whether the fault happened during a cold start, under acceleration, or at steady cruise.
A basic generic reader may display only the number because it lacks the manufacturer-specific definitions stored in the vehicle’s module. A scanner that supports enhanced or manufacturer data can show the full text description, which is necessary to understand what system is involved. Clearing the code before recording all this information removes diagnostic evidence, making it harder to identify an intermittent issue or confirm a repair later.
Symptoms Drivers May Notice Alongside P1179
Symptoms vary depending on the vehicle’s definition of P1179 and the fault condition. Some drivers notice only an illuminated check engine light, while others may experience rough idle, hesitation on acceleration, or reduced fuel economy. In many cases the engine runs normally, and the code is discovered during a routine scan. A lack of noticeable drivability change does not mean the code is harmless or should be ignored.
Pay attention to when the symptom occurs: cold start, warm engine, under load, or at steady cruise. These details help a technician reproduce the problem. If the check engine light is flashing, it indicates a misfire condition that can damage the catalytic converter; reduce driving and seek professional diagnosis promptly. Any sign of a safety risk, such as stalling in traffic, also warrants immediate attention.
Possible Causes Once the Vehicle-Specific Definition Is Known
Once the vehicle-specific definition is confirmed, the likely causes follow from the monitored circuit or system. P1179 could point to a sensor signal problem, a wiring issue, or a related system fault depending on the automaker’s design. Common cause categories include damaged or corroded wiring, poor connector contact, a failed sensor component, or occasionally a control module software or calibration issue.
Other stored codes often narrow down the cause more than P1179 alone. For example, a companion code for a reference voltage circuit may indicate a shared wiring problem affecting multiple sensors. Avoid assuming a specific part has failed based only on the code; manufacturer diagnostic procedures test the circuit before condemning components. Fault prevalence and part numbers should be verified against the vehicle’s service information.
Safe Checks an Owner Can Do Before Seeking Diagnosis
With the engine off and cool, you can safely inspect accessible wiring and connectors in the area related to the confirmed P1179 definition. Look for obvious damage such as cracked insulation, loose terminals, chewed wires from rodents, or connectors that are not fully seated. Check for corrosion or moisture inside connectors, but do not disconnect anything with the ignition on.
You can also ask a dealer to check for technical service bulletins or software updates that may apply to your vehicle’s code, but do not assume one exists. A visual inspection cannot confirm circuit integrity, sensor performance, or module operation, so normal-looking wiring does not rule out an electrical fault. Avoid hazardous procedures such as working on hot exhaust parts, backprobing live circuits without training, or bypassing components.
When Professional Testing Is Needed and What a Technician Will Do
A professional technician will first confirm the exact P1179 definition using the factory service information, then review live data to see how the related sensor or system is behaving. They follow the manufacturer’s diagnostic procedure, which typically includes checking wiring and connectors, testing circuit voltages or resistances, and comparing values to specifications. This organized approach prevents unnecessary parts replacement.
Replacing parts without testing is a poor approach for a manufacturer-specific code because the root cause may be a wiring fault, a connector issue, or a software calibration. Seek professional help if P1179 returns after clearing, if drivability changes, or if the vehicle fails an emissions inspection. Ask the shop to explain the test results that led to the recommended repair so you understand the evidence behind the part replacement.
Fixing P1179 and Confirming the Repair Worked
The appropriate fix depends on the confirmed cause. It may involve repairing or replacing a damaged section of wiring, cleaning or replacing a connector, replacing a failed sensor, or updating the control module software if a bulletin applies. After the repair, clear the codes and complete the drive conditions needed for the related readiness monitors to run; this verifies the fault does not immediately return.
Readiness monitors must complete before the vehicle is ready for an emissions test, so driving the required cycle is important. Recheck for pending codes after several drive cycles, and if P1179 comes back, return to diagnosis rather than replacing the same part again. Confirming the repair through monitor completion and code-free driving provides confidence that the underlying issue was resolved.