P1113, P1114 and P1115 Trouble Codes: Meanings by Manufacturer and Diagnosis
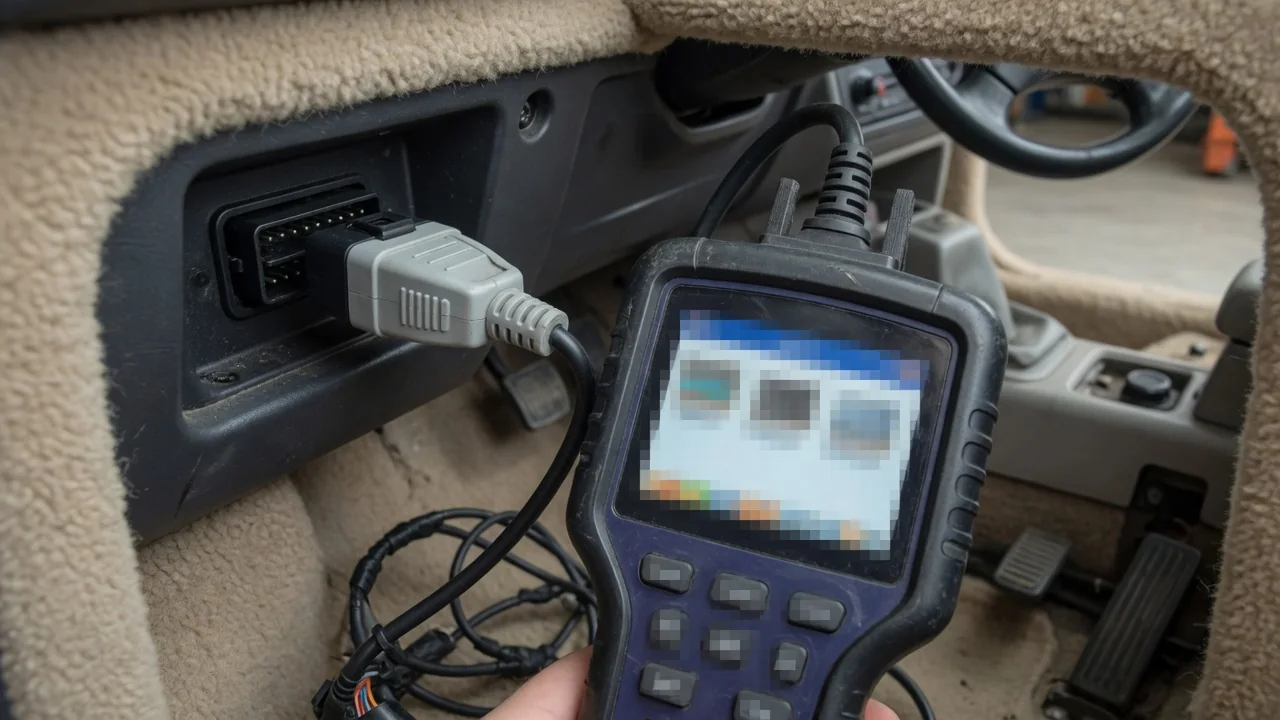
A P1115 trouble code on your scan tool can be confusing because its meaning changes from one vehicle to another. Unlike generic OBD-II codes that are standardized, codes starting with P1 are manufacturer-specific. P1113, P1114, and P1115 are adjacent numbers often linked to sensor circuit faults, but the actual component involved depends on the make, model, year, and engine. Before replacing any part, you must confirm the exact definition for your vehicle.
Why P1113, P1114 and P1115 Have No Single Universal Meaning
P1113, P1114, and P1115 do not have one universal meaning because they are manufacturer-specific diagnostic trouble codes. Generic P0 codes follow a common list, but codes beginning with P1 are assigned by individual automakers for their own systems. A code like P1115 can describe an engine coolant temperature sensor circuit on one brand and a completely different signal or actuator on another, so cross-referencing from a generic lookup list often leads to incorrect repairs.
These three codes are often grouped as a cluster because they are numbered sequentially and frequently appear in similar sensor or circuit contexts, such as intermittent signal or range/performance problems. However, that pattern is not a rule; some manufacturers may not even use one of these numbers. Always confirm the definition with a scan tool that has manufacturer-level code descriptions or factory service information for your specific vehicle before interpreting the fault. Acting on an assumed meaning can cause you to replace a good sensor while missing a simple wiring issue.
P1113: Checking What the Code Means on Your Vehicle
To find what P1113 means on your vehicle, start by connecting a scan tool that can display manufacturer-specific definitions, not just generic OBD-II text. Enter the make, model, year, and engine if the tool asks for it. Many professional tools and some advanced DIY scanners include enhanced code libraries that translate the number into a specific circuit or sensor description for that vehicle. If your tool only shows a generic or unknown code, consult the factory service manual or a reliable manufacturer-specific resource.
In general, P1113 often points to a sensor-circuit fault such as a signal stuck in range, performance problem, or signal missing. The actual component could be a coolant temperature sensor, intake air temperature sensor, or another input, depending on the automaker. When the code appears, record the freeze frame data, which captures engine conditions at the moment the fault was set. Note whether the code is current, pending, or stored, and list any other codes present. The code only tells you what the control module observed—it does not prove that a sensor has failed, because wiring, connector corrosion, or module input problems can create the same signal.
P1114: Interpreting the Code Without Guessing
P1114 also requires vehicle-specific verification. On some makes, this code describes a circuit reading low or an intermittent signal, not a confirmed failed sensor. An intermittent signal can be caused by a loose connector, damaged wire insulation, or a poor ground, as well as by a sensor that is beginning to degrade. Because the fault may come and go, clearing the code and seeing if it returns quickly can be misleading; the underlying issue may only appear under vibration, moisture, or temperature changes.
One useful diagnostic step is to compare live sensor data with expected behavior. For example, if the code relates to a temperature sensor, the displayed temperature should be close to ambient or rise smoothly as the engine warms up. A reading that jumps erratically or shows an impossible value suggests a circuit problem rather than a steady, slightly off reading. If P1114 appears together with P1113 or P1115, that may hint at a shared circuit issue such as a common ground or connector, but this is only a clue that must be confirmed with wiring and connector tests.
P1115: Understanding the Code and Its Possible Causes
Because P1115 varies by brand, your first step is to look up the manufacturer definition for your exact vehicle. Do not treat it as a single universal fault. In general, this type of code is set when the engine control module detects a problem with a sensor circuit: the signal may be out of range, missing, or too intermittent to use. Possible causes include sensor signal problems, wiring faults, connector corrosion, or reference voltage issues. The actual list depends on the specific sensor and circuit design.
You can tell a hard fault from an intermittent one by observing when the code returns after clearing. A hard fault sets the check engine light again almost immediately, often within one drive cycle. An intermittent fault may stay away for days and then reappear only under certain conditions such as cold start, hot idle, heavy rain, or rough roads. Clearing P1115 without finding the cause usually only hides the problem for a while, and the code will come back at an inconvenient time. It is better to investigate the cause while the code and freeze frame data are fresh.
Symptoms Drivers May Notice and What Can Be Safely Observed
Sensor-circuit codes like these can cause a variety of symptoms, but some vehicles show no noticeable change. When symptoms do appear, they may include an illuminated check engine light, rough running, hard starting, poor fuel economy, or unusual cooling fan behavior such as running constantly or not at all. The specific symptom depends on which sensor circuit is affected and how the engine control module responds when the signal is missing or implausible.
You can safely observe a few things without special tools. Note when the check engine light comes on—cold start, after driving a while, only in wet weather—and write down the driving conditions. With the engine off and cool, you can visually inspect connectors for obvious corrosion, loose fit, or damaged wiring, but do not unplug sensors unless you know it is safe. Never open a hot cooling system, probe live circuits without the right equipment, or reach near moving engine parts. If the temperature gauge rises into the red, the engine overheats, the check engine light flashes, or the vehicle enters reduced power mode, stop driving and have it towed or repaired where it is.
How Professional Diagnosis Confirms the Root Cause
A professional technician first confirms the manufacturer-specific definition for the code using a scan tool with enhanced data or factory service information. Then they review freeze frame data to understand the operating conditions when the fault occurred. Next, they look at live sensor data and compare it to expected values. After that, they follow the service manual's pinpoint tests for the specific code, which may include checking power, ground, and signal at the sensor connector, and testing continuity or resistance in the wiring harness.
Testing circuits against manufacturer specifications is more reliable than replacing parts based on the code number because multiple causes can produce the same fault. A technician also checks for technical service bulletins that may apply to the vehicle, though there is no guarantee a bulletin exists for these codes. The repair is confirmed by clearing the codes, performing the drive cycle that the affected monitor needs to run its self-test, and verifying that the code does not return. Sometimes a repair requires several drive cycles under different conditions to be sure the intermittent fault is gone.
Limits of What These Codes Can Tell You
P1113, P1114, and P1115 point to an area to inspect, not a confirmed failed part. The code tells you the engine control module saw a signal that it did not trust, but the root cause could be a sensor, a wiring problem, a connector issue, or even a module fault. Replacing a part purely because of the code number without testing can leave the same problem in place and waste money.
Multiple related codes can come from one shared cause, such as a common ground or a connector that feeds several sensors, or they can come from separate problems. Only testing can tell which is true. Keep a record of the codes, dates, and driving conditions when they appeared; this helps a technician diagnose intermittent faults. If you cannot confirm the manufacturer definition, if codes keep coming back after basic checks, or if drivability or engine temperature is affected, it is time to seek professional testing rather than continue guessing.