P1075 Code: Verify Its Meaning, Diagnose Causes, and Plan Repairs
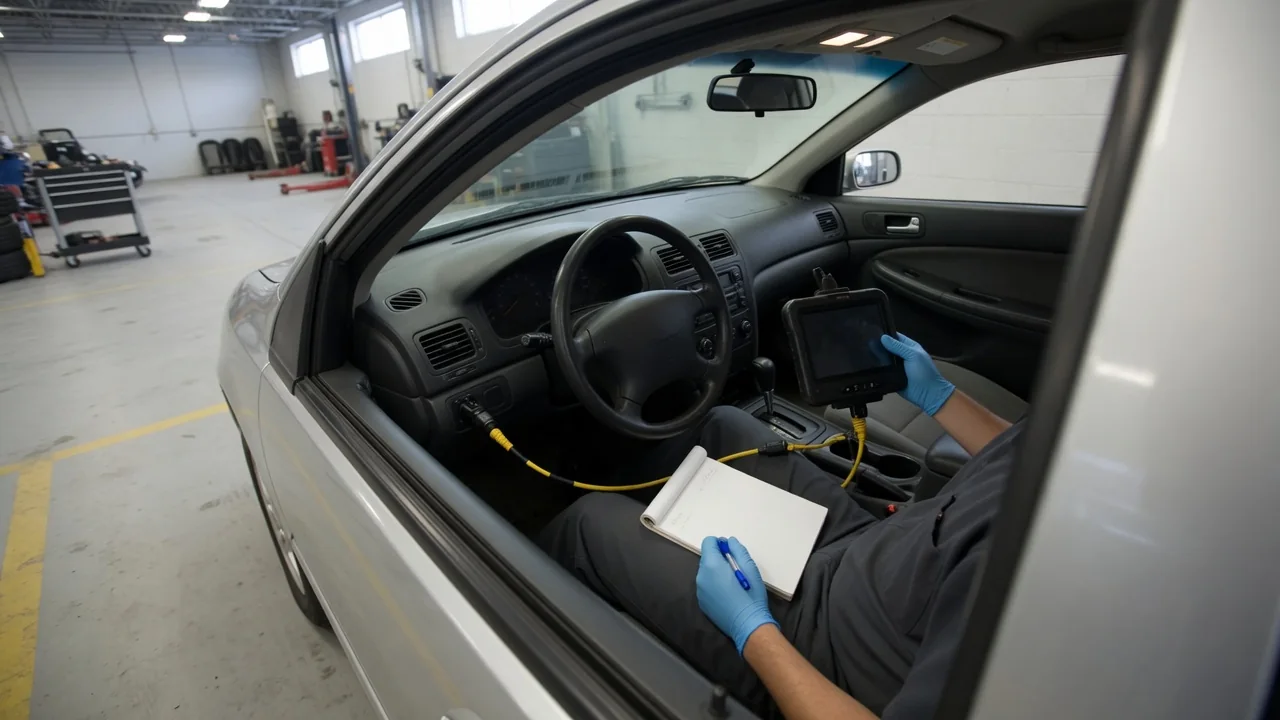
A P1075 code appears when a vehicle’s control module detects a fault, but its meaning is not universal. Before planning any repair, you must identify the exact year, make, model, engine, and control module that set the code. Without that vehicle-specific definition, symptoms and causes cannot be reliably interpreted. This guide explains how to verify P1075 for your vehicle, document evidence, and work through diagnosis and repair logically.
Verify What P1075 Means for Your Vehicle
P1075 is manufacturer-dependent, so the same code can point to different systems on different vehicles. On one model it may relate to an intake manifold tuning valve, while on another it might describe a fuel pressure sensor circuit. You cannot assign a universal component or fault definition to P1075. Always consult the factory service information for the exact year, make, model, and engine. The control module that reported the code also matters because engine and transmission modules can use the same numeric code for unrelated conditions.
When you read the code with a scan tool, record the complete description and any suffix. A generic scanner may show a short phrase that needs confirmation with vehicle-specific diagnostic data. Some manufacturers define P1075 only for certain calibrations or regions. Note which module stored the code, whether it is active or history, and any freeze-frame data. This information forms the basis for every later step, so build the diagnostic picture around the confirmed definition rather than assuming the generic label is accurate.
Record Symptoms and Decide Whether to Keep Driving
After confirming the code definition, observe how the vehicle behaves. Document warning lights, starting problems, idle quality, power delivery, and the conditions when the code appeared. These symptoms are not established P1075 effects because the code varies by manufacturer. A stored code may exist without any noticeable driving symptom, and that alone does not indicate fault severity. Some faults affect emissions or long-term durability while remaining transparent to the driver, while others immediately degrade performance.
Driving advice depends on the verified code meaning, actual symptoms, and the vehicle’s operating guidance. If the engine shakes severely, stalls, overheats, produces smoke, or the check engine light flashes, stop safely and seek assistance. A flashing light usually signals a misfire that could damage the catalytic converter. With mild or no symptoms, you may continue driving cautiously, but confirm that the specific fault does not require immediate attention. When in doubt, reduce use and schedule diagnosis.
Connect Possible Causes to the Confirmed Code Definition
Only after identifying the system named in the vehicle-specific definition can you connect possible causes. For example, if P1075 relates to an intake runner control circuit, consider wiring, connectors, the actuator motor, position sensor, and mechanical binding of the runners. If it involves a fuel pressure sensor, inspect the sensor circuit, reference voltage, ground, and fuel system conditions. The code tells you which circuit or function is being monitored, not which part is bad. Many faults are electrical or mechanical rather than a failed sensor or actuator.
Never rank causes by frequency or list affected makes without supporting service information. Manufacturer technical service bulletins can help, but they require confirmation for your exact vehicle. A code naming a component does not prove that component has failed; it means the module saw a signal or performance outside the expected range. Corroded connectors, chafed wiring, or vacuum leaks can produce the same code as a faulty sensor. Keep all possibilities open until testing narrows them down.
Preserve Useful Evidence Before Diagnosis
Before any diagnostic work begins, preserve the evidence. Save the complete scan report including code status, freeze-frame data, and any companion fault codes. Freeze-frame data captures operating conditions such as engine speed, coolant temperature, and load at the moment the fault was recorded. This information helps a technician reproduce the problem and choose relevant tests. Write down recent repairs, battery disconnections, or unusual events, but do not assume they caused the fault. They are simply part of the history.
Limit your own inspection to visible damage or leaks from a safe position with the vehicle parked and engine off. Do not touch hot, moving, or electrical components. Clearing codes or disconnecting the battery may erase freeze-frame data and readiness monitors, removing useful evidence. It does not repair the underlying problem and can force the vehicle to relearn adaptive values. Keep the code stored until a qualified technician has completed diagnosis and asked you to clear it after the repair.
What Professional Testing Should Establish
Professional testing should follow the manufacturer’s diagnostic procedure for the confirmed P1075 definition on your specific vehicle. The technician will first check for companion codes and review saved operating data to decide which test to perform next. Companion codes can reveal a shared power supply, ground, or communication issue. Freeze-frame data may show that the fault occurs only at certain temperatures or loads, guiding the technician toward a wiring problem or a mechanical condition instead of a sensor replacement.
Depending on the confirmed definition, the technician may perform circuit tests, observe live data, or command actuators with a scan tool. These steps require the correct service information and tools. A component should be replaced only when test evidence links the fault to that component, a connection, or a system condition. For example, a sensor code may be caused by a broken wire, so replacing the sensor would not fix it. The goal is to prove the failure before spending money on parts.
Choose a Repair and Confirm the Fault Is Resolved
Once testing isolates the fault, repair options become clear. Correcting a verified connection problem, replacing a diagnosed component, or repairing a mechanical issue are all possible. Exact replacement parts must match the vehicle, and some components require programming or initialization after installation. The shop should confirm these requirements before work is approved. Request an estimate that separates diagnostic labor, parts, and any follow-up testing, but do not rely on general price quotes because labor rates and part costs vary.
After the repair, the vehicle must be verified. The technician should perform the manufacturer’s post-repair checks, clear the code, and rescan the system. The original symptoms must not return under relevant operating conditions, and the readiness monitors should complete as expected. Sometimes a short test drive under specific conditions is needed to confirm the fix. Only when the code stays gone and the system functions normally is the repair considered complete. Keep your scan report and repair documentation for future reference.