P1064 Code: Vehicle-Specific Meaning, Diagnosis, and Repairs
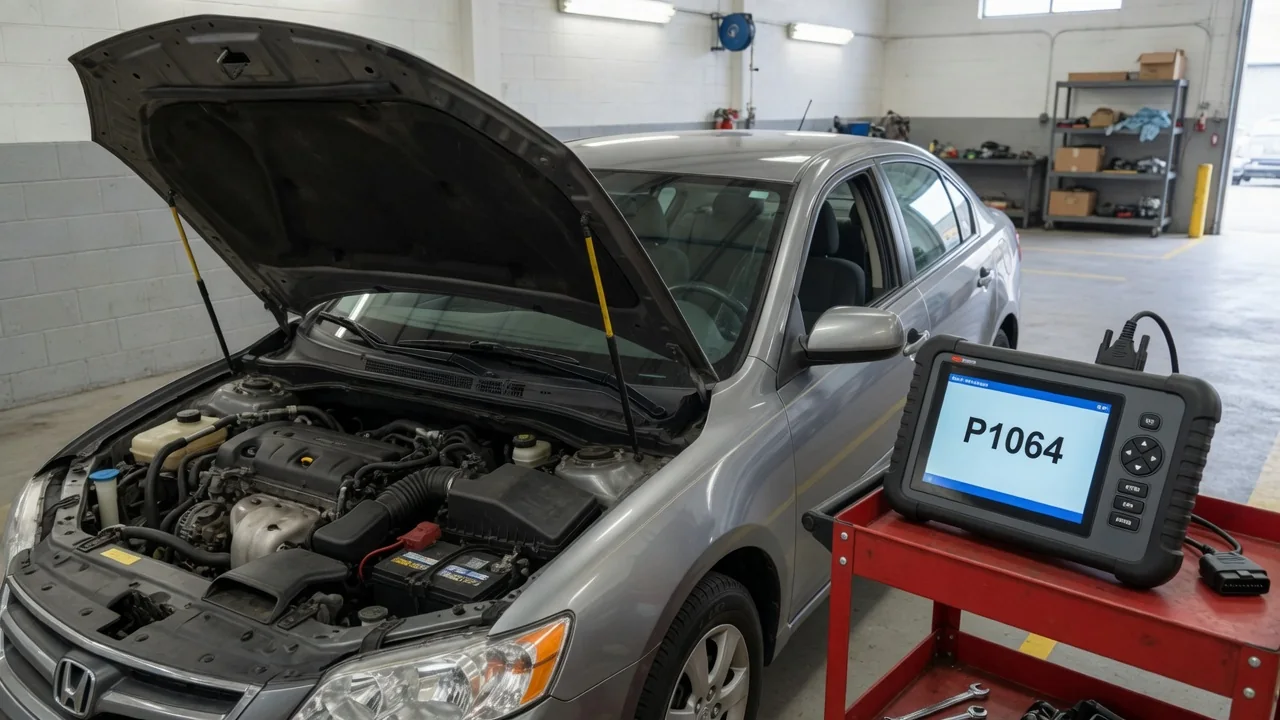
A P1064 code can appear on any OBD-II vehicle, but it does not carry one universal meaning. This manufacturer-specific trouble code requires verification against your vehicle identification number and the reporting control module before interpretation. A generic scan report may show an incomplete or even misleading definition. The stored code records a detected condition, not a part that has definitely failed. Until the vehicle-specific definition is confirmed with suitable service information, every symptom, cause, and repair step remains conditional.
What P1064 Means for Your Vehicle
P1064 is a manufacturer-specific trouble code, so the definition changes among makes, models, and even engine families. One application may use it for an oil-pressure control circuit fault, while another assigns the same code to variable valve timing or an injection system condition. The only reliable way to know what P1064 means for your vehicle is to match the code to the vehicle identification number, the reporting control module, and the applicable service information.
A generic scanner often displays a brief text that may be incomplete or unsuitable. Some readers show only “manufacturer control” or a name copied from another platform. The code itself confirms that a monitored value fell outside an expected range for a defined period; it does not identify a failed sensor, actuator, or wiring defect. Treat the stored fault as a starting point for confirmed diagnostic testing, not as proof of a specific failed part.
Symptoms to Record When P1064 Appears
Because the P1064 definition varies by vehicle, no universal symptom list applies. Instead, record what you actually observe without forcing each observation into a diagnosis. Note whether the check engine light is steady or flashing, any warnings or messages in the instrument cluster, and changes in starting, idle quality, throttle response, or highway power. These notes help a technician understand how the fault behaves in your specific vehicle.
It also matters when the code appears. Note whether it set during a cold start, warm operation, a hard acceleration, or steady cruising. If the vehicle behaves normally, that does not mean the underlying condition is harmless. Some control strategies run tests only under narrow operating conditions, so a fault can hide until the right temperature, load, and speed align. A reproducible symptom, or its absence, is useful evidence but not a conclusion.
Possible Causes After the Definition Is Confirmed
Once the verified service information identifies the system and the specific fault condition behind P1064, the cause list becomes meaningful. For a circuit rationality code, the list might include damaged wiring, poor terminal contact, a failed sensor, or a control module issue. For a performance or correlation code, the same list might instead involve mechanical wear, oil pressure, timing components, or actuator response. Only the confirmed definition can determine which causes are relevant.
Companion fault codes and freeze-frame data can direct investigation without proving a failure. If another code references the same circuit or a shared power supply, a technician may inspect a common connector before condemning a component. Operating conditions from freeze-frame data, such as engine speed and temperature when the code set, help reproduce the fault. These clues narrow the possible causes, but they do not rank failures by frequency or justify replacing a part before testing.
How a Technician Diagnoses a P1064 Code
A thorough diagnosis starts by preserving the complete scan report, the code status, and any freeze-frame data before clearing codes. The technician then confirms the reporting module and the exact vehicle-specific description using suitable diagnostic equipment and service information. This step prevents a wasted repair based on a generic text. With the definition confirmed, the technician follows the manufacturer’s diagnostic procedure for that code rather than jumping from symptom to part replacement.
The procedure typically includes live data checks against documented specifications. For example, a technician may compare a sensor reading with an expected range under controlled conditions, or command an actuator while observing its response. Electrical checks such as voltage, resistance, or continuity may be needed, but energized circuits, moving components, and pressurized systems require qualified handling. If the code returns immediately or only intermittently, that timing is useful evidence, but it does not establish which component failed.
Safe Observations and When to Stop Driving
An owner can safely record dashboard messages, unusual smells or sounds, recent service or collision work, and the exact conditions when the warning appeared. Write down the outside temperature, engine temperature, and driving situation if possible. Avoid probing electrical connectors or reaching near hot, moving, or pressurized parts. P1064 alone cannot determine whether continued driving is safe; the urgency depends on the verified meaning and the vehicle’s actual behavior.
Stop safely and arrange assistance for overheating, an oil-pressure warning, visible smoke, a strong fuel odor, or a severe loss of power. Repeated driving solely to make the code reappear can risk damage. If the warning persists or returns, seek prompt professional guidance. The technician needs the recorded observations from before the stop, so keep notes rather than relying on memory after a stressful roadside event.
Repair Decisions and Confirming the Fault Is Resolved
A repair recommendation should follow the confirmed definition and diagnostic findings, not a generic P1064 fix. The actual work may be as simple as cleaning a tight connector or as involved as replacing a wiring section, a sensor, or a mechanical component. Testing determines which level of repair is necessary. Request an estimate that identifies the diagnosed fault, the supporting evidence, the proposed work, and the verification steps so the repair is transparent.
Post-repair verification involves more than erasing the code. The technician will rescan the vehicle, operate it under the conditions that originally set the fault, and confirm the relevant data now stays within specification. Some vehicles require a specific drive cycle or confirmation procedure before the readiness monitor completes. Clearing the code with a generic tool or disconnecting the battery does not demonstrate that the cause is repaired, and it may erase valuable diagnostic evidence.