P0108 Code: MAP Sensor Circuit High Input, Symptoms and Fixes
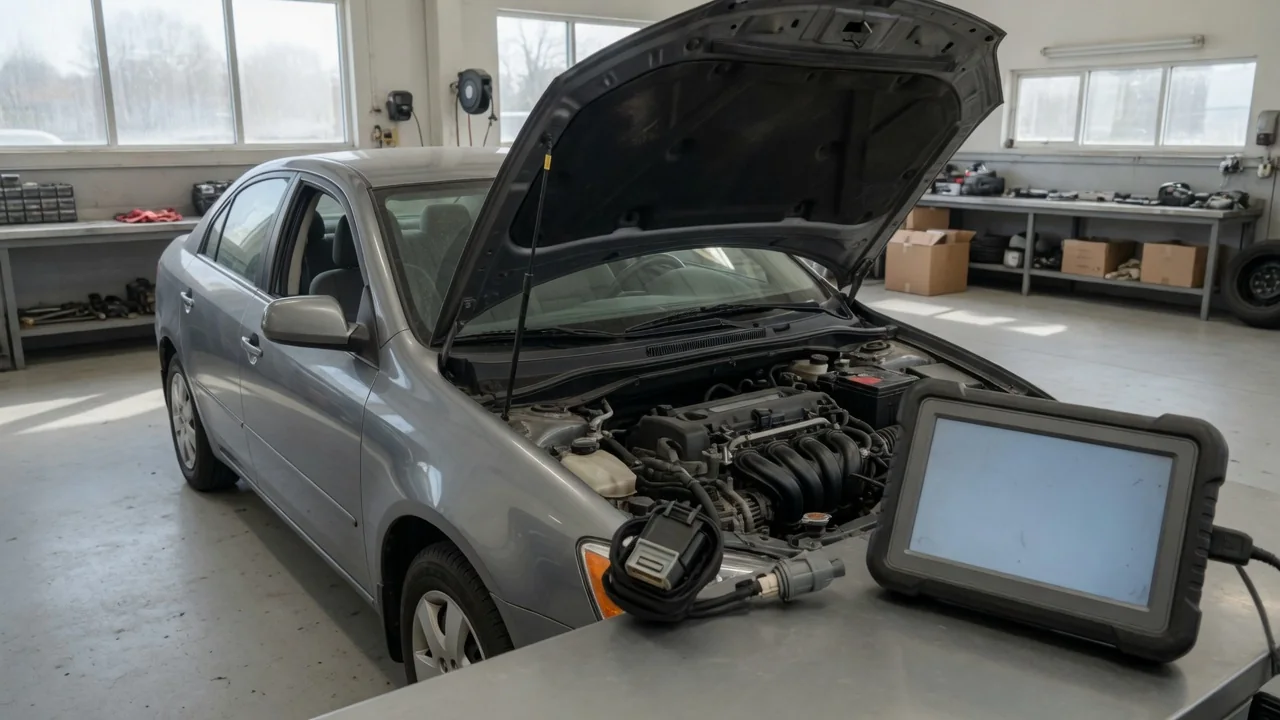
The p0108 code means the engine control module has seen a manifold absolute pressure or barometric pressure signal reading higher than it should. That matters because many engines use pressure data to calculate fuel delivery and ignition timing. Knowing what the code means, its symptoms, likely causes, and a careful diagnostic path helps you avoid replacing parts that were never faulty.
What P0108 Means for the MAP/Barometric Pressure Circuit
P0108 is generally defined as manifold absolute pressure/barometric pressure circuit high input. The MAP sensor turns pressure inside the intake manifold into a voltage signal, and the control module expects that signal to stay within a permitted range. When the reading goes above the upper threshold long enough to meet the module's diagnostic criteria, it stores the code. Some vehicles use a separate barometric pressure sensor, while others estimate atmospheric pressure from the MAP sensor before the engine starts. As a result, the code can point to different hardware on different vehicles.
Before you interpret any reading, confirm the exact code description, sensor arrangement, and enabling conditions in the service information for your vehicle, because manufacturers set thresholds differently. Just as important, a high input code reports an abnormal circuit signal, not a final diagnosis. It does not prove the sensor has failed, and it does not mean the actual manifold pressure is too high. An open sensor ground or a short to voltage can push the signal high while the sensor and engine are both perfectly healthy.
Symptoms and When to Stop Driving
The most common p0108 symptom is a lit check engine light. A falsely high pressure reading can make the module think the engine is under heavier load, so some drivers notice a rough idle, hesitation when accelerating, hard starting, stalling, or higher fuel consumption, sometimes with a rich exhaust smell. Symptoms vary widely by engine design and by how the module reacts, since many systems switch to a default value once they detect a fault. Some vehicles run with few noticeable changes at all.
Drivability complaints alone cannot confirm a MAP circuit fault, because misfires, fuel delivery problems, and intake leaks can cause similar behavior. If the engine stalls repeatedly, loses a lot of power, or the check engine light flashes, pull over where it is safe and call for help instead of driving on. Stalling in traffic is dangerous, and a flashing lamp often signals a misfire that can overheat the catalytic converter. Even mild symptoms deserve prompt diagnosis, because the code alone cannot tell you whether the vehicle is dependable.
Sensor, Wiring, and Vacuum Faults to Investigate
An internally faulty pressure sensor is one possible cause, but replacing it should not be the automatic fix. The circuit deserves equal attention, because many MAP sensors use three wires: a reference voltage, a sensor ground, and a signal wire. A poor or open ground can let the signal drift up toward the reference level, and a signal wire chafed against a voltage source can drive the reading far too high. Corroded terminals, spread pins, or a cracked connector can cause the same high signal voltage off and on.
Vacuum-related conditions also matter where they apply. A disconnected or split hose on a remotely mounted sensor, a large intake leak, or an engine problem that lowers intake manifold vacuum, such as low compression or a restricted exhaust, can raise the pressure the sensor actually measures. These faults need supporting evidence, though, such as abnormal live data that matches what mechanical checks find. They do not explain every high input code, especially when the reported value is higher than the engine could physically produce.
Safe Observations Before Electrical Testing
Before clearing anything, write down every stored and pending code along with the freeze-frame data, which records engine speed, load, coolant temperature, and other conditions at the moment the fault set. Note when symptoms show up, such as on cold starts, at idle, in rain, or on rough roads, because patterns help separate intermittent wiring faults from constant problems. Companion codes, like other sensor reference faults, and recent repair history, like work near the intake, can guide testing. On their own, they do not prove the cause.
With the engine off and cool, look over the accessible sensor wiring, connector, and any related vacuum hose. Check for a loose or unlatched connector, chafed insulation, melted spots near exhaust parts, corrosion, or a hose that has slipped off or cracked. Keep these checks to looking only. Avoid probing live circuits, using jumper wires, spraying flammable products to find leaks, or reaching around belts, fans, and hot parts while the engine runs, because these actions risk injury and further electrical damage.
How Professional Testing Pinpoints the Fault
A technician usually starts with scan tool live data at key on, engine off. With the engine stopped, the manifold should sit close to atmospheric pressure. That lets the technician compare the MAP reading and any barometric value against local weather and elevation, using the specifications for that vehicle. Next, they check pressure data at idle and during quick throttle openings, allowing for engine design, turbocharging, and operating conditions. They also confirm whether the module is showing a substitute value, which can hide what the sensor is actually reporting.
Electrical testing uses the correct wiring diagram to check the signal, reference voltage, and ground, including voltage drop under load and wiring continuity. Gently moving the harness while watching the data can reveal intermittent breaks. If the circuit tests good and the reading still shows high manifold pressure, the next steps are intake leak testing with proper equipment, or mechanical checks such as vacuum or compression tests. These show whether the reported pressure reflects a real engine problem, which decides whether the repair belongs in the wiring, the sensor, or the engine itself.
Repairs and Verification After the Cause Is Confirmed
Repairs should follow the test results. Damaged wiring or connectors should be repaired to proper standards, confirmed hose or intake faults should be fixed, and the sensor should be replaced only if testing shows it is defective. Before ordering parts, check the service information for the correct component for your exact engine and any installation requirements, such as seals, mounting, or relearn steps. Keep in mind that clearing the code alone fixes nothing, and disconnecting the battery can erase freeze-frame data and readiness information that help with diagnosis.
After the repair, check scan tool live data to confirm the circuit now reports sensible pressure at key on and while the engine runs, and that the module has stopped using a substitute value. Road test under conditions similar to those recorded in the original freeze frame to confirm the symptoms are gone. Then watch for returning pending or confirmed codes under the applicable verification procedure, which may take several drive cycles. If the code comes back, that often points to an intermittent fault that needs more testing.