P0030, P0031, and P0032: Bank 1 Sensor 1 Heater Circuit Codes
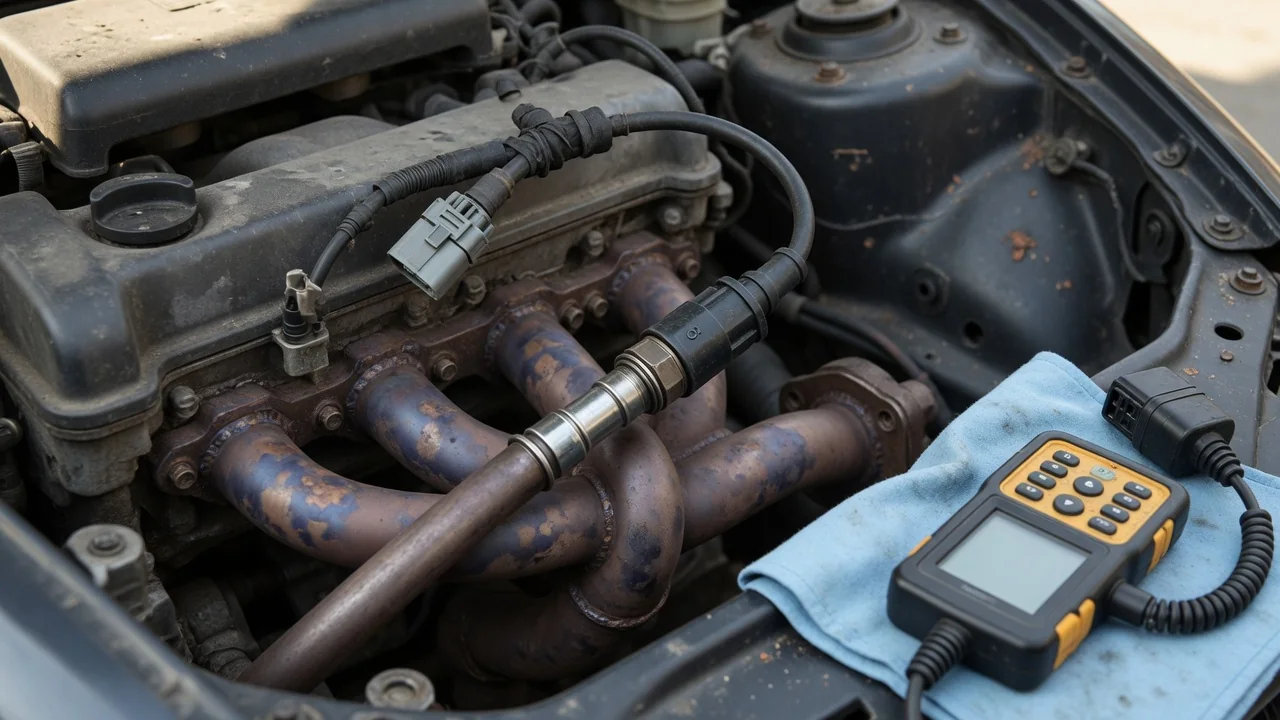
A P0030, P0031, or P0032 code points to the heater control circuit for the bank 1 sensor 1 oxygen sensor, the upstream sensor the engine controller relies on for fuel feedback. These codes may appear with a steady check engine light and little else, but they still need careful diagnosis. Knowing what the circuit does, what can disrupt it, and how testing separates wiring faults from a failed sensor helps avoid buying parts you don't need.
What P0030, P0031, and P0032 Mean
In generic terms, the P0030 code identifies a fault in the bank 1 sensor 1 heater control circuit. The P0031 code indicates a circuit-low condition, and the P0032 code indicates a circuit-high condition. The engine controller watches the electrical behavior of that circuit and stores a code when what it sees doesn't match what it expects. Exact descriptions, sensor terminology, and monitor criteria vary, so confirm them in service information for the specific year, make, model, and engine before you interpret any result.
Low and high describe electrical conditions the controller measured, not the oxygen content of the exhaust, so none of these codes means the engine is running rich or lean. P0030 also doesn't prove an open circuit on its own, because the same description can cover several electrical conditions depending on how the manufacturer defines the monitor. Most important, no heater code by itself proves the sensor has failed. The code tells a technician where to start testing, and the wiring, connector, fuse, and control side all stay suspects until they're checked.
Locating Bank 1 Sensor 1 and Understanding Its Heater
Bank 1 is the side of the engine that contains cylinder number 1. Sensor 1 is the upstream oxygen sensor, typically mounted ahead of the catalytic converter. Inline engines have a single bank, while V-type and horizontally opposed engines have two, and cylinder 1 can sit on either side depending on the design and how the engine is mounted. Don't assume a driver-side or passenger-side location. Use a vehicle-specific component locator or wiring diagram instead, because replacing the wrong sensor leaves the original fault in place.
The sensor element only gives useful readings once it's hot, and its internal heater brings it to operating temperature much sooner than exhaust gas alone would. That lets the engine controller start using the sensor's feedback for fuel control sooner after a cold start. Some vehicles use a wide-band air-fuel ratio sensor in this upstream position instead of a conventional oxygen sensor. Those designs can use different heater control strategies and wiring, so testing and replacement must follow the service procedures written for that exact sensor type.
Possible Symptoms and When to Stop Driving
A likely sign, and sometimes the only one, is an illuminated check engine light while the vehicle seems to drive normally. People who look up P0031 symptoms often expect drivability trouble, but a heater fault mainly affects how quickly the sensor becomes useful. If warm-up is delayed, the controller may rely on preset fueling for longer after a cold start. That can affect emissions and fuel economy. These effects may be too small to notice, and not noticing them doesn't mean the fault is harmless.
Rough idle, hesitation, or hard starting each need their own diagnosis, because a heater circuit code alone can't explain them. Misfires, vacuum leaks, or fuel delivery problems may be present at the same time. A steady warning light with normal driving generally calls for prompt, scheduled diagnosis rather than an emergency stop. A flashing check engine light, severe rough running, visible smoke, or a burning smell is different. If any of those happen, pull over when it's safe, shut the engine off, and have the vehicle checked before driving further.
Faults That Can Trigger the Heater Circuit Codes
Possible causes include an internal heater element that has opened or shorted, damaged wiring between the sensor and the controller, loose or corroded terminals at the sensor connector, and a loss of heater power supply. The upstream sensor works in a harsh environment. Exhaust heat can harden wire insulation, a harness that has slipped out of its clips can rub against brackets, and connectors disturbed during other repairs may not be fully seated. Any of these can change circuit resistance or break the connection intermittently, which is how a code can come and go.
On many vehicles the heater power supply runs through a fuse, and the wiring diagram will show whether that fuse also feeds other sensors or components. A blown fuse is evidence, not a root cause, because something drew too much current, such as a shorted heater or a harness worn through to ground. Related codes for other heaters on the same supply can point to a shared fault. A failed controller or heater driver is also possible, but only conclude that after circuit testing rules out everything else in the circuit.
Safe Observations and Professional Circuit Testing
Before clearing anything, record every stored and pending code along with the freeze-frame data, which captures conditions such as engine temperature and load when the fault set. Note any related heater, sensor, or supply codes too, since they help tell an individual sensor problem apart from a shared circuit fault. An owner can safely inspect visible, accessible wiring and the sensor connector with the ignition off and the exhaust fully cool. Don't reach near hot components, and never work under a vehicle that isn't properly supported.
The owner's manual or service documentation shows which fuse protects the circuit, if one is fitted. Never bypass a fuse, install one with a higher rating, or keep replacing one that blows, because doing so can overheat the wiring. Professional diagnosis goes further. A technician checks the heater power supply, confirms the controller is operating the heater control circuit, measures heater resistance, and checks the wiring against specifications for that exact vehicle. Values vary by application, so no single resistance figure tells you whether a heater is good or bad.
When Sensor Replacement Is Supported by Testing
Replacing the sensor makes sense when testing shows a failed internal heater or a faulty sensor assembly. If testing instead finds a missing power supply, a damaged harness, or a corroded connector, fixing that fault is the repair, and a new sensor won't help. Before buying a part, confirm the correct application and sensor position using the vehicle's identification details and a parts catalog. Sensors that look alike can differ in heater design, connector, or sensor type, and the code itself says nothing about which part fits.
After the repair, proper verification matters more than a warning light that has gone out. A technician can confirm that the heater works, check that no code returns, and drive through the conditions the relevant monitor needs, which differ by vehicle. Clearing the check engine light by itself proves nothing, and it also resets the emissions readiness monitors, which can delay an emissions inspection until they complete again. If P0030, P0031, or P0032 comes back after a replacement, the original cause is probably still there, so keep diagnosing the circuit instead of fitting another sensor.