Offset Control Arm Bushings: Choosing an Alignment Correction
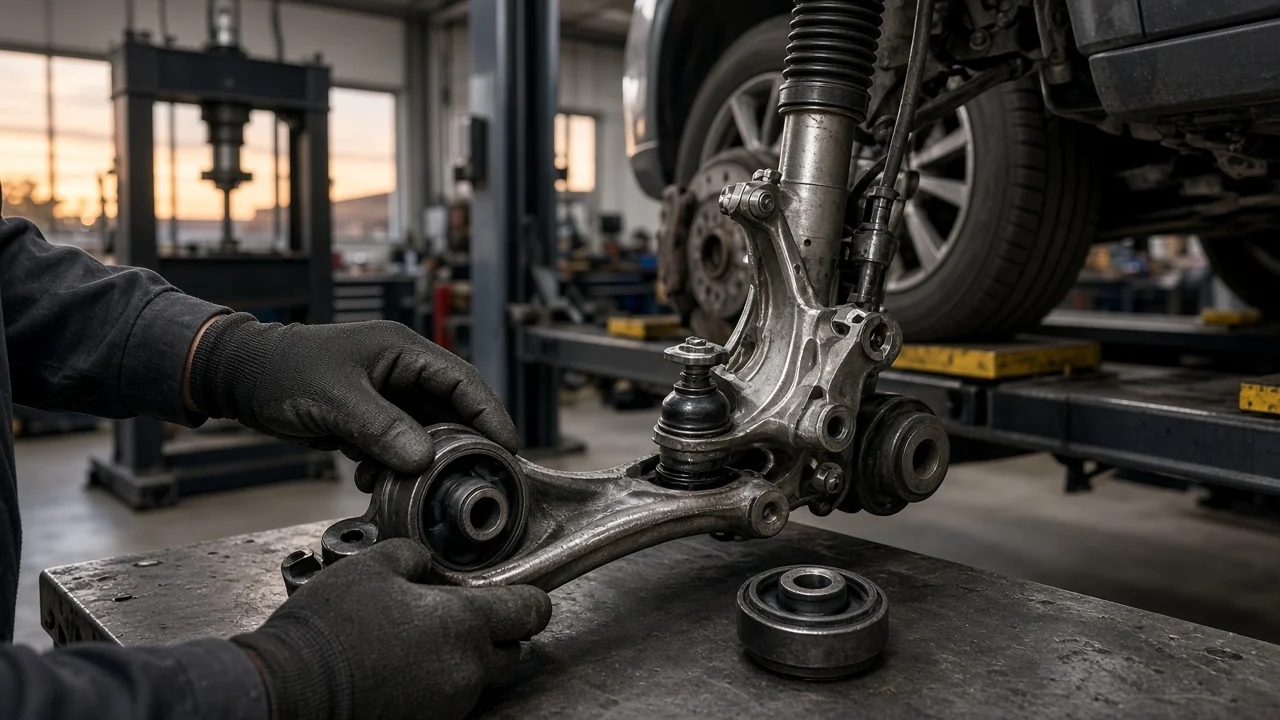
Offset control arm bushings move the pivot point of a control arm. That lets an alignment shop bring camber or caster back into specification when the factory adjustment has run out. They solve a narrow problem. They help after a ride height change or on a vehicle with little built-in adjustment, but they do not replace bent or worn parts. This guide covers how to decide whether they suit your vehicle, what to check before buying and what owning them involves.
Define the job the product must do
Start with the measurement. The clearest reason to consider offset bushings is a printed alignment report that shows camber or caster outside the specified range while the existing adjusters are already at their limit. This often happens after lowering or lifting a vehicle, because a change in ride height alters the suspension geometry. It also happens on platforms where the factory provides little or no camber or caster adjustment at one axle. Wear on one edge of a tire and a pull to one side can point the same way. Those symptoms can also come from worn parts, incorrect tire pressure or a mismatched tire, so they are not proof on their own.
Next, identify which angle needs correcting and on which axle. Some offset bushings mainly shift camber, some mainly shift caster, and some can be rotated in the arm to influence both. Then list your constraints. Note whether you drive mostly on the street, tow, carry heavy loads or go off-road, and whether you can press bushings yourself. Also consider whether the vehicle will stay at its current ride height. If you expect to change the height or the tire package again, an adjustable solution may serve you better than a fixed offset.
Check compatibility
Fitment is model-specific. Confirm the part against year, make, model, drivetrain and suspension type. Also confirm which arm it is designed for: upper or lower, front or rear, and which pivot position. Different control arms on the same vehicle can use different bushing sizes. A midyear change or a trim level with a different suspension package can also alter the dimensions. Compare the bushing's outer diameter, inner sleeve size, width and bolt diameter with the original part or the manufacturer's documented fitment. A general listing title is not enough.
Inspect the mounting points as well. An offset bushing works by moving the arm's pivot relative to its frame or subframe mount. The arm therefore needs clearance to sit in its new position without touching the frame, brake lines, wiring or the tire. Check whether the kit requires a specific orientation and whether it works with your existing hardware. Check also whether the manufacturer lists it for lifted or lowered setups if that applies to you. If the bushings go into a stamped or welded arm, confirm the arm itself is straight and undamaged. Pressing new bushings into a distorted housing will not give a reliable result.
Features that affect the choice
The amount of correction is the main specification. Offset bushings usually come in fixed increments stated by the manufacturer. The actual change at the wheel depends on the vehicle's geometry, so treat the published figure as a nominal value that the alignment rack must confirm. Some kits include more than one offset or allow the bushing to be rotated to point the correction where it is needed. A fixed offset is simple and stays put once installed. Adjustable arms or eccentric bolts let a technician fine-tune the angle, but they add parts that can loosen or seize over time.
Material changes how the vehicle feels. Rubber bushings stay close to the original part in noise and vibration isolation. Polyurethane bushings deflect less and can sharpen steering response. They usually transmit more vibration, need the lubricant the manufacturer specifies and can squeak if that grease is missing or washes out. Bonded rubber designs and free-pivoting polyurethane designs also require different tightening procedures, which matters during installation.
Treat labels such as heavy duty, performance or lifetime with caution. Useful evidence includes clear dimensions, a stated correction range and documented vehicle fitment. Look also for installation instructions with orientation guidance and a warranty with defined terms. A missing instruction sheet or vague fitment notes are reasons to keep looking.
Limitations and ownership costs
Offset bushings do not repair damage. Before buying, have the suspension and steering inspected for joint play in ball joints and tie rod ends. The inspection should also look for cracked or torn bushings, bent arms, damaged mounts and sagging springs. If an angle is far out of specification on an unmodified vehicle, a bent component is a likely cause, and an offset part would only hide it. Correcting one angle can also shift others, so camber, caster and toe should all be checked and set together.
Installation usually means removing the arm, pressing the old bushings out and pressing the new ones in, which requires a suitable press or bushing tool. Raise the vehicle only with rated equipment and support it on jack stands at the manufacturer's lift points. Never work under a vehicle held only by a jack. Use the fastener specification from the vehicle's service information for every bolt, and replace any hardware listed as single-use. Rubber bushings are typically tightened with the suspension at normal ride height. Tightening them while the suspension hangs can preload the rubber and shorten its life. For polyurethane, follow the bushing maker's instructions.
Budget for a full wheel alignment after installation. You may need a second visit if the first offset does not bring the angle within range. Polyurethane bushings may need periodic regreasing. Any bushing should be checked at routine service for cracking, noise or unwanted movement.
Build a practical shortlist
Narrow your options with a short checklist. Start with the alignment report and the specific angle that needs correction. Confirm the exact arm and pivot position, then compare the part's dimensions with the original. Make sure the stated correction range covers the measured gap with some margin. Choose rubber or polyurethane based on how much noise and maintenance you will accept. Check that the instructions explain orientation and tightening, and note whether new hardware is included.
Compare the cost of the whole job, not just the part price. That includes press work or labor, any new hardware and the alignment itself. Then weigh offset bushings against the alternatives offered for your vehicle, such as eccentric bolts, adjustable ball joints, shims or complete adjustable arms. If two options fit equally well, the easier one to readjust is often the better buy if your ride height or tires may change. Take your shortlist to the alignment technician, who can confirm from their readings how much correction is actually needed.