OBD1 and OBD2 Scanners: Connectors, Protocols and Vehicle Compatibility
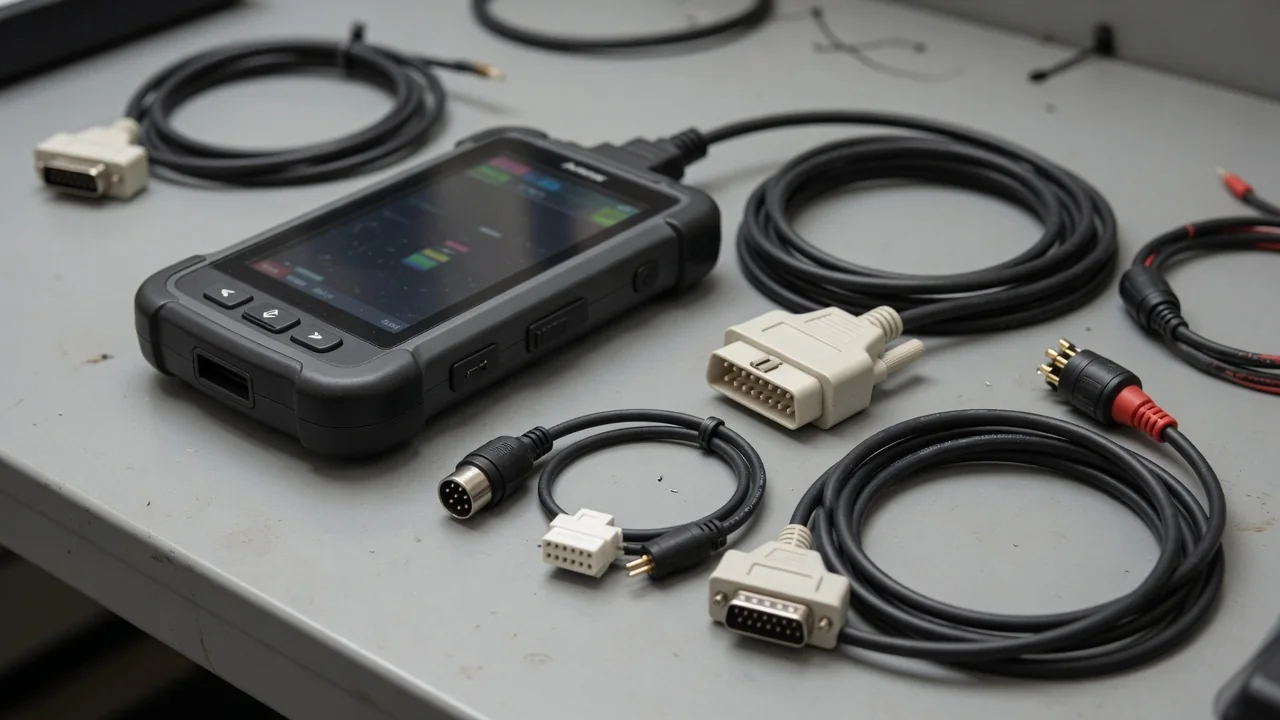
Shopping for an OBD1 and OBD2 scanner makes sense when a household or shop works on vehicles from both sides of the mid-1990s diagnostic divide. The two systems differ in connectors, communication methods and the way codes are defined, so compatibility depends on far more than plugging in a cable. This guide explains how combined tools work and how to confirm what a particular vehicle actually needs.
What Separates OBD1 From OBD2 Diagnostics
OBD1 is not a single standard. It is a loose label for the on-board diagnostic systems automakers developed on their own before a common rule existed. Each manufacturer chose its own data link connector shape, its own mounting location, which could be under the dash, in the engine bay or elsewhere, and its own way of releasing information. Some systems flashed codes through the check engine light, while others needed a brand-specific tester. Knowledge of one make therefore transfers poorly to another.
OBD2 replaced that patchwork for US light-duty vehicles beginning with the 1996 model year. It standardized the 16-pin diagnostic port, a core set of generic diagnostic trouble codes and a defined body of emissions-related data that any compliant tool can request. Manufacturers still layer their own extended codes and functions on top of that foundation. Vehicles built around the transition can break the pattern, and some may carry a newer-looking connector without behaving as fully compliant systems, so the vehicle itself, not the model year alone, should settle the question.
How a Scanner Covering Both OBD1 and OBD2 Works
A tool marketed as an OBD1 OBD2 scanner usually has a standard OBD-II connector on its main lead plus a set of interchangeable OBD1 adapter cables shaped to fit older manufacturer-specific sockets. The adapter only solves the physical problem of connecting. Behind the plug, the tool's software must also speak the older diagnostic method that the manufacturer used, and those methods were never shared between brands. A cable that fits perfectly can still produce nothing if the software lacks support for that particular system.
What comes back also differs by era. On older vehicles, combined tools commonly retrieve stored codes and sometimes a limited selection of sensor readings, depending on what the vehicle's computer was designed to share. Over OBD2, the same tool typically offers broader live data, readiness status and freeze frame information. Because coverage of early systems varies widely between products, the tool maker's published vehicle coverage list should be checked for the exact make, model, year and engine before the scanner is trusted for a particular job.
OBD2 Communication Protocols and Why They Matter
OBD2 standardized the connector but allowed several communication languages. The main families are SAE J1850 in its PWM and VPW forms, ISO 9141-2, ISO 14230, often called KWP2000, and ISO 15765, the CAN bus protocol. A scanner must support whichever one the vehicle uses, and most current OBD2 tools handle all the standard protocols and detect the right one automatically. CAN later became the required protocol for US vehicles, but the changeover was gradual, so a vehicle's protocol should be confirmed rather than assumed from its year.
Protocol knowledge matters most when a tool refuses to connect. A no communication or link error message can result from a protocol the scanner does not support, but it can equally come from missing power or ground at the connector, a blown fuse feeding the port, damaged terminals or a fault within the vehicle's own network or control module. The message alone does not identify which of these is responsible, so replacing the scanner or condemning a module on that basis is premature.
Confirming Which System Your Vehicle Uses
Identification starts with a simple look at the hardware. The diagnostic connector is usually under the driver's side of the dashboard, sometimes behind a small cover. A trapezoid-shaped socket with two rows of eight pin positions points toward OBD2, while a different shape or pin count, or a connector located under the hood, suggests an earlier system. The emissions label under the hood provides stronger evidence, since on OBD2 vehicles it typically states that the vehicle is OBD II compliant.
When the connector and label disagree, or the label is missing or unreadable, the owner's manual or official manufacturer service information is the next reference. One shortcut deserves caution. Older guides often describe jumpering pins or bridging terminals so the check engine light flashes its codes. That method is only appropriate where official service information for the exact vehicle calls for it, because bridging the wrong terminals can send voltage where it does not belong and damage control modules that are difficult to replace.
Reading Codes Correctly Across Older and Newer Vehicles
Codes from the two eras need different handling. OBD1 codes are often short numeric values defined by each manufacturer, so the same number can point to unrelated circuits on different makes. OBD2 uses a five-character format in which a zero as the second character generally marks a generic definition and a one marks a manufacturer-specific code. Any OBD1 code, and any OBD2 code with that one in second position, should be looked up for the exact vehicle before a decision is made.
Even a correctly defined code is evidence rather than a verdict. It identifies the circuit or system where the computer saw something outside its expected range, and the cause may be wiring, a connector, a vacuum leak, a related component or the sensor itself. Further testing usually separates these possibilities. Coverage has limits too: a generic code reader concentrates on engine and emissions data and may miss codes or information stored in ABS, airbag or body modules, so a clean result does not prove that every system is healthy.
Practical Limits and When to Get Professional Testing
Basic tools covering both systems are well suited to reading and clearing codes, but many stop there. Live data on older vehicles, bidirectional tests that command components on and off, and module programming often require more capable equipment. Clearing deserves a realistic view as well. Erasing a code switches off the light and wipes stored information without repairing anything, and a warning that returns means the underlying problem is still present. Repeated clearing only delays the diagnosis and removes clues a technician could use.
Some situations belong with a qualified technician from the start: airbag or ABS warning lights, a flashing check engine light, drivability or braking problems, and codes that keep coming back after apparent repairs. If warning lights appear together with overheating, loss of power or any change in braking or steering feel, the vehicle should not be driven further, and a professional inspection should be arranged. A scanner is a useful first source of information, but these conditions call for testing beyond what a handheld tool provides.