Nissan Frontier Rear Axle Bearing Replacement
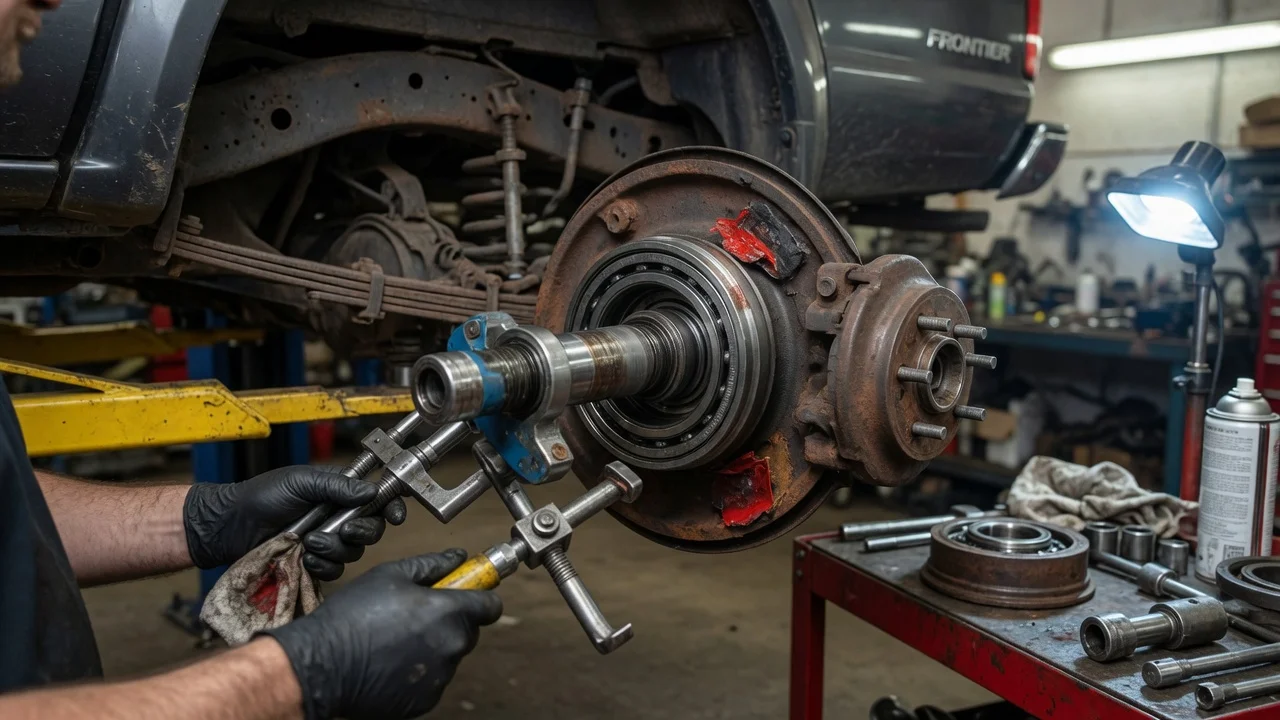
A worn rear axle bearing on a Nissan Frontier usually shows up as a hum or growl that rises with road speed, sometimes with gear oil seeping onto the brakes. Replacing it means pulling the axle shaft, pressing off the old bearing and installing a new one with a fresh seal. Procedures, fastener torques and fluid specifications vary with model year and vehicle configuration, so keep the factory service information for your truck at hand throughout the job.
Confirm the part and repair scope
The Frontier has been built across several generations, and parts can differ by model year, two- or four-wheel drive, axle version and rear brake type. Look up the bearing by VIN where possible rather than by year alone. If the original bearing is still readable once it is out, compare its markings with the replacement before pressing anything on. Many suppliers sell the bearing as a kit with the axle seal and retaining collar. That kit is usually the better choice, because the collar should not be reused and the seal is disturbed whenever the shaft comes out.
Before buying parts, make sure the bearing is really the problem. Cupped or unevenly worn tires, a failing differential pinion or carrier bearing, and a dragging brake can all sound like a bad wheel bearing. A bearing hum often changes when the truck is loaded or when you sweep gently left and right at speed. Differential noise tends to change between acceleration and coasting. With the rear raised and supported, spin each wheel by hand and feel for roughness, then rock it at the top and bottom to check for play. Oil on the inside of the backing plate, brake shoes or rotor points to a leaking axle seal, which is often replaced along with the bearing. Check the service history for previous axle work, and remember that deep water crossings can let water into the bearings. If the shaft journal or seal surface is scored, the shaft itself may need replacing.
Prepare tools and safe access
You will need a floor jack, axle stands rated for the truck, and wheel chocks for the front tires. You also need a torque wrench, a slide hammer or axle puller, a seal driver, brake cleaner, the specified gear oil, and the bearing kit. Pressing the old bearing off and the new one on calls for a hydraulic press and a bearing separator. You will also need a way to cut the old retaining collar, usually an angle grinder and a chisel. Many owners remove the shaft at home and take it to a machine shop for the pressing. That is a sensible split if you do not own a press.
Gather the vehicle-specific service information before you start. That means the retainer nut torque, the lug nut torque, the gear oil type and fill procedure, and the brake and parking brake adjustment steps for your configuration. Work only with the truck on stands on level ground, never on the jack alone, and avoid breathing brake dust when the drum or rotor comes off. Press work is the riskiest part of the job. A bearing or collar loaded incorrectly can shatter under pressure, and a damaged shaft is costly. If you have not used a press before or are unsure about brake hydraulics, leave those steps to a qualified shop.
Remove without avoidable damage
Chock the front wheels, loosen the lug nuts, raise the rear and set it on stands. Remove the wheel, then the brake drum, or the caliper and rotor on trucks with rear discs, hanging the caliper so the hose is not strained. Disconnect the parking brake cable and the wheel speed sensor where the service information calls for it. On some configurations the backing plate comes out with the axle, which means disconnecting the brake line. Others allow the brake assembly to stay in place. Follow the procedure for your truck rather than forcing parts apart. Remove the retainer nuts, then draw the shaft straight out with a slide hammer or puller. Support the shaft as it clears the housing so the splines do not drag across the inner seal or knock the differential. Note the position of any spacers, shims, gaskets or O-rings you find.
To remove the bearing, cut a groove partway through the retaining collar with a grinder, stopping short of the shaft. Then split the collar with a chisel. Do not use a torch, since heat can weaken the shaft. With the collar gone, support the bearing in a separator and press the shaft out, keeping the shaft from dropping when it breaks free. Clean the shaft and inspect the bearing journal, seal surface and splines before going further.
Install and restore the system
Fit the new axle seal into the housing with a driver of the correct size, keeping it square and at the depth or orientation the service information specifies. Slide any retainer plate and seal components onto the shaft in their original order. Check the new bearing for any marked side and match the orientation of the original. Press the bearing onto the shaft by its inner race only. Pushing on the outer race or the seal will damage it before it has turned a mile. Then press on the new retaining collar so it seats against the bearing, following the kit or factory instructions. Some procedures call for pressing the bearing and collar in separate steps.
Clean the housing flange and fit any new gasket or O-ring the procedure requires. Guide the shaft into the housing slowly, rotating it to engage the differential splines without striking the inner seal, and seat the bearing. Tighten the retainer nuts to the specified torque. Reinstall the brake components. If a brake line was opened, bleed the system as the manual describes. Then adjust drum brakes and the parking brake, and reconnect the wheel speed sensor. Finally, check the differential oil level and top it up with the specified gear oil, including any limited-slip additive your axle calls for.
Check the completed work
Before lowering the truck, spin the wheel by hand. It should turn smoothly, with only normal brake contact, and show no play when rocked. Press the brake pedal several times to restore a firm pedal, especially if the brakes were opened or adjusted, and confirm the parking brake holds. After installing the wheel and lowering the truck, torque the lug nuts to specification.
Road test at low speed first, then at the speeds where the noise used to appear, listening for hum, clicking or grinding. Watch for an ABS or traction warning light, which can mean a disturbed sensor or connector. Afterwards, look behind the wheel for gear oil on the backing plate or brakes, and recheck lug nut torque after a short distance. If the original noise remains, inspect the opposite bearing, the differential and the tires. A seal that keeps leaking calls for further inspection, including the shaft surface and the axle housing vent. Under harder operating conditions such as towing, heavy loads or water crossings, include the rear bearings in regular inspections so the next failure is caught early.