Nissan Altima Spark Plug Replacement Guide
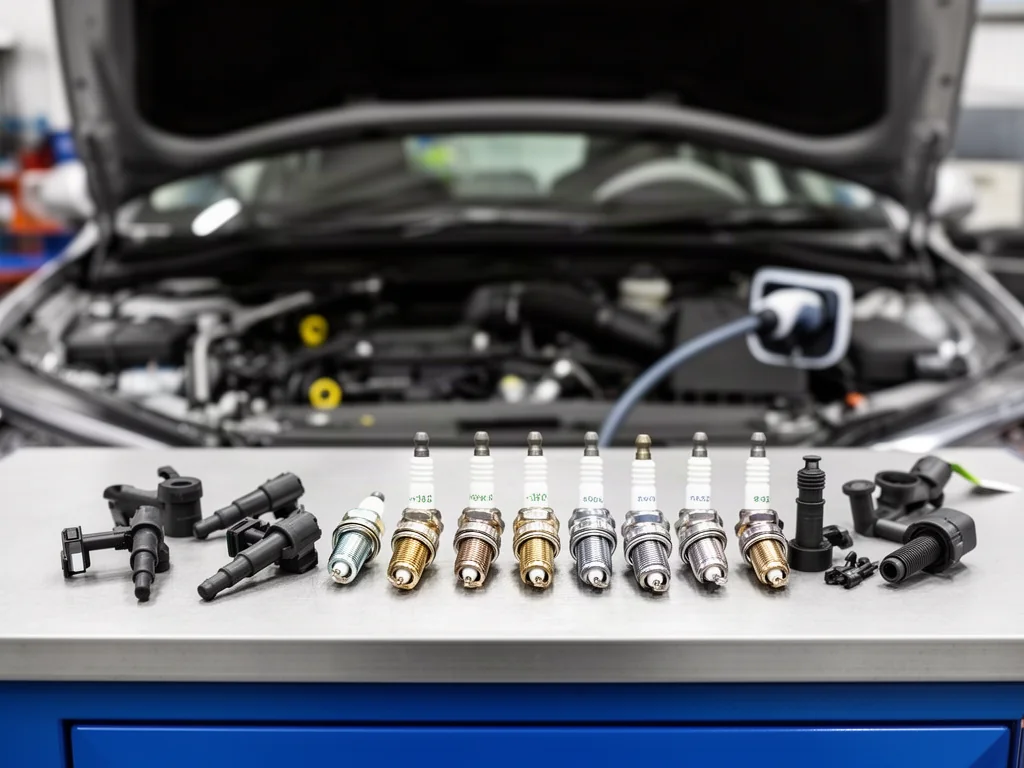
Nissan Altima spark plugs ignite the mixture in each cylinder, and the correct set depends on the engine sitting in that sedan. Spark plugs for Nissan Altima models vary with year and powertrain, so engine identification comes before parts or labor talk. The owner's manual and maintenance schedule still govern when replacement is due. Matching electrode type, spark plug gap, and access to that application keeps a scheduled plug change from being confused with an engine misfire repair.
Identify Your Altima’s Model Year and Engine
Selecting Nissan Altima spark plugs starts with the model year and the engine actually installed, not with a generic year range. Different Altima generations used more than one engine family, and a plug that threads into one cylinder head may have the wrong reach, heat range, or seat for another. Access to the plugs and ignition coils also changes with underhood packaging. Until those details are confirmed, any discussion of parts, gap, or labor should stay conditional so the wrong application is not assumed.
The owner's manual, underhood labels, and a VIN-based parts lookup together establish the engine application more reliably than memory or a window sticker. Emission labels often list displacement and engine code, while a reputable catalog keyed to the VIN can match that configuration to a plug listing. If those sources disagree, pause and verify the vehicle rather than averaging the results. Fitment remains provisional until the exact configuration is confirmed, because options and mid-year engine changes can alter what belongs in the head.
Check the Scheduled Spark Plug Replacement Interval
The spark plug replacement interval for an Altima is listed in the maintenance schedule for that model year and engine, not as a single mileage that covers every sedan. Engines used across the Altima line can carry different replacement points, and severe-service pages may shorten what the normal schedule shows. Use the booklet that matches the identified vehicle rather than a neighbor's interval or a previous Altima you owned. The printed schedule is the routine trigger; it is not a diagnosis of the plugs currently in the head.
Service records show whether scheduled replacement has already been completed and at what odometer reading, which matters when ownership has changed or invoices are incomplete. Mileage by itself does not prove plug condition. A set replaced recently may still be within the specified life, while neglected plugs can suffer earlier if the engine has misfired, run rich, or ingested oil. Treat the schedule as routine maintenance, and treat rough running as a reason for diagnosis rather than as automatic proof that the plugs are due.
Choose Spark Plugs With Confirmed Fitment
Once the engine is identified, verify the exact plug application in the vehicle-specific service information and a reputable parts catalog rather than choosing by brand familiarity. Electrode material, heat range, thread diameter and pitch, reach, and seat design must match what that cylinder head requires. A plug that is too long can contact a piston; one that is too short or uses the wrong seat can leak compression or transfer heat poorly. Catalog cross-references help only after those dimensions and the listed part number agree with the confirmed Altima engine.
Iridium spark plugs belong on an Altima only when the confirmed application lists that electrode design or an approved equivalent. Do not default to iridium, platinum, or copper based on reputation; heat range and electrode type follow the engine's ignition and thermal requirements. Spark plug gap is also application-specific. Some listed plugs arrive pre-gapped and should not be bent; others follow a stated gap in the service information. Adjust only when that information permits it, and measure rather than assuming the box is correct.
Understand Engine Access Before Planning Replacement
Access to the plugs and the ignition coils above them depends on the Altima's engine and model year, so a sequence that fits one sedan may not describe another. Some layouts leave coil boots reachable from above; others place intake plumbing, decorative covers, or brackets in the way. Do not assume which covers or intake components must come off until the identified vehicle's service information shows the path. Planning around the wrong obstruction wastes time and can lead to removing parts that were never blocking the wells.
Access complexity drives labor as much as the plugs themselves. When intake components or tight coil packing must be disturbed, professional replacement is often appropriate, particularly if thread repair or seized hardware is possible. Hot exhaust surfaces, fragile coil connectors, and aluminum head threads are reasons to avoid improvised prying, impact tools on plugs, or guessing at tightness. Cross-threading or rounding a plug can turn scheduled service into cylinder-head work, which is why a technician should assess any plug that will not turn freely.
Recognize Symptoms That Need Diagnosis
Rough idle, difficult starting, hesitation under load, and an engine misfire can involve the ignition system, yet none of those complaints by itself proves the plugs are worn out. A misfire code or a flashing malfunction indicator is evidence to interpret, not a parts verdict. Ignition coils, wiring, fuel delivery, vacuum leaks, and mechanical problems can produce the same shake or stumble. Treat the symptom as a reason to inspect the whole ignition and air-fuel path rather than as automatic authorization to replace plugs.
Record when the problem appears—cold start, hot restart, idle, or cruise—and whether a malfunction indicator stays on or flashes, using those observations without dismantling coils or plugs on the roadside. That timeline helps a technician separate an ignition miss from a fuel or air-leak issue. A flashing warning light or severe shaking is a reason to stop safely and seek assistance, because continued driving with an active misfire can overheat a catalytic converter. Manufacturer-dependent codes still require vehicle-specific confirmation before any part is condemned.
Confirm the Service Scope and Follow-Up
A useful replacement estimate names the confirmed plug application and quantity, the access labor required for that engine, and any additional work that inspection actually justifies. Replacing the plugs should not quietly expand into a coil package unless a coil has failed testing or shows damage. Ignition coils do not automatically require replacement simply because the plugs are due on the maintenance schedule. Ask what will be inspected once the coils are off, and keep extra parts off the ticket until there is a documented reason.
Installation torque, thread treatment, and coil fastener values come from vehicle-specific service information; guessing those figures risks stripped aluminum threads or a coil that does not seal the well. Damaged threads, oily contamination, coolant in a well, or a seized plug need professional assessment rather than more force. After the job, keep the service date, odometer reading, and the installed part numbers with the records. If rough idle or misfire continues, the new plugs did not close the diagnosis, and ignition, fuel, and mechanical checks should continue.