Nissan 350Z Adjustable Control Arms: Fitment and Selection
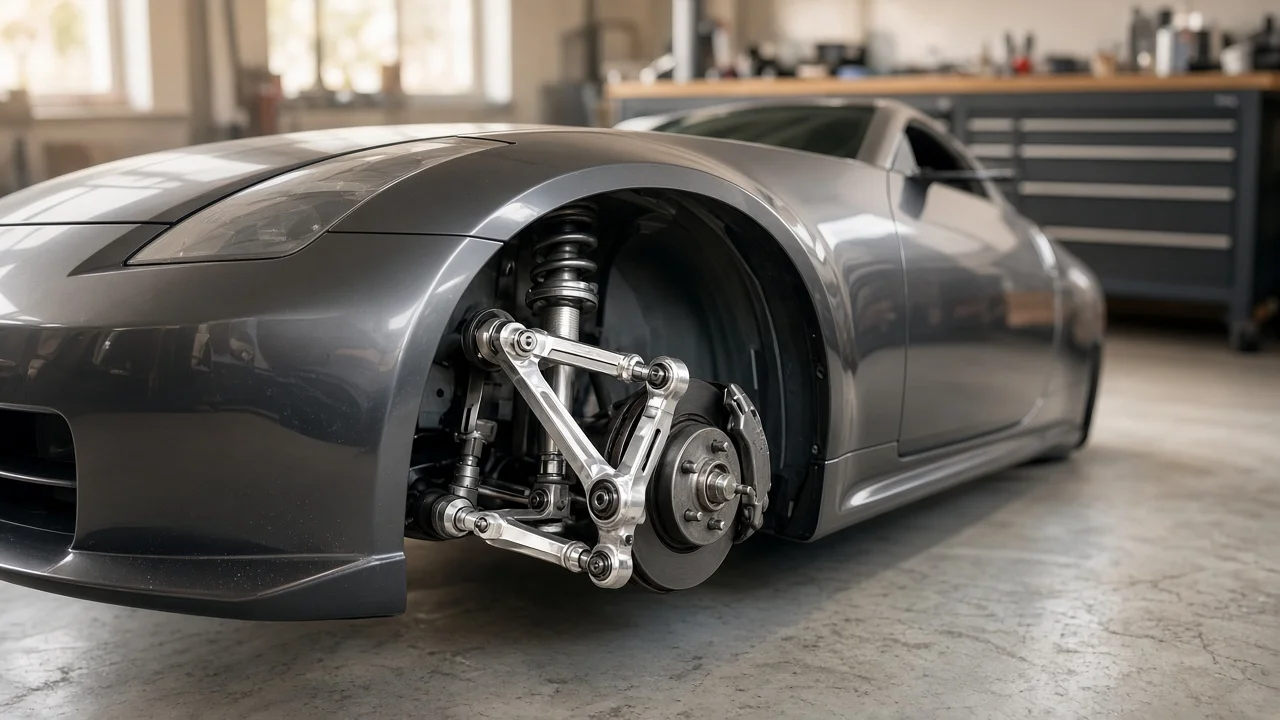
Adjustable control arms let a Nissan 350Z owner restore alignment range after lowering, tune camber or toe for track use, or replace tired factory bushings with a different joint design. The right set depends on which arm you need, how the car is driven, and how much noise and maintenance you will accept. This guide covers how to match 350Z adjustable control arms to the job, confirm fitment and compare options without relying on marketing labels.
Define what the arms need to do
Before comparing brands, pin down what problem the arms must solve. On a Nissan 350Z, adjustable control arms are usually bought for one of three reasons. The car has been lowered and the alignment shop cannot bring camber or toe back into the target range. The owner wants more alignment adjustment for track days or autocross. Or the original bushings are worn and a replacement arm with a different joint design is preferred. Each goal points to different parts. A lowered street car often needs only the arms that limit its alignment, while a dedicated track build may justify a broader set. If uneven tire wear started without any change to ride height, inspect bushings, ball joints and other components first, because adjustable parts will not correct a mechanical fault.
Practical constraints matter just as much. Consider how many miles the car covers each year, whether it sees winter roads and salt, how much cabin noise you will tolerate, and whether you will install the parts yourself or pay a shop. Also identify the corner and position in question. The Z33 uses a multi-link layout front and rear, so front upper arms, front tension rods, rear upper camber links, rear toe links and rear traction links each influence different angles. Buying the wrong position solves nothing.
Check compatibility with your 350Z
The Z33-generation 350Z was sold for the 2003 through 2009 model years in coupe and roadster form, and it shares its platform with Infiniti models of the same period. Many aftermarket listings cover both, but compatibility is set by the specific arm, not the badge. Confirm that the listing names your model year range and body style and states the exact position the arm replaces. If a product lists only a platform code, ask the seller to confirm against your vehicle before ordering.
Next, check the physical interfaces. Bolt diameter, bushing sleeve width and the spacing at the mounting points on the subframe and knuckle must match the factory arm. For front upper arms, confirm how the ball joint attaches and whether it is supplied. Look at clearance as well: wider wheels, larger brake calipers, coilover bodies and sway bar end links can contact an arm shaped differently from stock, so the suspension should be checked through full steering lock and full travel. Finally, compare the stated adjustment range with your ride height. A mild drop needs only modest extra range, while an aggressive one may exceed what any single arm can correct. Range quoted as a change in length is more useful than a promised number of degrees, because the resulting angle depends on the rest of the geometry.
Features that affect the choice
The joint design shapes how the car feels and how much upkeep the arm needs. Rubber bushings isolate noise and vibration well but allow the arm to move under load. Polyurethane resists deflection better, yet it transmits more vibration and can squeak without periodic lubrication. Spherical bearings or rod ends remove most compliance, which sharpens response on track, but they pass more noise into the cabin and wear faster when exposed to grit and water on the street. Some arms pair a bushing at one end with a spherical joint at the other as a compromise, and boots or seals on spherical joints help extend service life.
Adjustment design is the next practical feature. Arms with opposing left- and right-hand threads in a turnbuckle-style body can often be adjusted on the car, which makes alignment faster and cheaper; designs that must be removed to change length add labor every time settings move. Secure jam nuts or clamps keep the setting from drifting. Material and finish affect durability, particularly where roads are salted. When reading listings, separate evidence from labels. A stated adjustment range, the joint type, availability of replacement bearings or bushings, the included hardware and its grade, minimum thread engagement guidance and clear warranty terms are useful. Phrases such as race-proven or aircraft-grade, without supporting detail, tell you little about fit or durability.
Limitations and ownership costs
Installation is manageable for a capable home mechanic, but it is still safety-critical work. Raise the car only at the manufacturer's lift points and keep it on rated stands on firm, level ground; never work under a car held by a jack alone. Some bushed joints must be tightened with the suspension at normal ride height and the car's weight on the wheels to avoid preloading the bushings, so follow the service manual or the arm maker's instructions on when and how to tighten. Take the fastener specification for each joint from those sources rather than guessing. Setting each new arm to the length of the part it replaces gets the car safely to an alignment shop, but a professional wheel alignment is required after installation and belongs in the budget.
Ownership costs continue after the install. Check adjustable arms periodically for joint play, torn boots, loose jam nuts and corrosion on exposed threads, especially after track sessions or winter driving. Spherical joints and some bushings are wear items, so factor in replacement parts. Remember what these arms cannot do. They will not fix worn ball joints, a bent knuckle or a damaged subframe, and they cannot make an inappropriate ride height behave well. On a multi-link suspension, changing one arm can alter more than one angle, so adjustments should be made as part of a full alignment rather than one parameter at a time.
Build a practical shortlist
A short comparison checklist keeps the decision focused. For each candidate, confirm that it lists your model years and body style and names the exact arm position. Record the stated adjustment range and check it against your ride height and target alignment. Note the joint type and whether it suits your mix of street and track use. Check whether it adjusts on the car, which hardware is included, whether rebuild parts are sold separately and what the warranty covers. Ask your installer about clearance with your wheels, brakes and coilovers.
Before buying, ask your alignment shop which measurement runs out of adjustment first; their readings show which arms you actually need. Buy left and right sides as a matched pair, and avoid adding arms that only increase maintenance without solving a measured problem. A narrower set that addresses the real limitation is usually the better value.