Nissan 240SX Brake Booster Check Valve: Choosing the Correct Part
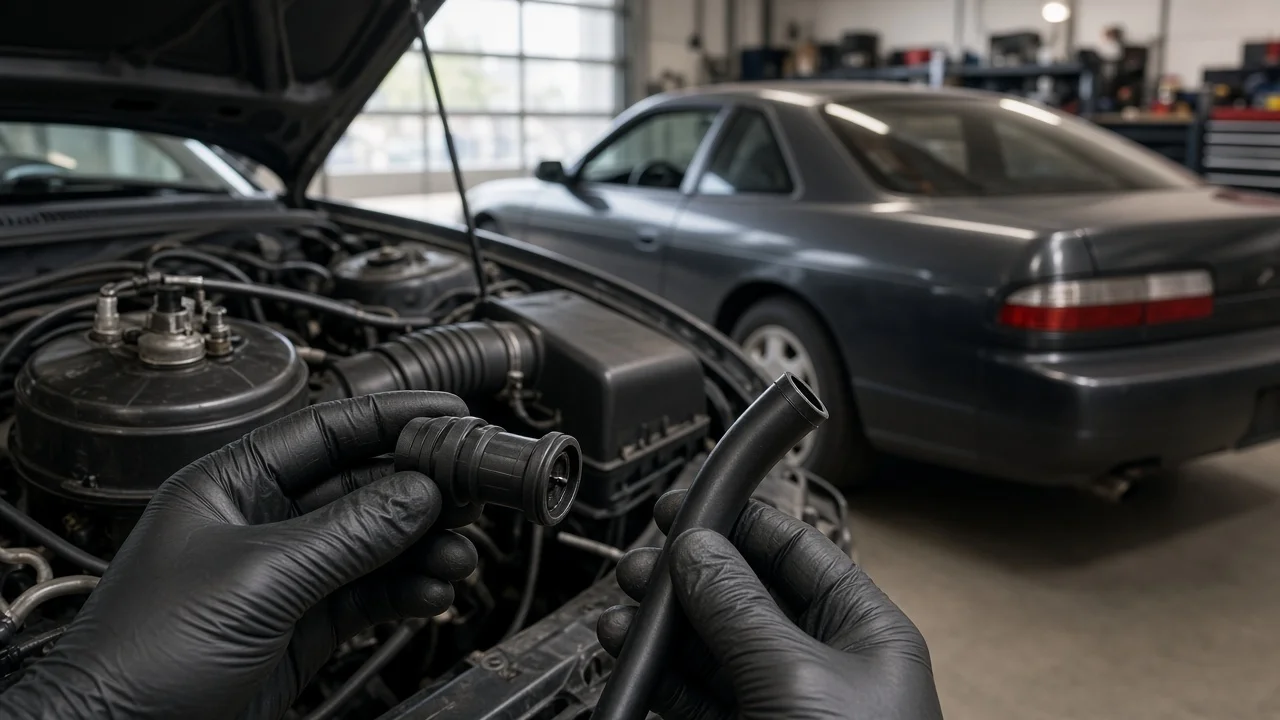
A hard or inconsistent brake pedal on a Nissan 240SX is often blamed on the booster, but the small one-way check valve in its vacuum line is a cheaper and easier suspect. Choosing the right replacement means confirming the valve is actually at fault, then matching your chassis, engine and hose layout. This guide covers what the part must do, how to check fitment, which features matter, and when the problem calls for professional brake service instead.
Define the job the product must do
The check valve lets air leave the brake booster toward the intake manifold and blocks flow in the opposite direction. That traps a vacuum reserve inside the booster, so you still get power assist when manifold vacuum drops: at wide-open throttle, if the engine stalls, or for a few stops after it is switched off. On a 240SX, which is now decades old, the plastic valve body and the rubber hoses around it can harden, crack or leak, and the internal seal can stick. Typical symptoms include a firm pedal on the first stop after the car has been parked, assist that disappears quickly after shutdown, an idle change when you press the brake, or a hiss near the valve or hose.
Before buying anything, confirm the diagnosis. With the engine off, pump the pedal several times to use up the reserve, hold steady pressure, and start the engine; the pedal should sink slightly as assist arrives. Next, run the engine briefly, shut it off, wait a short time, and apply the brake; you should still have assist for at least a couple of presses. Then remove the valve and blow through it: air should pass from the booster side and be blocked from the engine side. If the pedal sinks toward the floor, feels spongy, or the brake warning light is on, the fault is likely hydraulic. Stop driving the car and have the system inspected.
Check compatibility
Vehicle fitment for this part depends more on physical interfaces than on a catalog listing. The 240SX was sold in the US as the S13 from 1989 to 1994 and as the S14 from 1995 to 1998, and many cars have since been modified, so inspect what is actually installed rather than relying on a product photo. Note whether the valve sits inline in the hose with a barb at each end, or whether it is an elbow pressed into a rubber grommet in the booster shell. Measure the hose inner diameter or the barb size on each side, record the flow-direction marking, and photograph the hose routing before removal. If you prefer the original part, look up the Nissan part number for your exact chassis and engine and use it to cross-reference alternatives.
Engine swaps change the requirements. Many 240SX owners have fitted turbocharged engines, and under boost the intake manifold is pressurized. In that case, the check valve is what keeps boost pressure out of the booster, so choose a valve the manufacturer describes as suitable for boosted applications. Also confirm that the vacuum port on the replacement manifold matches the hose size you plan to use. A stock naturally aspirated KA24 engine with its original manifold needs only a standard valve that matches the factory layout.
Features that affect the choice
The sealing element inside the valve does the real work; the body only holds it. Plastic bodies are common on factory parts and work well when new, but they can become brittle with heat and age. Metal-bodied inline valves are popular on modified cars because they resist cracking, though a metal shell with a poor internal seat is no improvement. For grommet-mounted designs, the grommet matters just as much as the valve, because a hardened grommet leaks even when the valve itself is sound.
An OEM-style replacement usually matches the barb sizes and routing exactly, so it goes in without changes. A universal aftermarket valve may need reducers or adapters, and every extra joint is another place for a vacuum leak. Labels such as performance or high-flow tell you little, because the valve's job is to seal reliably, not to maximize flow. Useful evidence includes stated barb or hose sizes, a clear flow-direction marking, a listed application for your chassis or engine, a boost rating where relevant, and whether new hose and clamps are included.
Limitations and ownership costs
A new check valve cannot repair a torn booster diaphragm, a failing master cylinder, air or contamination in the brake fluid, a sticking caliper, or brake pads and brake rotors worn beyond their wear limits. Glazed or contaminated friction material can also make the pedal feel hard while the vacuum system is working normally. If you hear a hiss inside the cabin when you press the pedal, or the idle still stumbles during braking after replacing the valve and hose, the booster itself may be leaking. Low manifold vacuum from an aggressive camshaft or an engine running poorly will also reduce assist, whatever valve you fit.
Installation is normally simple, but details matter. Follow the valve's marking so air can only flow from the booster toward the engine, use secure clamps, avoid kinks, and route the hose away from exhaust heat. Ownership costs are low: the valve, a length of suitable vacuum hose, clamps and, optionally, a vacuum gauge for diagnosis. Inspect the hose and valve whenever you work under the hood, because the rubber will continue to age. After installation, repeat the pedal and reserve tests. Use the factory service manual for your model for specifications and procedures, and if the pedal feel changes or the tests still fail, park the car until a qualified technician has checked the braking system.
Build a practical shortlist
Compare two or three candidates against the same checklist. Confirm the chassis generation and engine, including any swap. Match the mounting style, inline or grommet-mounted. Match the barb or hose sizes on both sides without adapters if possible. Check for a clear flow-direction marking. Require a boost rating if the engine is turbocharged. Plan for fresh vacuum hose and clamps, whether or not they are included. Finally, check the seller's return policy in case the part does not fit as expected.
Rule out any option that lacks size information, needs several adapters, or relies on marketing claims instead of fitment details. The right valve is the one that matches your car's interfaces and passes the reserve test after installation. If it does not, the remaining fault lies elsewhere in the braking system and needs proper diagnosis rather than more parts.