MOOG Lower Control Arm Bushings: Fitment and Selection
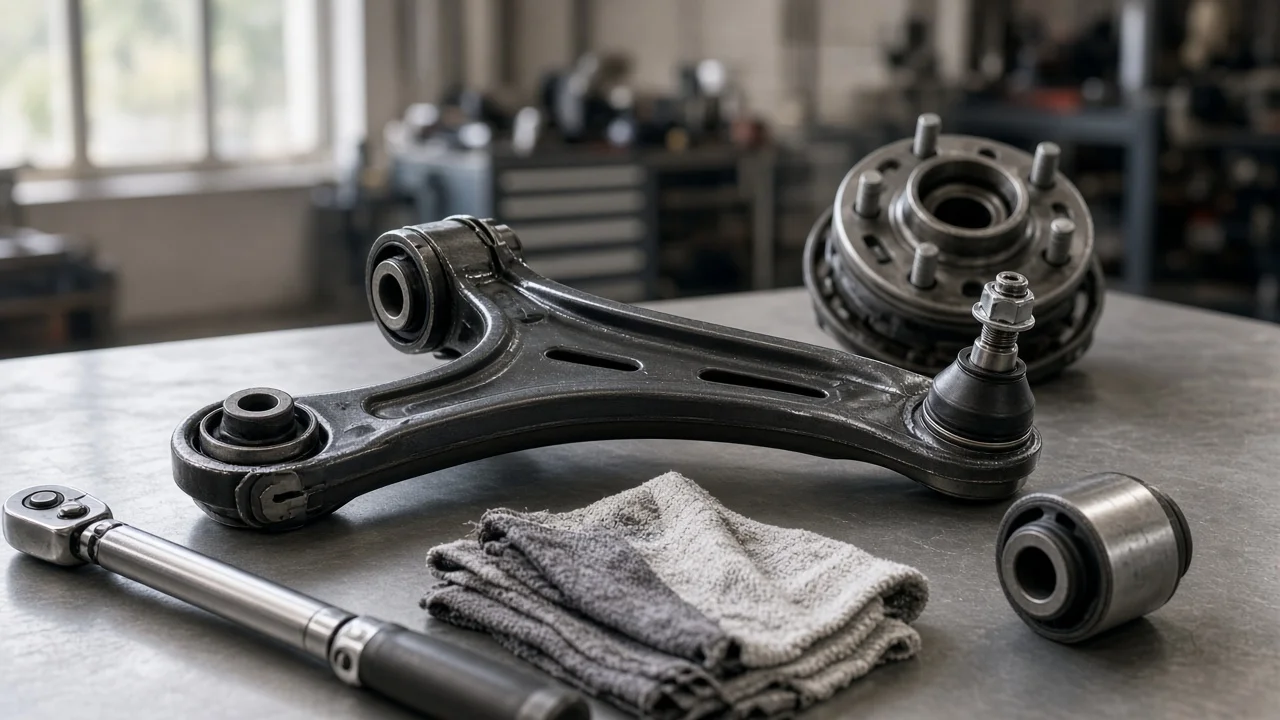
MOOG lower control arm bushings are a common replacement when worn rubber causes clunks, vague steering or uneven tire wear. Make and model alone do not determine the right part. This guide explains how to confirm fitment, which features change the result, what installation and alignment add to the cost, and how to narrow a shortlist before you order. Exact procedures and fastener values must come from the service information for your vehicle.
Define the job the bushings must do
First decide whether you are replacing bushings alone or the whole arm. MOOG sells lower control arm bushings as separate parts for many applications, and it also offers complete control arms that arrive with bushings and often a ball joint already installed. Pressing new bushings into your existing arm makes sense when the arm is straight, the corrosion is only on the surface, the bushing bores are undamaged, and the ball joint either shows no joint play or can be serviced separately. If the arm is bent or badly rusted, or the ball joint is built into the arm and already worn, a complete assembly is often the more practical route.
Confirm the diagnosis before buying anything. Worn lower arm bushings typically cause a clunk over bumps, shimmy or pull under braking, steering that wanders, and visible cracks, tears or separated rubber. Worn ball joints, tie rod ends, sway bar links or strut mounts can produce similar symptoms, so inspect those parts as well. Then consider how the vehicle is used, such as daily commuting, towing, rough roads or high annual mileage. Also note practical limits: whether you have access to a press, and whether the job on your model requires removing the arm or other components.
Check compatibility
Fitment starts with year, make and model, but lower control arm bushings often also vary by drivetrain, trim, suspension package and production date. Many lower arms use two different bushings, commonly a front bushing and a rear bushing with different shapes or orientations. One part number may therefore cover only one position. Use the full vehicle details, including a VIN-based lookup where available, and read the catalog notes on position, side and quantity per vehicle. Check those notes as carefully as the headline fitment line.
The physical interfaces decide whether a part will actually work. Compare the new bushing with the old one before installing it: outer shell diameter against the arm bore, inner sleeve length and bolt diameter, any flange, and the placement of voids or orientation marks. Voided bushings must be installed in a specific orientation to give the intended ride and handling, so follow the included instructions or the service manual. While the arm is accessible, inspect its mounting points on the subframe or body for elongated holes, cracks or damaged brackets. A new bushing cannot compensate for a worn mount. If anything does not match, stop and recheck the part number before pressing anything in.
Features that affect the choice
Material and design matter more than branding. Most original-equipment lower control arm bushings use rubber bonded to metal sleeves, which absorbs noise and vibration well. Stiffer aftermarket designs can sharpen steering response, but they may transmit more road noise and harshness, and some require lubrication. Compare the listed material and construction with what the vehicle had originally. A firmer bushing on a daily driver is a trade-off, not an automatic upgrade.
Separate useful evidence from marketing labels. MOOG promotes some parts as redesigned to address known weaknesses in original designs. Treat that as a claim to verify, and look for specifics: what changed in the shell, rubber, void pattern or sleeve, and why it matters for your application. Useful evidence includes dimensional details, the included hardware, whether the part is pressed in or bolted in, installation instructions, and the warranty terms the seller actually publishes. Terms such as heavy duty or premium without supporting detail tell you little about how the bushing will ride or how long it will last.
Limitations and ownership costs
The bushing price is often the smaller part of the job. Pressed-in bushings require a hydraulic press or a bushing tool kit with correctly sized cups. Many arms must come off the vehicle, and some designs need special tools to service bushings in place. Proper vehicle support is essential. Raise the vehicle only at the manufacturer's lift points, support it on jack stands rated for its weight, and never work under a vehicle held only by a jack. Coil springs and other suspension parts can be under load, so follow the model-specific procedure. Avoid using heat to remove old rubber near brake lines, fuel lines or ABS wiring.
Rubber bushings usually need their pivot bolts final-tightened with the suspension at normal ride height, loaded as the service manual describes. Tightening with the wheels hanging can twist the rubber and shorten its life. Take every torque value from the manufacturer's fastener specification, and replace any bolts the manual lists as single-use. Budget for a wheel alignment afterward, because new bushings change the arm's position. New bushings will not fix a worn ball joint, tie rods, struts, a bent arm or body damage, and they do not correct alignment by themselves.
Build a practical shortlist
Before ordering, run through a short checklist. Confirm the exact vehicle details, including drivetrain and suspension package. Note which positions need replacement and how many bushings the job takes per side. Decide between separate bushings and a complete arm based on the condition of the arm and ball joint. Check that the dimensions, void orientation and included hardware match the original. Weigh the material against how the vehicle is driven, and review the seller's stated warranty and return terms.
Then compare total job cost rather than part price. Add the bushings, press work or shop labor, any single-use hardware, and the alignment, then set that against the cost of complete MOOG control arm assemblies for the same positions. Labor savings can make the complete arm the better value even though the part costs more. If the bushings on the opposite side show similar wear, replacing both sides together helps keep handling and braking behavior even and avoids paying for a second alignment soon after the first.