MK7 GTI Wastegate Actuator Replacement: Diagnosis, Removal and Setup
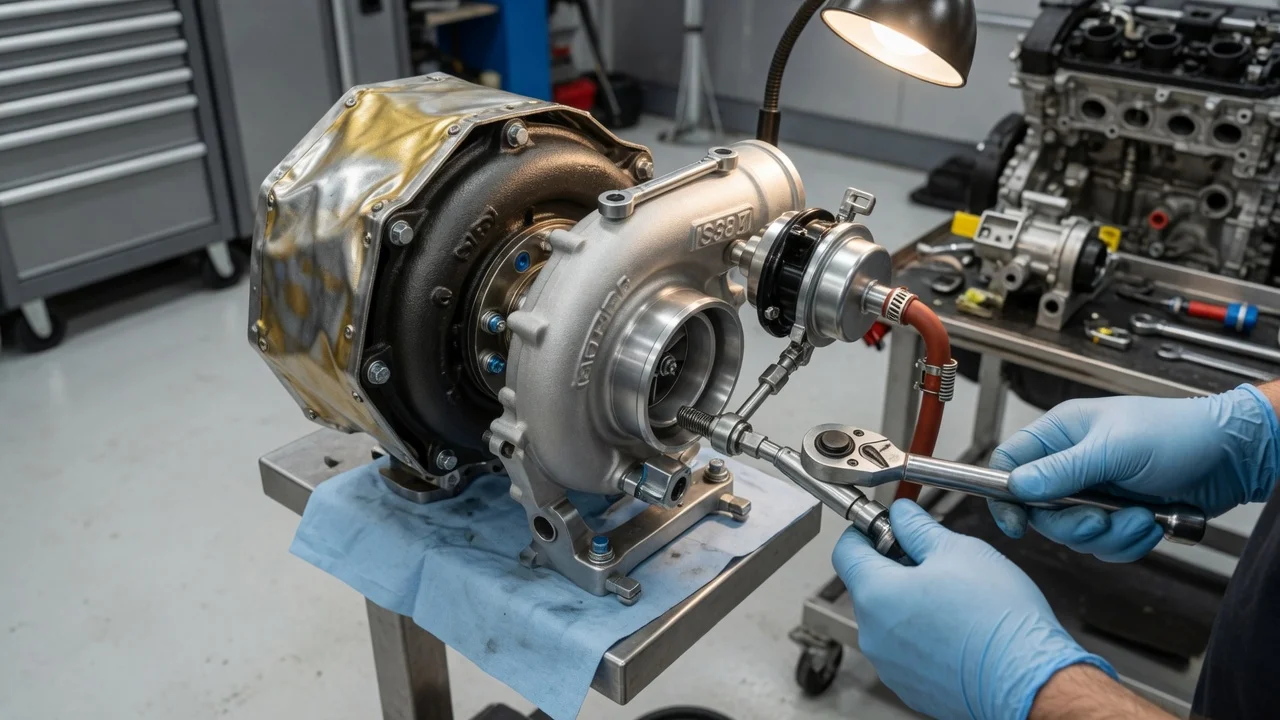
The MK7 GTI controls boost with an electronic wastegate actuator mounted on the turbocharger instead of a vacuum canister. When it fails, owners usually notice underboost, reduced power or boost-control fault codes. Replacing the actuator is a realistic job for an experienced home mechanic. It only helps if the actuator is actually the faulty part, and the job is not finished until the engine computer has learned the new unit's range of travel.
Confirm the part and repair scope
US-market MK7 GTIs, including the facelifted 7.5 versions sold through 2021, use the EA888 Gen 3 2.0-liter turbocharged engine with an electrically positioned wastegate. Before ordering anything, confirm your exact vehicle configuration. Check the engine code and the part number printed on the existing actuator, and have a parts supplier or dealer verify fitment against your VIN. The Golf R and other EA888 applications use different turbochargers and actuators, and cars with an aftermarket or upgraded turbo may not use the factory part at all.
Next, make sure replacement addresses the real problem. Read stored fault codes with a scan tool that can access the engine module. Look for codes related to charge pressure control or the wastegate positioner, and compare specified and actual wastegate position in live data. Inspect the connector and wiring for heat damage, corrosion or a loose lock before blaming the actuator itself. One common source of confusion is the well-known wastegate rattle on these engines. It usually comes from wear at the wastegate flap pivot inside the turbocharger, not from the actuator, so a new actuator will not cure it. Review the service history for previous turbo or actuator work, and ask a dealer whether any service campaign or extended coverage applies to your car before paying for the repair yourself.
Prepare tools and safe access
You will need common metric hand tools, including the socket and Torx bits that match the fasteners on your engine. Confirm fastener types and torque values in the factory repair information rather than relying on forum lists. You also need jack stands or a lift if you plan to work from underneath, trim tools for clips, penetrating oil and a torque wrench. Most important is a scan tool that can run Volkswagen basic settings and adaptations for the wastegate positioner. Tools such as VCDS, OBDeleven or a capable professional scanner are typical choices. Without one, you cannot complete the job correctly.
The actuator sits on the turbocharger at the rear of the engine, close to the firewall, so access is tight. Depending on the procedure for your car, you may need to remove intake ducting, the engine cover or heat shielding. Work only on a fully cold engine, because the turbo and exhaust hold heat long after shutdown. Fasteners exposed to repeated heat cycles are prone to seizing. If you lack the adaptation tool, are uncomfortable with seized hardware next to an expensive turbocharger, or find that your replacement requires linkage adjustment, have a qualified shop do the work.
Remove without avoidable damage
Follow the removal sequence in the factory repair information for your car. In general, you clear the components blocking access, release the actuator's electrical connector by pressing its locking tab, and detach the actuator rod from the wastegate lever by removing its retaining clip. Then you remove the actuator mounting fasteners and lift the unit out. Photograph the rod, clip and harness routing before disconnecting anything so you can reproduce the original orientation. Keep a magnet or rag nearby so the clip does not drop into the engine bay.
Most damage during this job comes from impatience. Let penetrating oil soak into the mounting hardware, use tools that fit snugly, and stop if a fastener starts to round off or twist rather than turn. A broken bolt in the turbocharger bracket turns a simple swap into a much bigger repair. Do not pry on the connector body or force the wastegate lever. While the rod is disconnected, gently move the lever by hand and check for excessive play or roughness at the pivot. Noticeable looseness points to wear inside the turbo that the new actuator will not fix, and that is worth knowing before you reassemble anything.
Install and restore the system
Compare the new actuator with the old one before installing it. Check the connector shape, mounting points and rod geometry. Some replacement units arrive preset from the supplier. Do not change any rod adjustment unless the instructions supplied with the part or the manufacturer specifications call for it. Mount the actuator in the same orientation as the original, tighten the fasteners to the specified torque, reconnect the rod to the wastegate lever and confirm the retaining clip is fully seated. Plug in the connector until the lock engages, and route the harness along its original path, away from hot surfaces.
Reinstall the intake ducting and any other parts you removed, and make sure every clamp and coupler is fully tight. A boost leak after reassembly produces the same underboost symptoms you set out to fix. Then connect the scan tool, clear stored codes and run the basic setting or adaptation for the wastegate positioner. This procedure lets the engine control module learn the new actuator's end positions. Follow the conditions the tool specifies, and do not drive the car hard until the adaptation reports a successful result.
Check the completed work
Start with a short inspection. Confirm that the adaptation completed without errors and that no fault codes have returned after a key cycle and idle. In live data, specified and actual wastegate position should track each other closely, and specified and actual boost pressure should agree. Then take a road test on a safe road, building from light throttle to moderate load. Watch the scan data or a boost display, listen for rattles or new noises from the turbo area, and afterward recheck the intake connections and the actuator connector.
Some results call for further diagnosis rather than another part. These include an adaptation that will not complete, positioner codes that return, actual position drifting away from specified, or a rattle that persists. If boost remains low while the actuator responds correctly, look at boost leaks, the diverter valve, pressure sensors and the turbocharger itself. Note that there is no universal replacement interval for this part. It is replaced based on condition and diagnosis, not on a fixed maintenance schedule, and operating conditions such as heavy towing or frequent high-boost driving affect wear. Record the repair, part number and adaptation result in your service history, and keep the old actuator until you are satisfied the problem is solved.