Mitsubishi Canter Brake Warning Light: Meaning and Checks
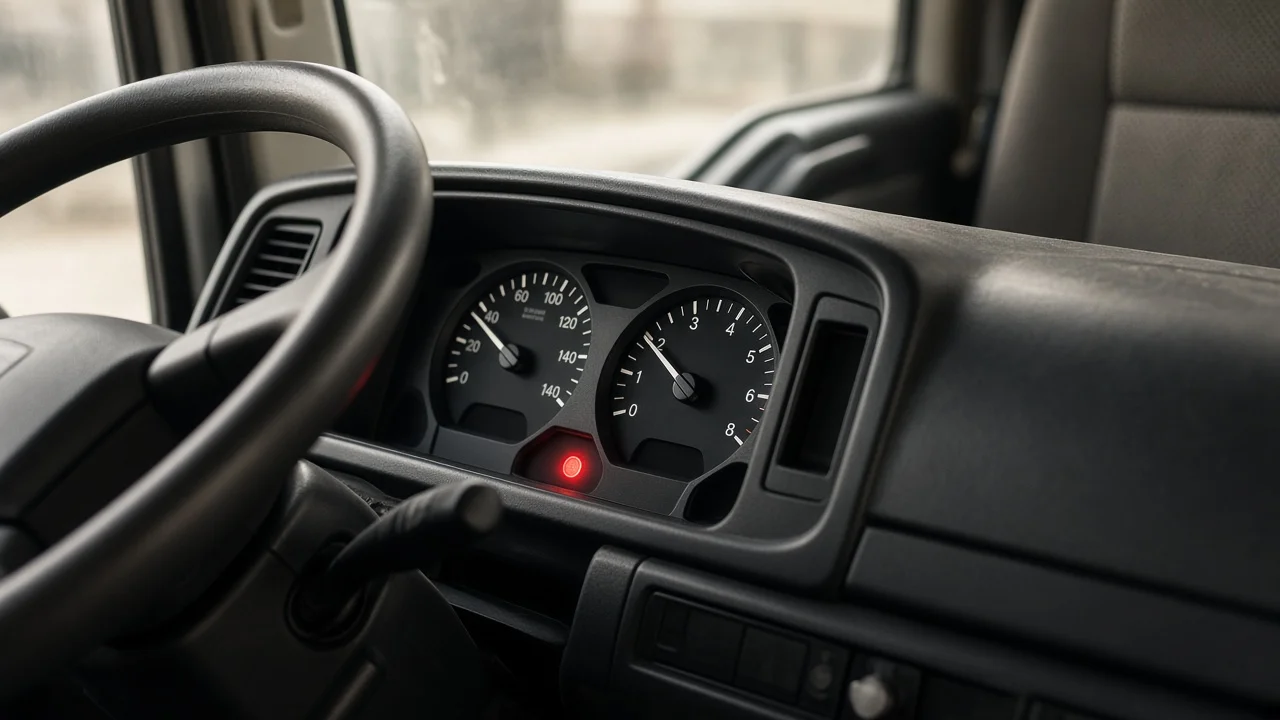
A red brake warning light on a Mitsubishi Canter comes from the braking system and should not be treated like a routine service reminder. Depending on model year, market and equipment, it can point to the parking brake, low brake fluid, a problem with brake assist or an electronic braking fault. This guide explains how to narrow down the cause, which checks an owner can make safely, and when the truck should stay parked until a technician inspects it.
Establish the symptoms
Start by recording exactly when the light appears. Note whether it stays on from engine start, appears only while driving, flickers during hard braking, cornering or on rough roads, or comes on only when the truck is loaded. Check whether the red brake lamp is on by itself or together with the amber ABS lamp, and whether a buzzer or a message on the instrument display comes with it. The exact warning symbols differ between Canter generations, so compare what you see with the owner's manual for your version.
Next, note any related signs. These include a soft or sinking pedal, longer pedal travel, a hard pedal that needs more effort, pulling to one side, grinding or scraping noises, a hot or burning smell near a wheel, and damp patches on the inside of a wheel or under the cab. Also list recent changes: new brake pads or shoes, caliper or wheel cylinder work, bleeding, a fluid top-up, battery replacement, a long downhill run or driving through deep water. A light that appeared right after brake work points somewhere very different from one that came on gradually over months.
Distinguish plausible causes
The parking brake switch is the simplest explanation. If the lamp goes out when the lever is fully released, the warning circuit is behaving as designed. If the lamp stays on with the lever fully down, the switch may be out of adjustment or the parking brake may not be releasing completely. On many Canter versions the parking brake works on a drum behind the transmission rather than at the road wheels, so a dragging parking brake can show up as heat or a smell near the driveline instead of at a wheel.
A low fluid level is the other common trigger, detected by a float switch in the reservoir. The level drops slowly as friction material wears, because caliper pistons and wheel cylinders sit further out and hold more fluid. A light that flickers in corners or under braking suggests the level is sitting right at the switch point. A light with a sinking pedal or wet residue at a wheel, hose or master cylinder points to a leak instead. On versions with vacuum-assisted brakes, a low-vacuum warning may share or sit next to the brake lamp. That case is supported by a hard pedal, and by a lamp that comes on at start-up and clears as the engine builds vacuum. On many vehicles with ABS, an electronic brake-force distribution fault also lights the red lamp together with the ABS lamp. A lamp that stays on with fluid, pedal feel and parking brake all normal makes a hydraulic cause less likely and suggests a switch, wiring or control-unit fault.
Checks in a useful order
Begin with checks that need no tools. Park on level ground, chock the wheels and confirm whether the lamp follows the parking brake lever. Then find the brake fluid reservoir; on cab-over trucks it is usually reached through the front inspection lid, but follow the owner's manual and do not tilt the cab without the correct procedure. Compare the level with the MIN and MAX marks and note the fluid's color. Look for wet spots or fresh residue at each wheel, along the visible lines and hoses, and around the master cylinder. With the engine running and the truck stationary, note whether the pedal feels firm and stays high or slowly sinks.
Do not simply top up and drive on, because that hides the evidence. If fluid has to be added, use only the type marked on the reservoir cap or in the manual, and record how much was needed. Several checks need tools, specifications or a qualified technician: measuring pad and lining thickness against the wear limits, measuring brake rotors and drums, inspecting a caliper or wheel cylinder for sticking or seepage, testing booster vacuum or hydraulic pressure, reading ABS fault codes with a suitable scan tool, and bleeding the system. Use specifications for your exact chassis and model year, because braking hardware varies between Canter versions and weight ratings.
Interpret the findings
Each result narrows the problem but rarely settles it on its own. A lamp that goes out when the parking brake is released confirms the switch circuit works, but a parking brake that drags still needs adjusting. A slightly low level with no leaks fits normal friction material wear, but only measuring pads, shoes, rotors and drums confirms it. If the components are near their limits, they need replacing, and the fluid level should be corrected afterwards rather than topped up now. A low level with wet residue confirms a leak, and the leaking part must be found and repaired before the truck is used.
Normal fluid, a firm pedal and a lamp that stays on point toward the switch, wiring or electronics. Stored fault codes show where to start, but they do not prove which part has failed. A technician should check the circuit or sensor before anything is replaced. A suspected brake assist problem needs a vacuum or pressure measurement, not a guess based on pedal feel. Before ordering pads, rotors, calipers or sensors, confirm vehicle fitment using the chassis or VIN number, model year and weight rating, since similar-looking Canter variants can use different components.
Urgency and next action
Stop using the truck and arrange towing or mobile service if the pedal is soft, sinks under steady pressure or travels further than usual. The same applies if fluid is visibly leaking, the level keeps dropping, the red lamp comes on with the ABS lamp and the truck pulls or brakes unevenly, or there is grinding, a burning smell or a hot wheel. Do not carry a load or drive downhill with an unexplained brake warning. No remaining distance can be called safe once the hydraulic system or brake assist is in doubt. Even a lamp that turns out to be a faulty switch should be fixed promptly, because it can hide a real warning later.
When you book the repair, provide the chassis or VIN number, model year, engine, weight rating and market version. Describe when the lamp appears, which other lamps or messages show, how the pedal feels, the fluid level you found, any leaks, how much fluid was added, any fault codes, and all recent brake or electrical work. This lets the technician go straight to the right tests and parts instead of repeating basic checks.