Mini Cooper Serpentine Belt Routing and Replacement Guide
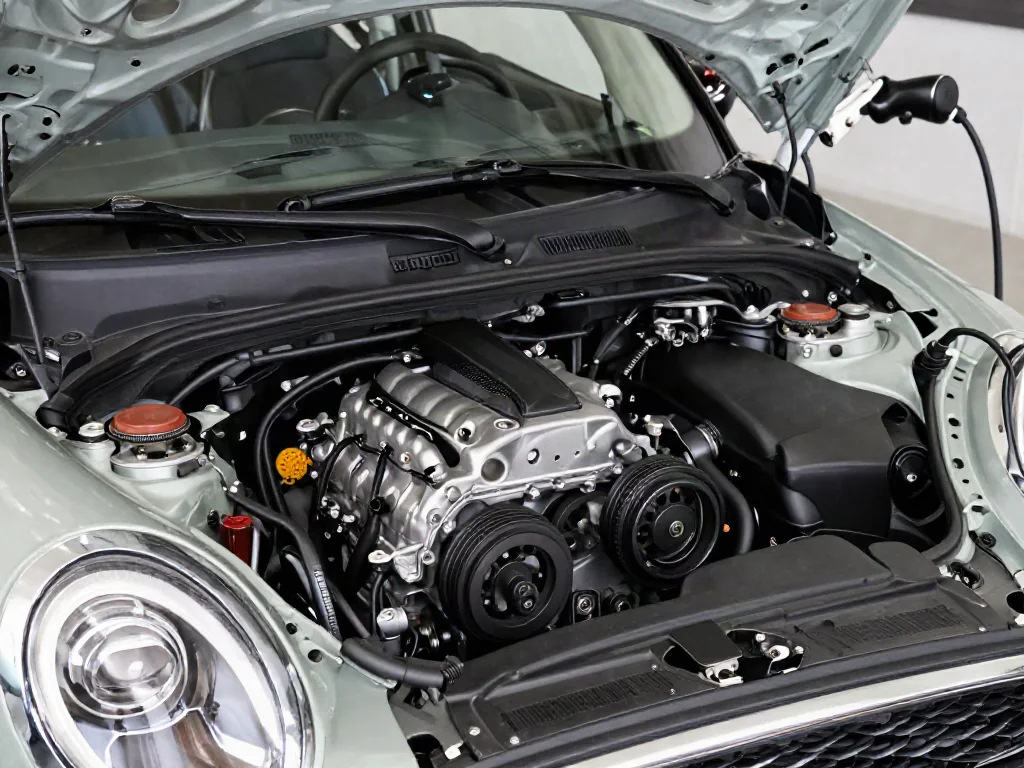
A worn accessory drive belt on a Mini Cooper S can cause chirping, loss of accessory function, or even overheating. Before replacing the serpentine belt, it is critical to identify the exact engine because belt routing, rib count, and tensioner design vary by model year and Cooper or Cooper S configuration. This guide explains how to recognize symptoms, confirm the correct routing diagram, assess related pulleys, and understand when professional service is the safer choice.
Identify Your Mini Cooper Before Choosing a Belt
Mini Cooper models use several engine families, including naturally aspirated and supercharged or turbocharged Cooper S variants, each with a distinct accessory drive layout. The number of ribs on the belt, the path around the alternator, water pump, power steering pump, and air conditioning compressor, and the type of tensioner all depend on the specific engine identification code. Therefore, the Cooper S badge alone cannot tell you which belt length or routing applies; a 2005 R53 and a 2007 R56 share the badge but have entirely different drive systems.
Confirm the belt application through a VIN-based parts lookup or a factory service manual matched to the vehicle identification number. Cross-reference the engine code on the cylinder head or valve cover with the parts catalog entry, because accessory configurations can change within the same model year when equipment packages differ. Even if a belt appears identical, a single rib difference or a few millimeters in length can prevent proper tension. Treat all routing and replacement steps as conditional on this confirmed engine data before ordering parts or beginning work.
Recognize Belt Symptoms and Their Diagnostic Limits
A failing serpentine belt often announces itself with squealing on cold starts, chirping that changes with engine speed, or visible cracking and missing ribs along the grooved side. Glazing on the smooth back surface, oil contamination, or embedded debris can also produce noise without an obvious structural fault. However, the same sounds can come from a misaligned idler pulley, a weak tensioner allowing slip, or a failing alternator bearing. Sound alone is not proof of belt failure, which is why a systematic inspection under controlled conditions is necessary.
Inspect the belt only with the engine off, the key removed, and the hood secured, after the engine has cooled enough to touch the surrounding metal safely. Do not reach into the drive area, rotate pulleys by hand with force, or remove any covers. Look for frayed edges, rib separation, cracks that penetrate the backing, or shiny glazed sections, and note the location of any wear. If the engine has overheated, produced smoke, or lost power steering assist or charging while driving, stop in a safe place and arrange for towing rather than attempting further diagnosis.
Find the Correct Belt Routing for the Engine
Once the engine is positively identified, obtain a routing diagram that matches that exact model year, engine code, and accessory configuration. The diagram shows each pulley in the drive, the sequence the belt follows, and which side of the belt contacts grooved pulleys versus smooth idlers and the tensioner. Misrouting by even one pulley can reverse the rotation of a water pump or overload a bearing, leading to rapid failure. Always compare the diagram’s pulley count and positions against what is actually visible on the vehicle before installing a belt.
A photograph of the old belt before removal provides a useful record, but it cannot prove the previous installation was correct. A previous owner or shop may have routed the belt incorrectly, causing premature wear that led to the current problem. If the belt is already broken or missing, the photographic record is unavailable, and the diagram becomes the only reliable reference. When the diagram does not match the pulley arrangement seen under the hood, or when no matching diagram can be found for the VIN, have a qualified technician verify the routing using professional service information.
Confirm Belt Fitment and Assess Related Components
After selecting a belt that matches the routing diagram, verify the part number against a reliable vehicle-specific catalog using the VIN or engine code. Pay attention to the belt’s rib count and overall length; even a visually identical belt can be one rib narrower or several millimeters shorter, which will prevent correct tensioner travel and could lead to slip or snapping. Do not rely on a belt that merely looks similar or is sold for “Mini Cooper” generically, because the Cooper and Cooper S spans many years and drivetrains with different accessory packages.
Visible belt damage can be a symptom of a deeper problem in the accessory drive. If the belt shows edge wear on one side, check the idler pulleys and tensioner for bearing roughness, wobble, or misalignment. Misaligned pulleys from a bent bracket or an incorrectly installed accessory can shave rubber from the belt within days. Oil or coolant contamination softens the belt compound and causes premature cracking, so identify and repair the source of the leak before fitting a new belt. However, do not assume that every belt replacement requires a new tensioner and all idler pulleys; replace only those that show measurable wear or roughness after inspection.
Understand the Replacement Work and Access Requirements
The replacement procedure begins with establishing safe access through the wheel arch or from above, depending on the engine bay layout. Record the routing by photograph and by comparing against the diagram, then release the stored tension in the tensioner only using the specific factory tool and procedure for that engine. Remove the old belt and inspect every pulley by feel for roughness, axial play, or alignment. Fit the confirmed belt by starting at the crank pulley and following the diagram exactly, then seat the belt fully in every groove before releasing the tensioner. Finally, rotate the engine by hand using the crank bolt to confirm the belt tracks correctly.
Access to the belt on transverse-mounted Mini engines is often restricted by the inner fender liner, engine mount, or coolant hoses. Some models require supporting the engine and removing a mount, while others can be done from under the car after removing a splash shield. The tensioner may hold significant spring force and require a long handled tool to move safely. Because the work can involve lifting the vehicle and reaching into tight spaces near rotating assemblies, a technician with a lift and the correct tools is the safer choice when equipment or experience is lacking. Never attempt to release the tensioner with improvised levers, and never run the engine with the belt off or while reaching into the drive area.
Verify the Repair and Plan Follow-Up
After installation, the technician should rotate the engine by hand through several revolutions and verify the belt remains centered on each pulley, with all ribs seated in the grooves. The tensioner indicator, if present, should sit within the marked range, and the belt should deflect only slightly under firm thumb pressure between the longest spans. Check clearance between the belt and nearby hoses, wiring, and the frame rail before starting the engine. Any running test must be performed with all guards in place, the hood closed or with a safe barrier, and no hands or tools near the drive.
If the new belt still squeals on startup or shows edge wear after a short test, do not assume another belt is needed. Recheck the tensioner travel, idler bearing smoothness, and pulley alignment with a straightedge or laser tool. A persistent noise may indicate a failing alternator overrunning clutch, a misaligned power steering pump, or contaminated pulleys. Record the part number of the fitted belt, the date, and any pulleys replaced, and keep this with the vehicle records. Follow the maintenance schedule for scheduled belt inspection intervals rather than inventing a replacement mileage, because conditions and materials vary.