Mini Cooper Check Engine Light: Causes and Diagnostic Next Steps
What the check engine light means
The Mini Cooper check engine light is part of the onboard diagnostic system. It illuminates when a control module records a fault that may affect emissions, engine operation or another monitored system. The light does not, by itself, identify a failed part. A stored fault code is evidence that a condition occurred, not proof that a specific component must be replaced.
The warning can range from a loose fuel-filler cap to a malfunction affecting ignition, fueling, sensors or emissions components. Because Mini has used several engines and electronic architectures across generations, the likely causes and diagnostic path vary by model year, engine and market specification. A 2002 to 2006 first-generation Cooper has different common faults from a later turbocharged Cooper S or a current BMW-based model.
What can trigger the light
The warning can be set by many monitored systems. Common areas include:
Loose, damaged or missing fuel cap allowing evaporative-system leakage; Faulty oxygen sensor with degraded or implausible readings; Worn or fouled spark plugs, ignition coils or related ignition faults; Catalytic converter efficiency outside expected range; Intake air leaks from cracked hoses, gaskets or loose connections; Faulty mass airflow sensor or manifold pressure readings; Variable valve timing faults, especially on engines with known timing-component wear; Faulty thermostat or coolant temperature readings; Evaporative emissions system leaks or purge-valve faults
This list is not exhaustive, and identical symptoms can have different causes on different engines. A stored code narrows the search but does not eliminate the need for inspection.
Check the basic causes first
If the light has just appeared and the car is running normally, begin with simple, reversible checks before assuming a major fault.
Turn off the engine and inspect the fuel-filler cap. If it is loose, not clicked into place, or its seal is cracked, secure or replace it. Listen for unusual sounds, and look for visible damage, disconnected hoses, fluid leaks or a smell of raw fuel. Note whether the light is steady or flashing, and whether it appeared after refueling, heavy rain, a service or recent repair work.
A loose fuel cap is a common cause of an evaporative emissions code. After correcting it, the light may not go out immediately; the system may need several complete drive cycles before it clears a stored code. Never clear a code only to hide a warning, because unresolved faults may return and a cleared record can remove information a technician needs.
Change your response with a flashing light
A steady light usually means the vehicle can continue to be driven cautiously while the cause is investigated. A flashing or blinking check engine light is different: it generally indicates active misfire severe enough to threaten the catalytic converter.
If the light flashes, reduce load, avoid rapid acceleration and high engine speed, and stop as soon as it is safe. Continuing to drive hard during a misfire can damage the catalyst. Severe drivability problems, overheating, smoke, strong fuel odor or unusual mechanical noise are also reasons to stop driving and arrange professional diagnosis or towing.
Have the fault codes read
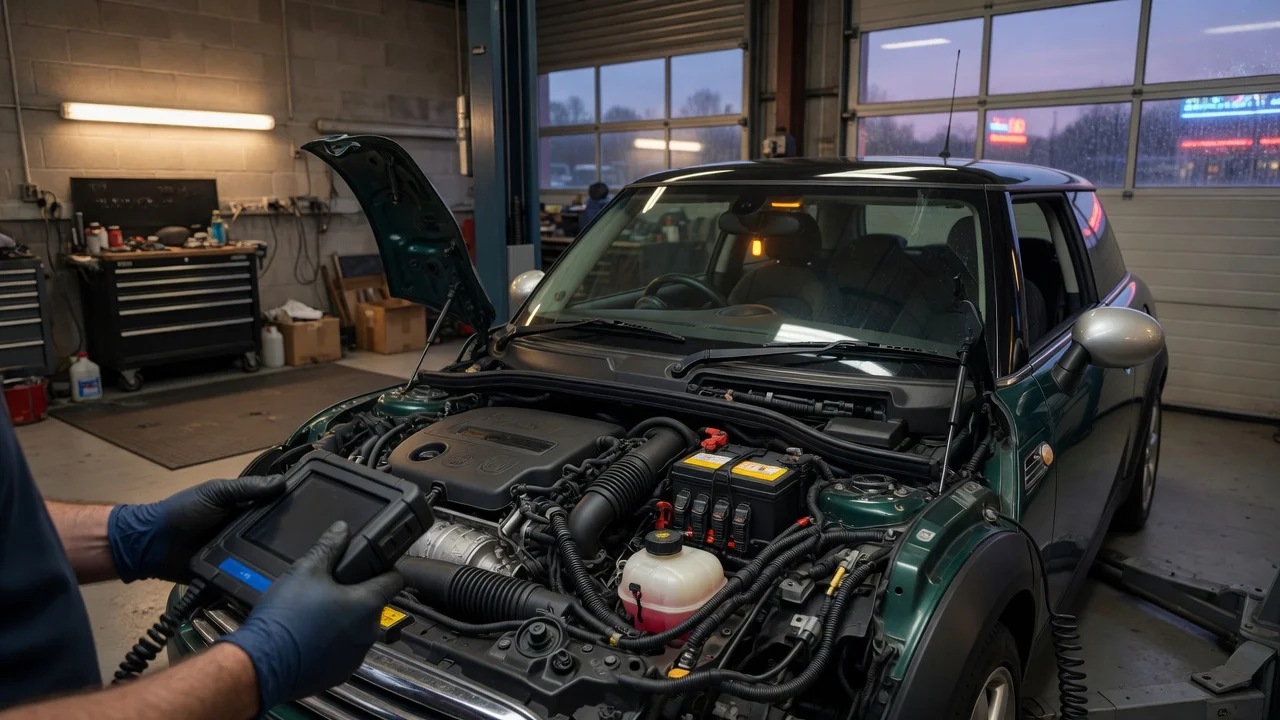
The essential next step is to retrieve the stored diagnostic trouble codes. Many auto parts stores and workshops can read these, or an owner can use a compatible scanner. The first character of a standard code helps identify the system, while the remaining digits identify the specific fault. Write down the full code, not just a brief description, because one code can have multiple possible causes.
The code should be treated as a starting point. For example, an oxygen-sensor code may mean the sensor is faulty, but it can also mean there is an exhaust leak, intake leak, fueling problem or wiring issue that makes the sensor signal appear implausible. Replacing the sensor without confirming the rest of the circuit can fail to solve the problem.
What a diagnostic check should include
A useful inspection uses the codes to direct further checks rather than ending at the scanner.
Read all stored, pending and history codes, and check whether the same fault has returned. Inspect the relevant wiring, connectors, hoses and components for damage, corrosion or looseness. Check live data such as sensor readings, fuel trims and temperatures, comparing them with expected ranges. Identify any fault patterns that point to an intake leak, wiring problem or intermittent condition. Clear the codes only after a repair, then complete the applicable drive cycle or readiness routine to confirm the monitor runs clean.
On later Mini models with BMW-based diagnostics, the same principle applies: use the code, live data and a functional test of the suspected circuit before replacing a part.
Safety and boundary checks
Before touching the engine bay, allow hot components to cool and disconnect the battery only when the procedure requires it and after checking whether the vehicle needs a steering or throttle adaptation routine afterward. Follow the applicable manual for the specific model year, because disconnecting the battery can affect stored settings on some Minis.
Avoid unplugging or substituting sensors while the electrical system is live unless the manual calls for it. When a check cannot be completed safely, or when the fault points to timing components, high-pressure fuel systems, airbags or other complex systems, have the car diagnosed by a qualified workshop.
Diagnostic next steps
Confirm whether the warning is steady or flashing and whether the car is running normally. Check the fuel cap and look for visible damage, leaks or loose connections. Record the exact diagnostic trouble codes and any freeze-frame data. Match the code to common causes for that Mini generation and engine before buying parts. Inspect the suspect circuit and related components, then repair the proven fault. Clear the code and complete the required drive cycle to confirm the monitor passes.
If no cause can be confirmed from these checks, or if the same code returns after a repair, seek professional diagnosis. Do not continue driving a flashing-light or severely misfiring car, and do not replace expensive components based only on a code without confirming the underlying fault.
What this guide cannot determine
This guide explains the general approach to a Mini Cooper check engine light without reference to a specific stored code or model-year fault history. The most likely cause can only be identified by reading the codes from the actual vehicle and inspecting the indicated system. No repair should be started until the relevant fault has been confirmed for that car.