Mevotech Sway Bar Links: Fitment and Buying Guide
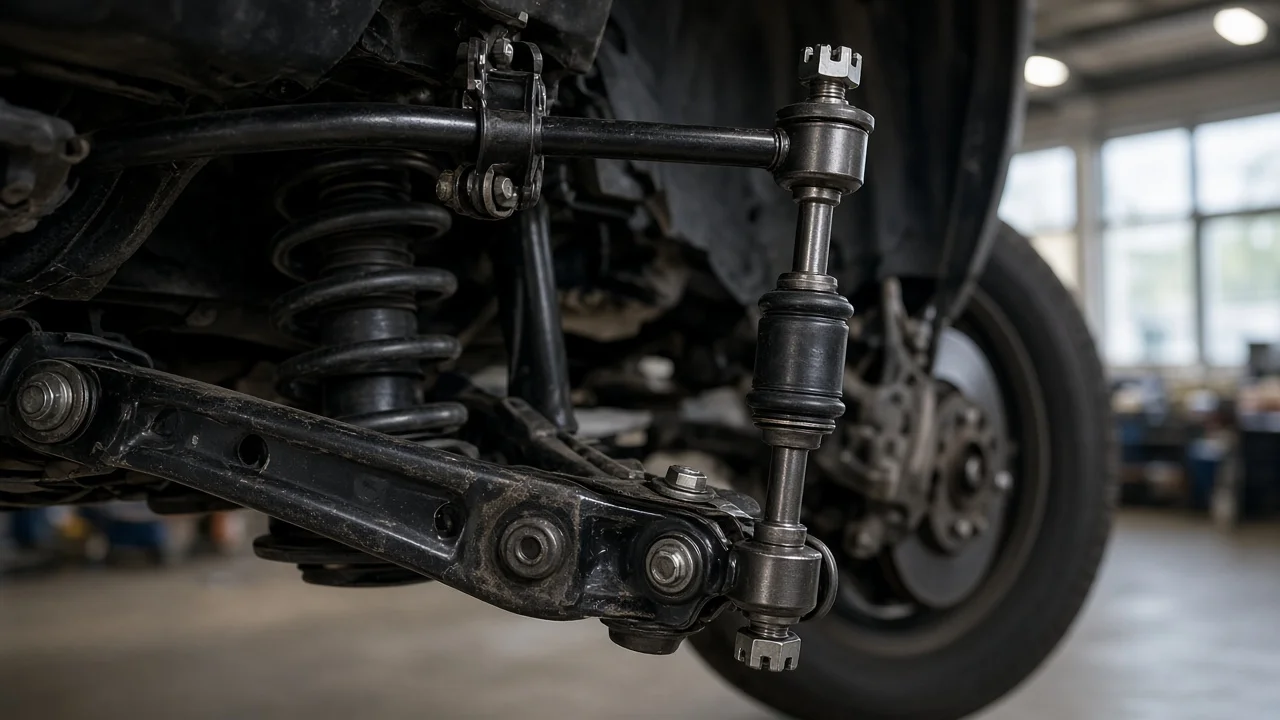
Mevotech sway bar links are aftermarket replacement parts that connect the stabilizer bar to the suspension. The brand name matters less than matching the exact part to your vehicle configuration, axle position and driving conditions. This guide explains how to confirm what your vehicle needs, which design features change the decision, what the installation and upkeep involve, and how to narrow your options before ordering.
Define the job the sway bar link must do
A sway bar link transfers the stabilizer bar's resistance to body roll into the control arm or strut. When a link wears, the usual signs are a clunk or rattle over bumps, a loose feeling in turns and more body lean than you remember. Before buying anything, confirm the link is actually the problem. With the vehicle safely supported, check each link for play at the joints, torn or missing boots, cracked bushings and bent bodies. Similar noises can come from sway bar bushings, struts, control arm bushings or loose heat shields, and a new link will not cure any of those.
Next, define how the vehicle is used. A daily commuter on smooth pavement places different demands on a link than a truck that tows, sees gravel roads or spends winters on salted streets. Your service history also helps: note whether the links have been replaced before, whether the current parts are original or aftermarket, and how badly the fasteners are corroded. Finally, identify which links are worn. Front and rear links are different parts, and on many vehicles only one axle needs attention.
Check compatibility before you order
Start with the complete vehicle configuration: year, make, model, trim, engine, drivetrain and any suspension package. The same model can use different links depending on two-wheel or four-wheel drive, a sport or heavy-duty suspension, or a mid-year production change. Enter all of these details in the parts catalog lookup, and use a VIN-based search where one is offered. If the lookup returns several Mevotech part numbers for one position, read the fitment notes rather than choosing the first result.
The physical interfaces decide whether a link will bolt in and work correctly. Compare the overall length, the connection type at each end (ball stud, bushing with a through-bolt, or eyelet), the stud thread size and pitch, and the angle or orientation of each stud. Note whether the part is specific to the front or rear and to the left or right side. Where possible, measure the link you remove and check it against the listing and the manufacturer specifications in your service information.
Modified vehicles need extra care. A lift or lowering kit changes the distance and angle between the sway bar and its mounting point. A link sized for stock ride height may then bind, preload the bar or run at a steep angle that accelerates wear. Unless a listing states that it suits a specific modification, assume it is meant for factory height, and confirm the required length on the vehicle itself.
Features that affect the choice
Mevotech sells chassis parts in more than one product grade, so compare the specific part listing rather than assuming every link under the brand is built the same way. The features that matter are the end design (ball stud or bushing), whether the joint is greasable or sealed, the boot material and fit, whether new nuts are included, and whether the stud has a hex or Torx socket or wrench flats to hold it while you tighten the nut. That last detail sounds minor, but a ball stud that spins in its socket can turn a 20-minute job into a frustrating one.
Separate useful evidence from marketing language. Labels such as heavy-duty, premium or upgraded say little on their own. More useful details are listed dimensions, materials, included hardware, greasability and written warranty terms. Stronger is not automatically better for every driver. A stiffer bushing may transmit more noise and vibration into the cabin, and a greasable joint only performs as intended if someone actually greases it. Choose the design that fits your operating conditions and maintenance habits, not the most impressive label.
Limitations and ownership costs
Installation is usually simple, but corrosion can complicate it. Plan for jack stands, the correct sockets and wrenches, a hex or Torx bit if the stud requires one, and penetrating oil. Seized nuts on older vehicles sometimes have to be cut off, so replacement hardware is worth having on hand. Tighten fasteners to the torque in your vehicle's service information. On bushing-type links, the manufacturer often specifies tightening with the suspension loaded at ride height to avoid preloading the bushings. Replacing sway bar links alone does not normally affect wheel alignment, but have the alignment checked if other steering or suspension parts were disturbed.
Ongoing costs are modest but real. A greasable link needs periodic lubrication. Follow your maintenance schedule or the part's documentation rather than a universal interval, because none applies to every vehicle. Sealed links need no grease, but they cannot be serviced when the boot fails. Either way, include the links in routine inspection, such as during tire rotations. Road salt, potholes, off-road use and heavy loads all shorten service life.
Know what a new link cannot do. It restores the connection between the bar and the suspension, but it does not improve handling beyond the vehicle's original design. It will not fix worn sway bar bushings, struts, control arm bushings or tie rod ends. Many mechanics replace both links on an axle together for even behavior and to avoid a second job later, especially when both are the same age.
Build a practical shortlist
Narrow your choices with a short checklist instead of relying on rankings. First, confirm that the part number is listed for your exact vehicle configuration and axle position. Second, check that the length, end connections and stud threads match the part you are removing. Third, verify whether the link is side-specific and order the correct pair. Fourth, decide whether a greasable or sealed design suits your maintenance habits and operating conditions. Fifth, check whether nuts are included and whether the stud can be held while tightening. Sixth, read the warranty terms as written. Finally, compare the price per pair, not per link, if you plan to replace both sides.
Apply the same checklist to the original equipment part and any other brands you are considering, so the comparison rests on fitment and features rather than branding. If the inspection left any doubt about the source of the noise, or the fasteners look badly corroded, have a mechanic confirm the diagnosis before ordering. A correctly matched link installed to specification is what produces a quiet, stable suspension.