Mazda 6 Steering Torque Sensor Replacement
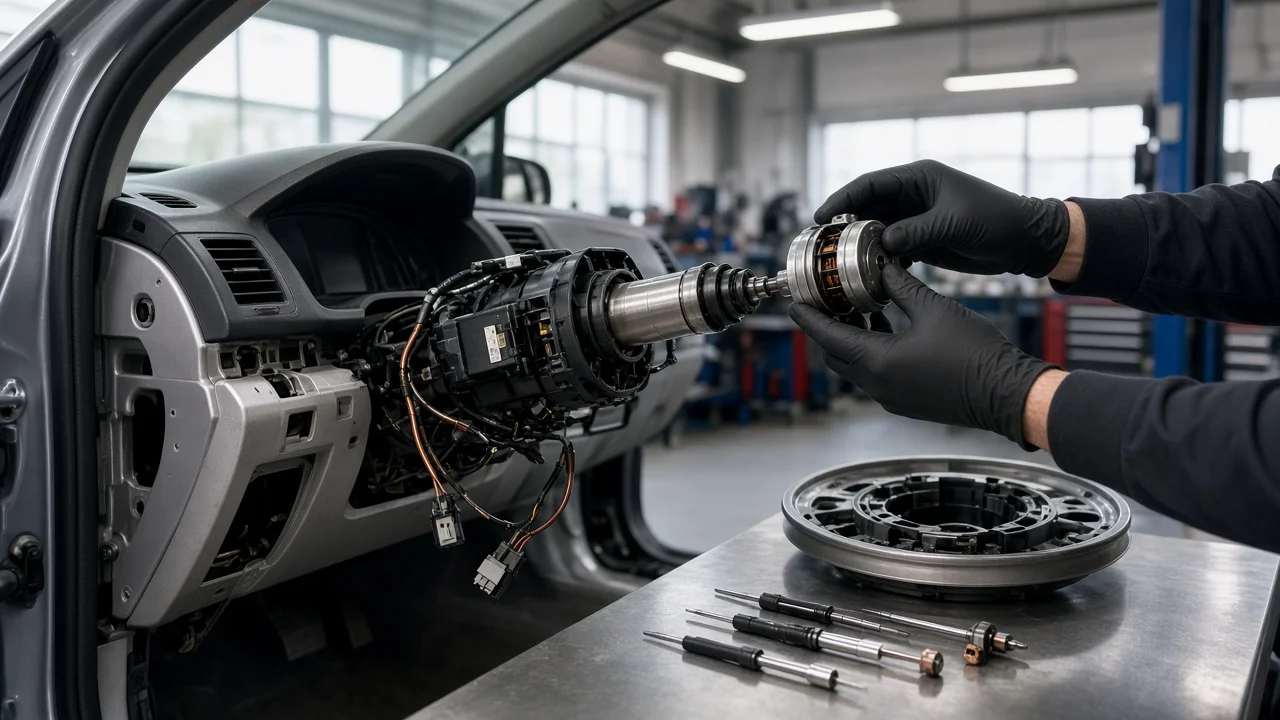
A failing steering torque sensor can leave a Mazda 6 with heavy, uneven or intermittent power assist and a lit power steering warning. Replacing it is safety-critical work. The sensor is part of the electric power steering hardware, the job often involves the airbag and clock spring, and the system usually needs electronic initialization afterwards. This guide covers confirming the diagnosis, doing the job and checking the result, using the model-specific service procedure for your car.
Confirm the part and repair scope
Start by confirming that your car actually has a steering torque sensor. Not every Mazda 6 uses fully electric power steering. Earlier generations used hydraulic or electro-hydraulic assist, which works differently and is diagnosed differently. On electric power steering models, the torque sensor measures how hard the driver turns the wheel so the control module can command the right amount of motor assist. Use the VIN, build date and market to look up the correct service information. On many electric systems the torque sensor is built into the steering column or steering gear and is not sold as a separate part. In that case, replacing the sensor means replacing the whole column or rack assembly. Match the new part by VIN or the original part number, because equipment and market variants can differ.
Next, make sure the sensor is really the cause. Typical complaints are a power steering warning light, assist that drops out or cuts in, or steering that feels heavier in one direction than the other. Read diagnostic trouble codes from the power steering module with a scan tool and check live data if your tool supports it. Rule out the common lookalikes first: low battery or charging voltage, corroded grounds, damaged wiring or loose connectors, a faulty control module, and a steering angle sensor that only needs recalibration. Mechanical problems such as uneven tire pressure, binding joints or worn suspension parts can also mimic a sensor fault. Replace hardware only when the diagnosis points to it.
Prepare tools and safe access
Get the factory service procedure for your exact model year before you begin. It specifies the removal sequence, which fasteners must be replaced, every fastener specification, and the initialization steps. You will also need a torque wrench, trim tools, any new one-time-use bolts listed in the procedure, and a scan tool that can perform Mazda power steering and steering angle initialization. Without that capability the car may not steer correctly even with a good new part. The job requires removing or disturbing the driver airbag, handling the clock spring and reassembling safety-critical steering joints. Inexperienced owners should leave it to a qualified shop.
Park on level ground with the front wheels straight ahead and the steering wheel centered. Secure the wheel so it cannot turn while the column is apart. Disconnect the negative battery cable and wait the period the manual specifies before touching any airbag component, so the system can discharge. If the job involves the steering gear or access from below, raise the car only at the specified lift points and use proper vehicle support on rated jack stands. Never work under a car held only by a jack. Keep the removed airbag module face up in a safe place, away from heat and impacts.
Remove without avoidable damage
For a column-mounted design, the general sequence is to remove the driver airbag, the steering wheel, the column covers, and usually the clock spring or combination switch. Then disconnect the column electrical connectors, separate the intermediate shaft joint, and unbolt the column from its mounting points. For a gear-mounted design, the procedure typically involves separating the tie rod ends, disconnecting the intermediate shaft at the pinion, unplugging the assist unit and, on some models, lowering the subframe. Follow the order in your manual rather than a generic sequence, because hidden brackets and connector routing vary between versions.
Most damage during this job is avoidable. Mark the intermediate shaft against the pinion or column shaft before separating it, so the steering reassembles in the same phase. Do not let the clock spring rotate once the wheel is off; tape it or lock it as the manual describes. Release connector locks fully instead of pulling on wires. Support the column or rack as the last bolts come out so it cannot drop. Do not strike or drop the new assembly, because the internal sensor is easily damaged by impact. Inspect the mounting points for cracks or worn bushings, and set aside any bolts the manual lists as single use.
Install and restore the system
Fit the new assembly in the orientation shown in the procedure and line up your reference marks. Engage the intermediate shaft splines fully before installing its bolt. Install every mounting bolt by hand first, then tighten them to the fastener specification and in the sequence from the service manual, using new bolts where specified. Do not guess torque values. Seat each electrical connector until its lock engages and route harnesses away from moving parts. Make sure the clock spring is centered according to the manual before refitting the steering wheel. Then reinstall the airbag following the manual's precautions, and reconnect the battery the same way.
The system then needs to learn the new hardware. Depending on the model, this can include a torque sensor neutral-point or initial setting for the power steering module and a steering angle sensor initialization, both done with a compatible scan tool. Clear the stored codes only after these routines finish successfully. If the steering gear was replaced or the tie rods were disturbed, a wheel alignment is required. Have it done with tires at the correct pressure and the car at its normal ride height and load condition as the alignment procedure specifies. Do not try to set toe by eye.
Check the completed work
Before driving, confirm that the power steering and airbag warning lights go out after start-up and that no codes return when you scan again. Check that the horn and steering wheel switches work. With the engine running and the car stationary, turn the wheel slowly in both directions. Assist should feel smooth and equal left and right, with no notchiness or sudden changes. With the car safely supported or parked, check for joint play at the intermediate shaft and tie rod ends, and confirm that every fastener you disturbed has been tightened.
Road test at low speed first, in a quiet area. The steering wheel should sit centered when driving straight, return toward center after turns, and get heavier at higher speeds the way it did before the fault. The car should not pull to one side. Scan again after the drive. Stop and diagnose further if warning lights or codes return, assist is heavier in one direction, the wheel is off center, the steering knocks or clunks, or assist drops out. These can point to an incomplete initialization, a connector or wiring fault, an incorrectly phased shaft or a defective replacement part. Do not keep driving a car whose steering feels inconsistent.