Manual Transmission Synchronizer Replacement: What the Job Involves
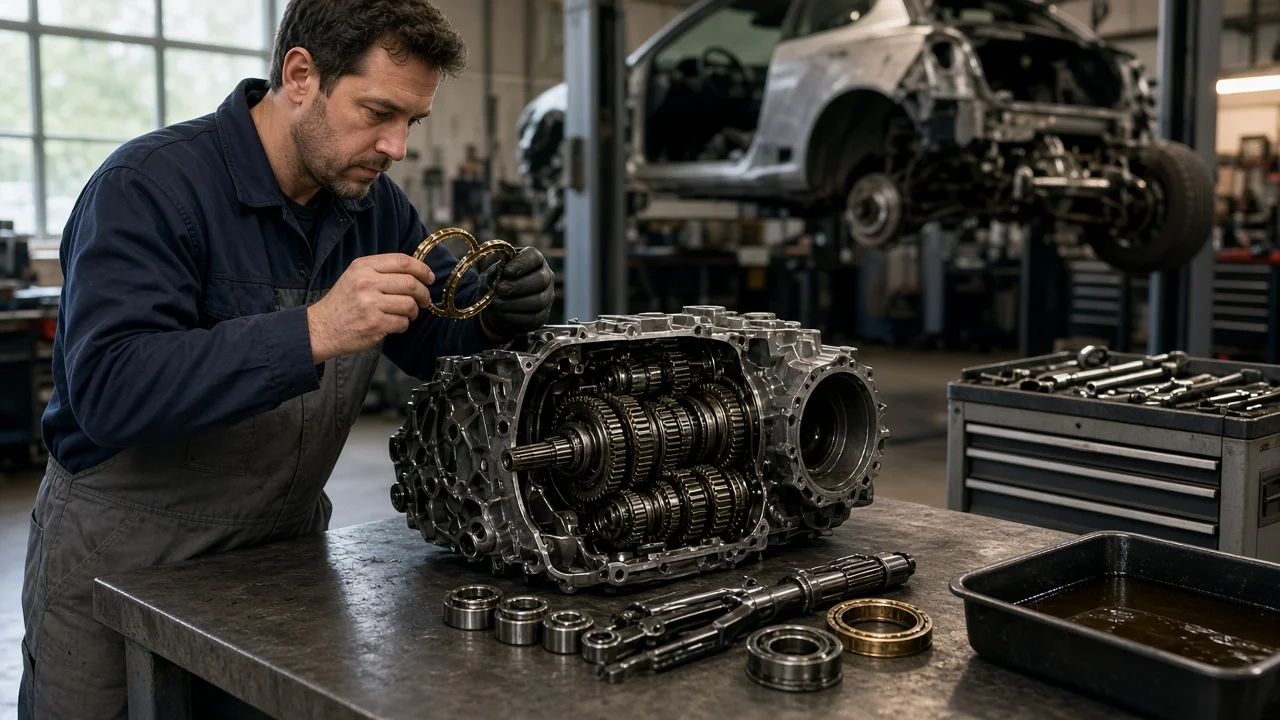
A worn synchronizer is one of the most common reasons a manual gearbox grinds or resists going into a particular gear, but replacing one is rarely a quick job. On most cars and trucks the transmission has to come out and be taken apart to reach the synchro rings, hubs and sleeves. This guide explains what the repair involves, how to confirm it is the right fix, and where vehicle-specific service information decides the details.
Confirm the part and repair scope
Several symptoms can point toward a worn synchronizer. These include grinding when shifting into one gear, a gear that blocks or needs a second push, and a crunch that appears only on quick shifts or when the fluid is cold. None of these symptoms proves the synchronizer is the cause. A clutch that does not fully release also causes grinding, usually across several gears and often when selecting reverse. Low or incorrect gear oil, worn shift linkage bushings, a misadjusted cable or a failing clutch hydraulic system can cause similar shift behavior. Before committing to a teardown, check the fluid level and condition. Confirm the fluid specification the manufacturer calls for, inspect the linkage, and make sure the clutch releases fully. Manual gearboxes usually set few or no diagnostic codes of their own. Stored codes for speed sensors or clutch position switches are still worth reading, because they can help rule out unrelated faults.
Fitment depends on the exact transmission, not just the vehicle. The same model can use different gearboxes depending on engine, drive layout, model year or production date. Identify the transmission type from its tag, its case markings or the vehicle's build data. Synchronizer rings differ in diameter, number of cones, tooth count, friction material and lug design. A brass ring and a carbon-lined ring for the same gear are not interchangeable unless the manufacturer approves it. Service history matters as well. A previous rebuild may have introduced non-original parts, and a record of wrong fluid or long drain intervals can explain accelerated wear.
Repair scope is usually decided once the unit is open. Replacing only the rings for the affected gear is common. However, if the matching gear cone, hub, sleeve or engagement teeth are worn, new rings alone may not cure the problem. For that reason, many owners and shops choose a full rebuild kit, a professionally rebuilt unit or a used transmission instead. Weigh these repair options against the vehicle's value and the condition of the rest of the gearbox.
Prepare tools and safe access
This is not a beginner job. On most rear-wheel-drive and front-wheel-drive layouts, reaching the synchronizers means removing the transmission or transaxle, separating the case and disassembling the gear train. Some designs also need a hydraulic press to remove and refit hubs and gears on the shafts. Owners without transmission experience, or without a safe way to lower and lift a heavy gearbox, are usually better off with a transmission specialist. A specialist can rebuild a unit the owner has removed or handle the whole job.
Start with the factory service information for your specific transmission. It gives the removal sequence, disassembly order, wear limits, shim selection, sealant type, torque values and fill quantity, and none of these should be guessed. Typical requirements include: • a solid lift, or quality jack stands on firm ground; • a transmission jack; • snap ring pliers; • bearing pullers or a press; • a clean workbench; • containers for draining gear oil; Have the correct fluid, new seals, gaskets or sealant, and any single-use fasteners on hand before starting. Disconnect the battery and let the exhaust cool. If the procedure calls for it, support the engine once the transmission mount is removed.
Remove without avoidable damage
Removal typically starts with draining the fluid. Then disconnect the shifter or shift cables, the clutch hydraulic line or slave cylinder, and the wiring for sensors and the reverse light switch. Remove the driveshaft or axle shafts, and the starter and crossmember where applicable. Front-wheel-drive transaxles often require subframe or suspension work. Keep the transmission level and supported on the jack as it slides off the clutch. This stops the input shaft from hanging on the clutch disc and damaging it or the pilot bearing.
Inside the case, work slowly and keep everything in order. Photograph or mark each hub and sleeve before removal, because many fit only one way and the sleeve is often indexed to the hub. Keep each synchronizer ring with the gear it came from so wear can be compared. Watch for the small keys, struts, springs or detent balls, which can fall out when a sleeve slides off its hub. Use pullers or a press on the correct surfaces rather than prying on gear teeth, and never hammer on shafts or bearings.
Before ordering parts or reassembling, inspect what you removed. Check the cone surface on each gear for scoring or glazing. Look for rounded or chipped tips on the sleeve and gear engagement teeth. Examine the rings for worn friction surfaces or damaged lugs. If the manual specifies a ring-to-gear clearance check, measure it with a feeler gauge against the published limit. Metal particles in the drained oil or on the drain plug magnet suggest wear beyond the synchronizers, and that wear needs attention too.
Install and restore the system
Reassembly is the reverse of disassembly, but orientation details decide whether the gearbox shifts properly. Install each hub and sleeve in its marked direction. Seat the keys or struts in their slots with the springs positioned as the manual shows, and make sure the synchronizer ring lugs line up with the hub slots or keys. During assembly, lubricate rings and cones with the specified transmission fluid; do not use grease unless the manual allows it. Replace any distorted snap rings and confirm each one is fully seated in its groove.
Some transmissions require shims to set bearing preload or shaft end play. Follow the manual's measurement procedure and select shims from it, rather than simply reusing the old ones. Apply the specified sealant or gasket to the case halves and tighten bolts to the published torque in the correct sequence. Check that every gear selects on the bench before reinstalling the unit. While the transmission is out, inspect the clutch disc, pressure plate, release bearing and pilot bearing. A clutch release problem would undo the benefit of new synchros.
Reinstall the transmission and reconnect the linkage, wiring, axles or driveshaft, and clutch hydraulics. Bleed the clutch system if it was opened. Fill the gearbox with the exact fluid specification and quantity listed for that unit. Check the level the way the manual describes, usually at the fill plug with the vehicle level. If the design allows it, adjust the shift linkage or cables.
Check the completed work
With the engine off and the clutch pedal pressed, run through every gear to confirm smooth selection without binding. Then start the engine and check for leaks. On a quiet road, test each upshift and downshift at normal and brisk speeds, both cold and once the transmission is warm. Shifts should feel firm and quiet, gears should stay engaged under acceleration and coasting, and reverse should engage cleanly after a full stop. After the first drive, recheck the fluid level and look for leaks again.
Some symptoms call for further diagnosis rather than assuming the repair worked: • Grinding across several gears often points back to clutch release or the clutch hydraulics. • A gear that jumps out of engagement points to a fork, detent or engagement teeth problem. • New whining or rumbling can indicate bearing wear or incorrect preload. • Grinding only in the repaired gear may mean an incorrect ring, wrong orientation or a worn cone that was not replaced. Note the gear, speed and temperature when each symptom appears, because that information speeds up any follow-up inspection.